
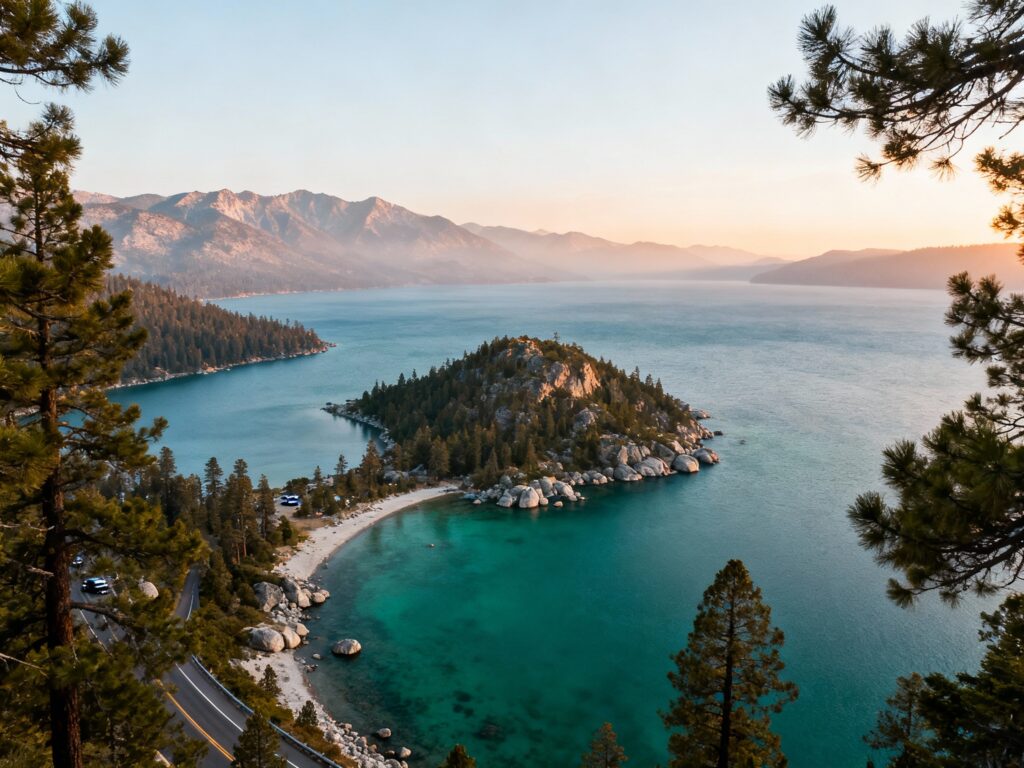
Emerald Bay State Park is one of those Tahoe spots that looks edited in real life—deep teal water, granite edges, and that tiny island that somehow makes every photo feel iconic. If you’re visiting for the first time, a little planning goes a long way because parking fills fast and the best light windows are short.
Below are five reliable, repeatable locations for getting your best shots—whether you’re on a quick scenic stop or you’re willing to hike for the angle.
Top 5
1) Inspiration Point (Highway 89 Overlook)
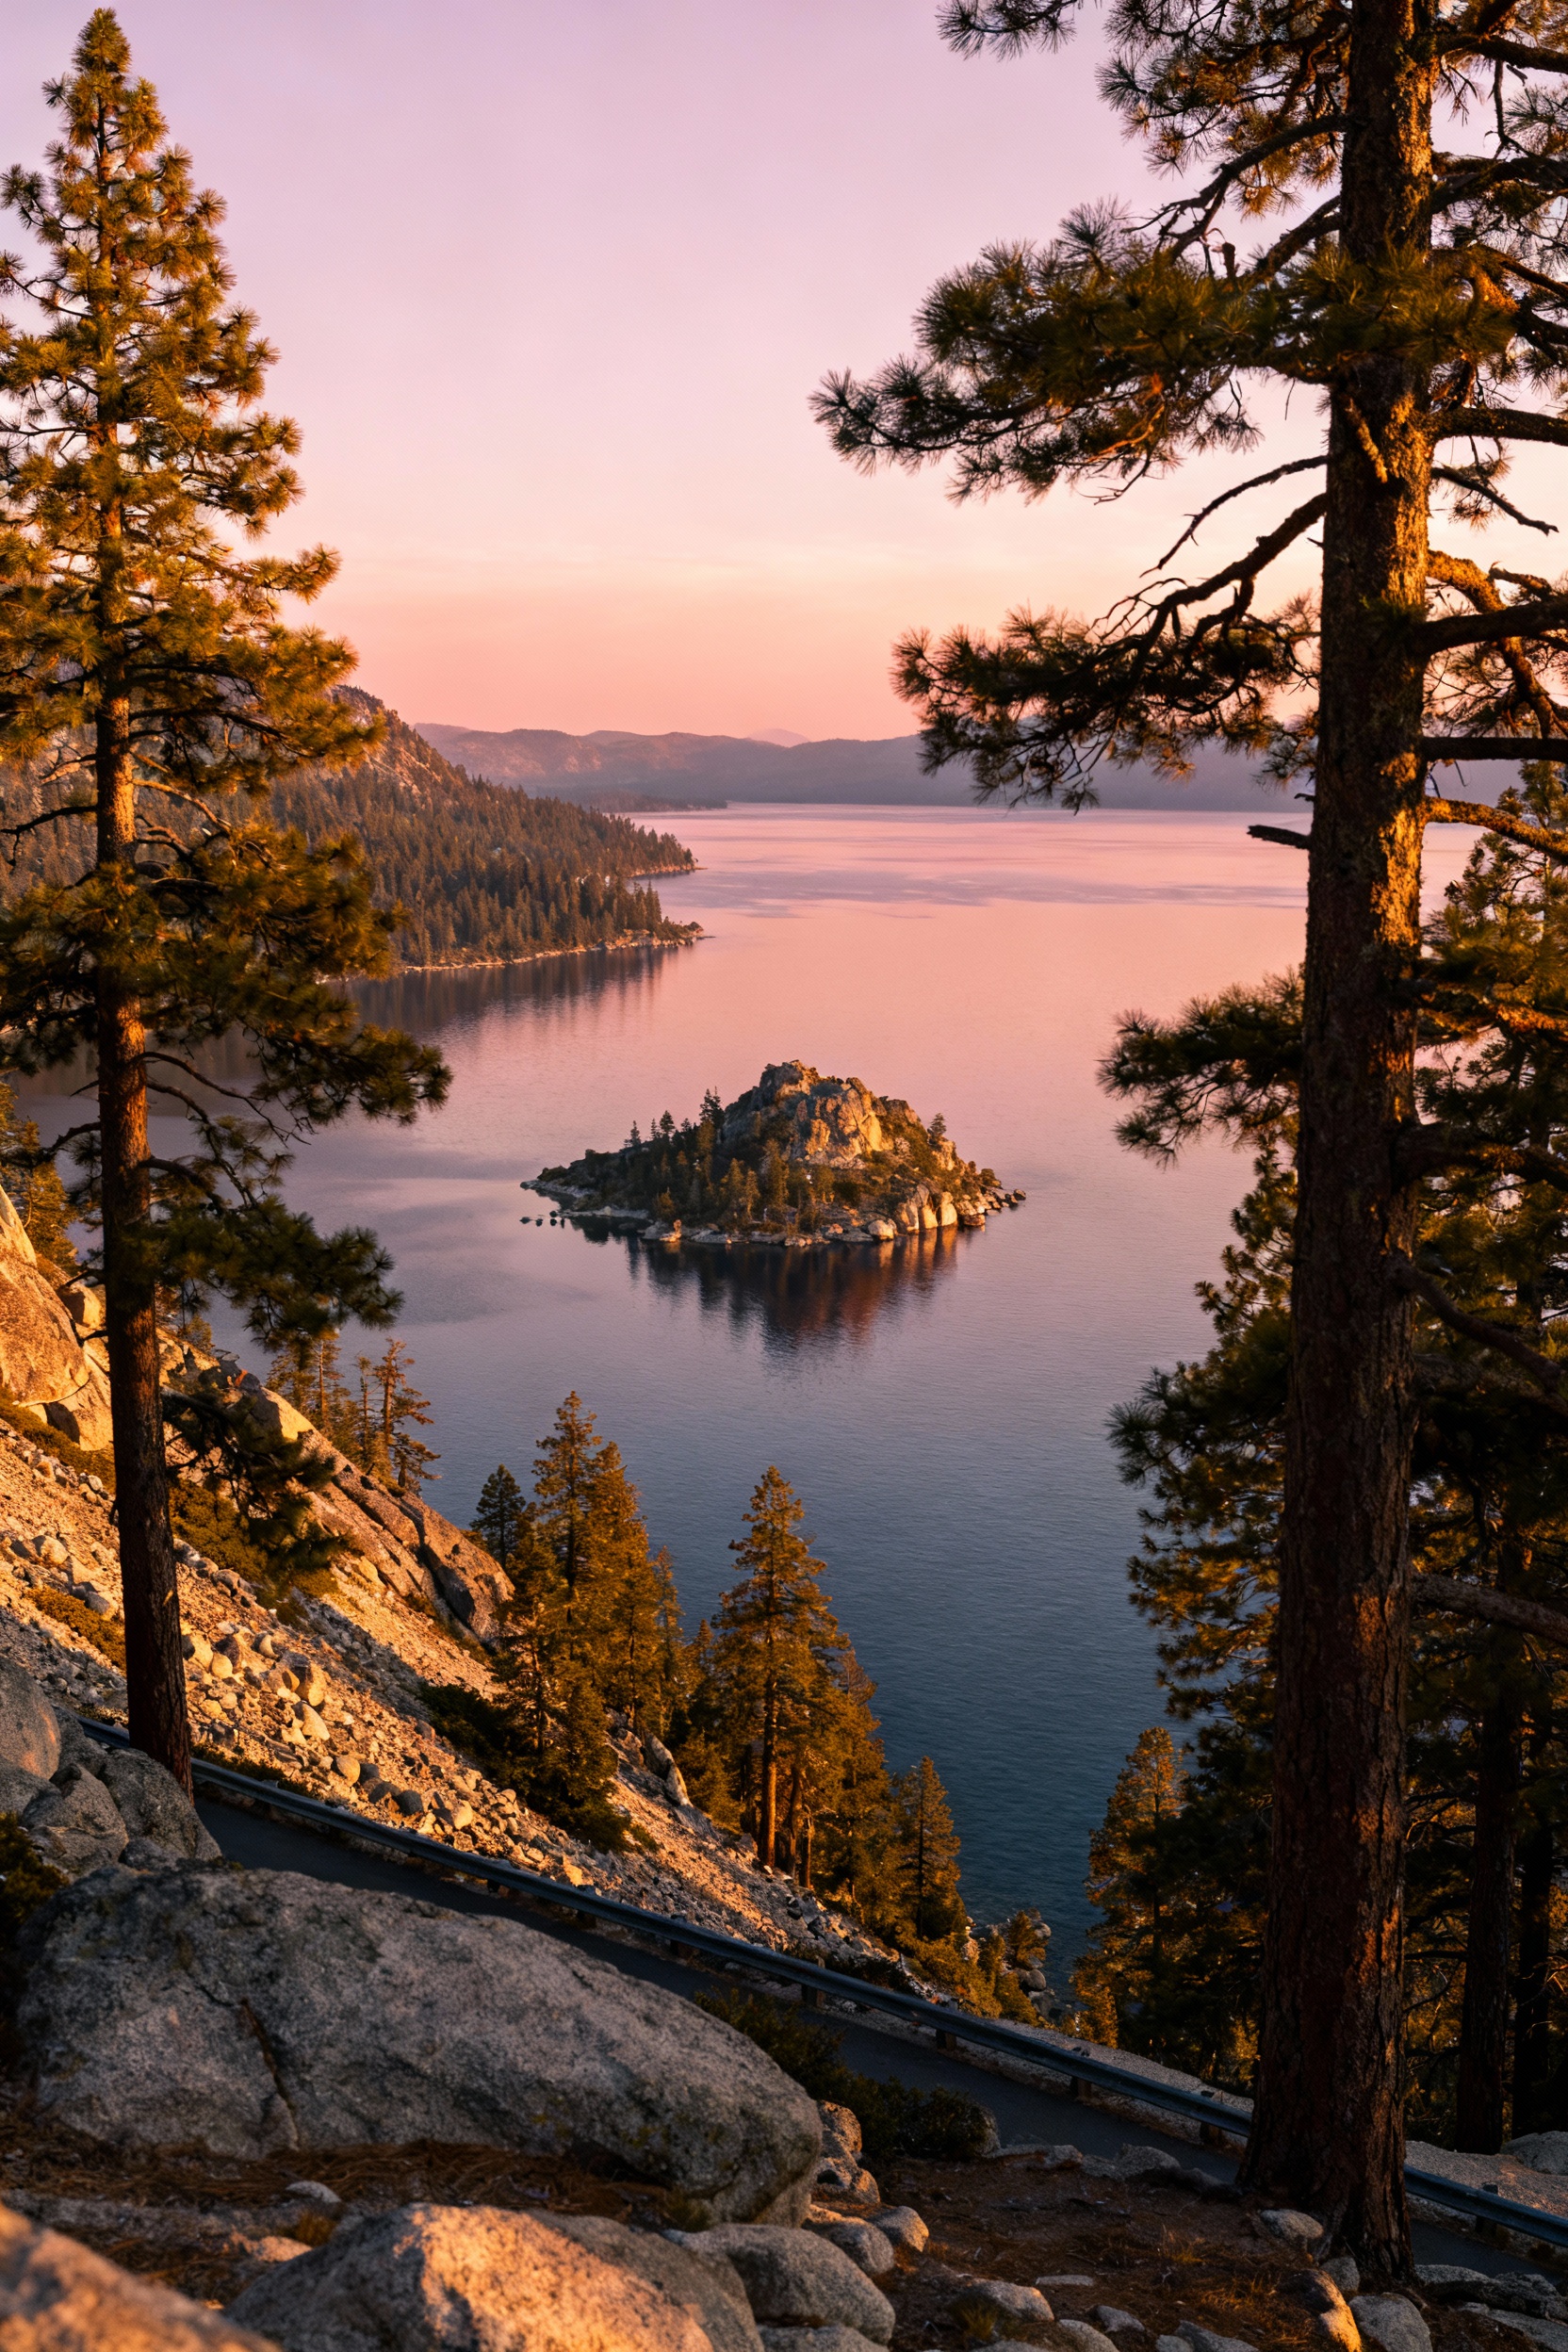
This is the classic Emerald Bay viewpoint and the fastest way to get a postcard shot with Fannette Island centered in the water. Arrive at sunrise for softer light and fewer cars, or show up in the last 60–90 minutes before sunset for warm tones on the granite. Bring a polarizing filter (or use your phone’s “reduce reflections” style setting) to cut glare on the lake. Parking is limited—have a backup plan to loop and try again or visit on a weekday.
2) Emerald Bay State Park Lookout (Lower Pullout Views)
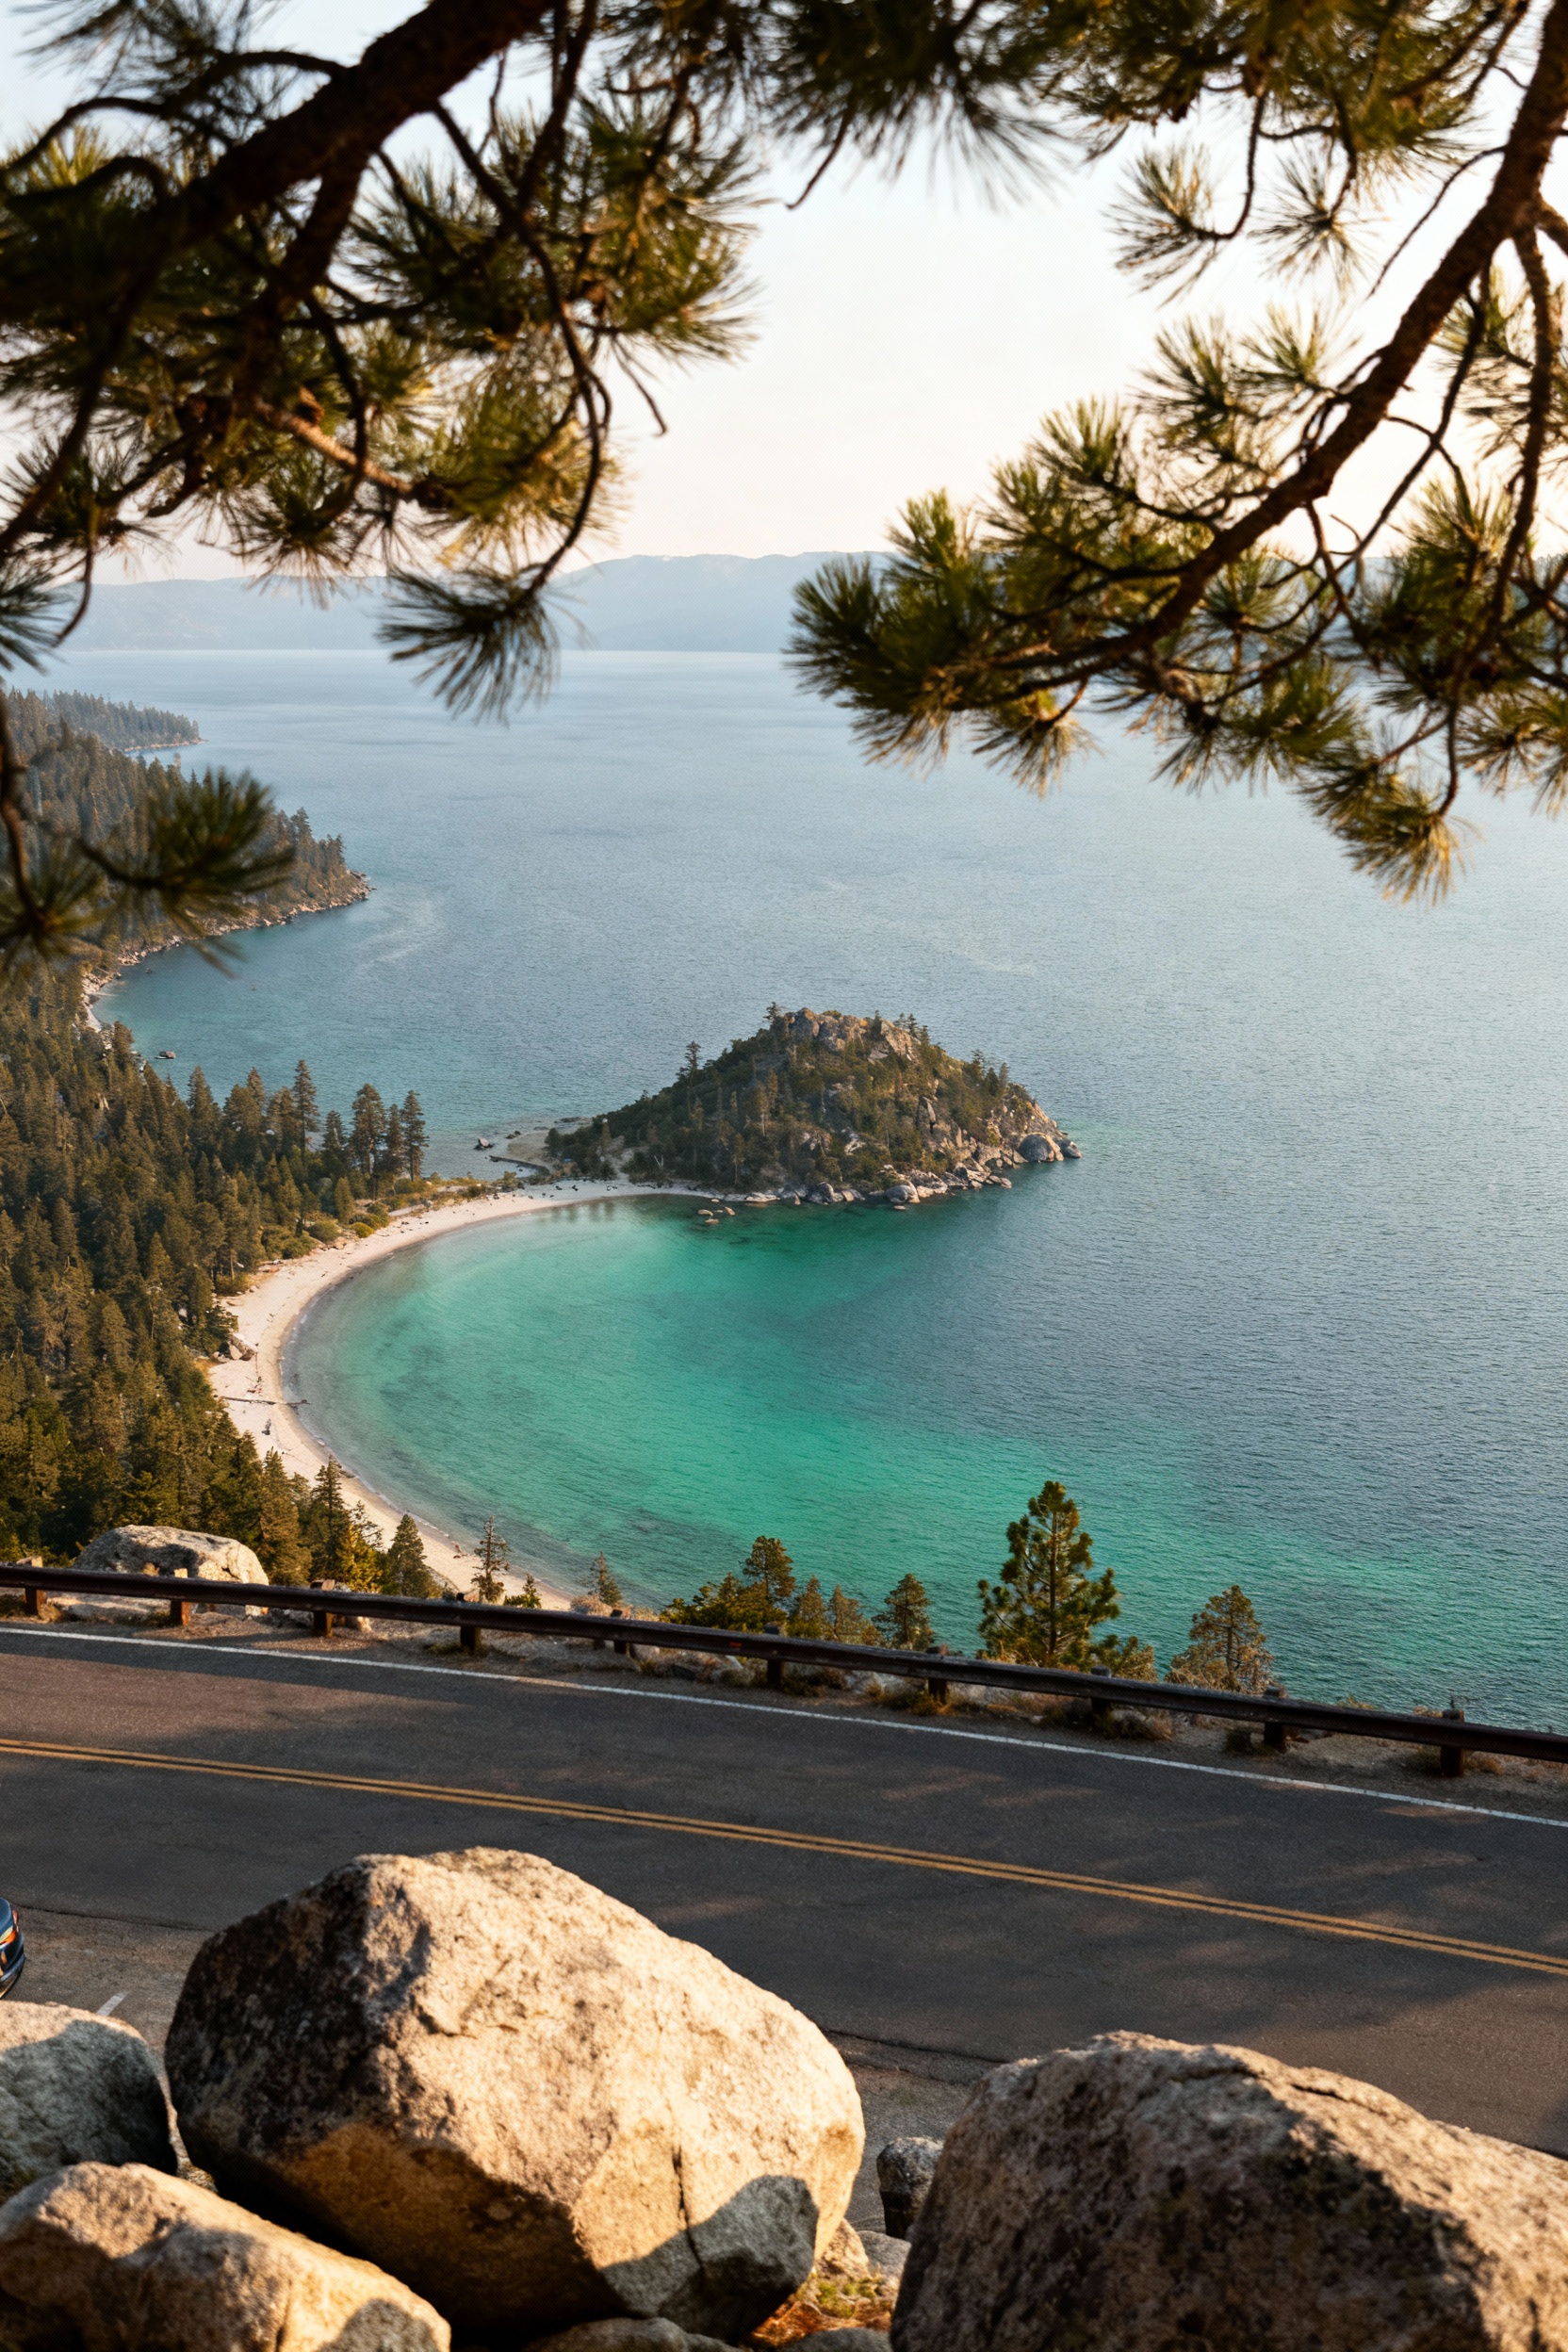
Just a short distance from the main overlook, the lower pullouts give you slightly different angles and often fewer crowds. These are great for framing the bay with roadside granite and pines, and for shooting vertical compositions for Pinterest. Go earlier in the day if you want a brighter, more “true color” look, or later for moodier shadows. Pack a small step stool if you’re serious about car-free framing—it helps you shoot over guardrails without awkward angles.
3) Vikingsholm Castle & Beach
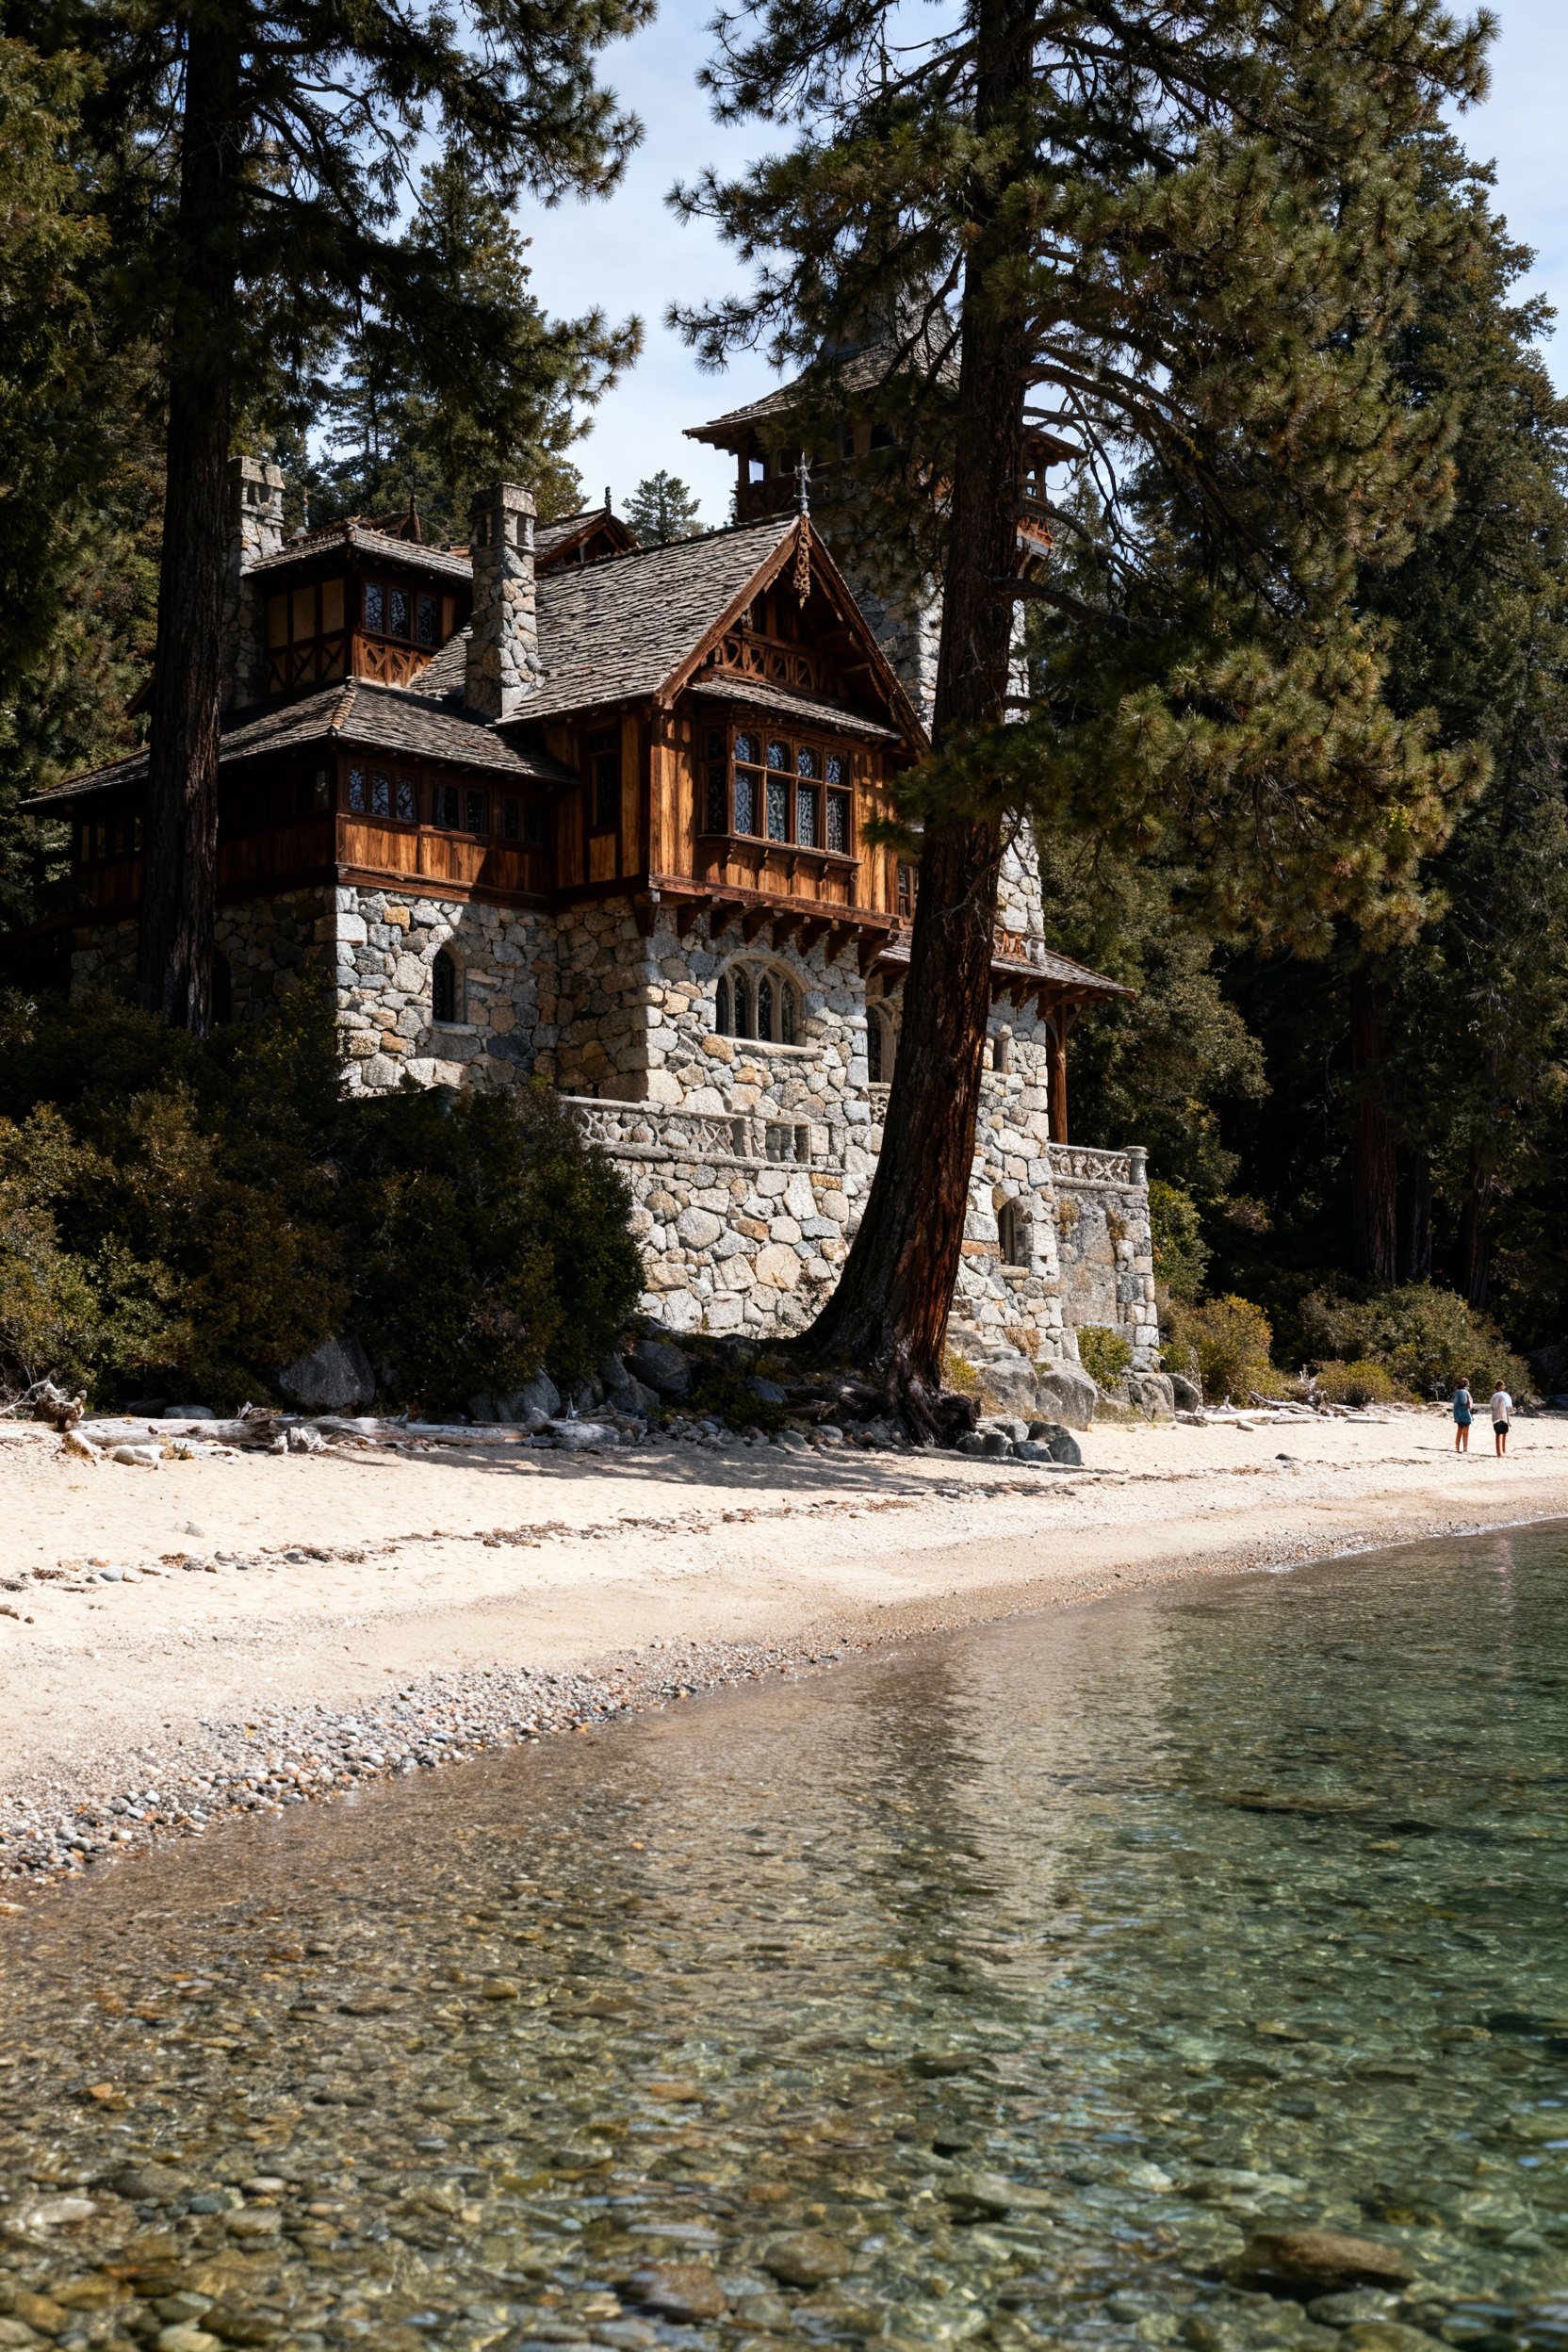
For architectural photos, Vikingsholm is the star: stonework, wood details, and a fairytale vibe right on the shoreline. Plan for the hike down from the parking area (and remember you’ll hike back up), so wear real shoes and pack water—especially in summer. Mid-morning is ideal to avoid harsh overhead light on the castle façade, and a wide-angle lens (or 0.5x on your phone) helps capture the full structure. If you want interior shots, check tour times ahead and bring cash or a card depending on what’s offered that season.
4) Eagle Falls (Upper Falls Viewpoints)
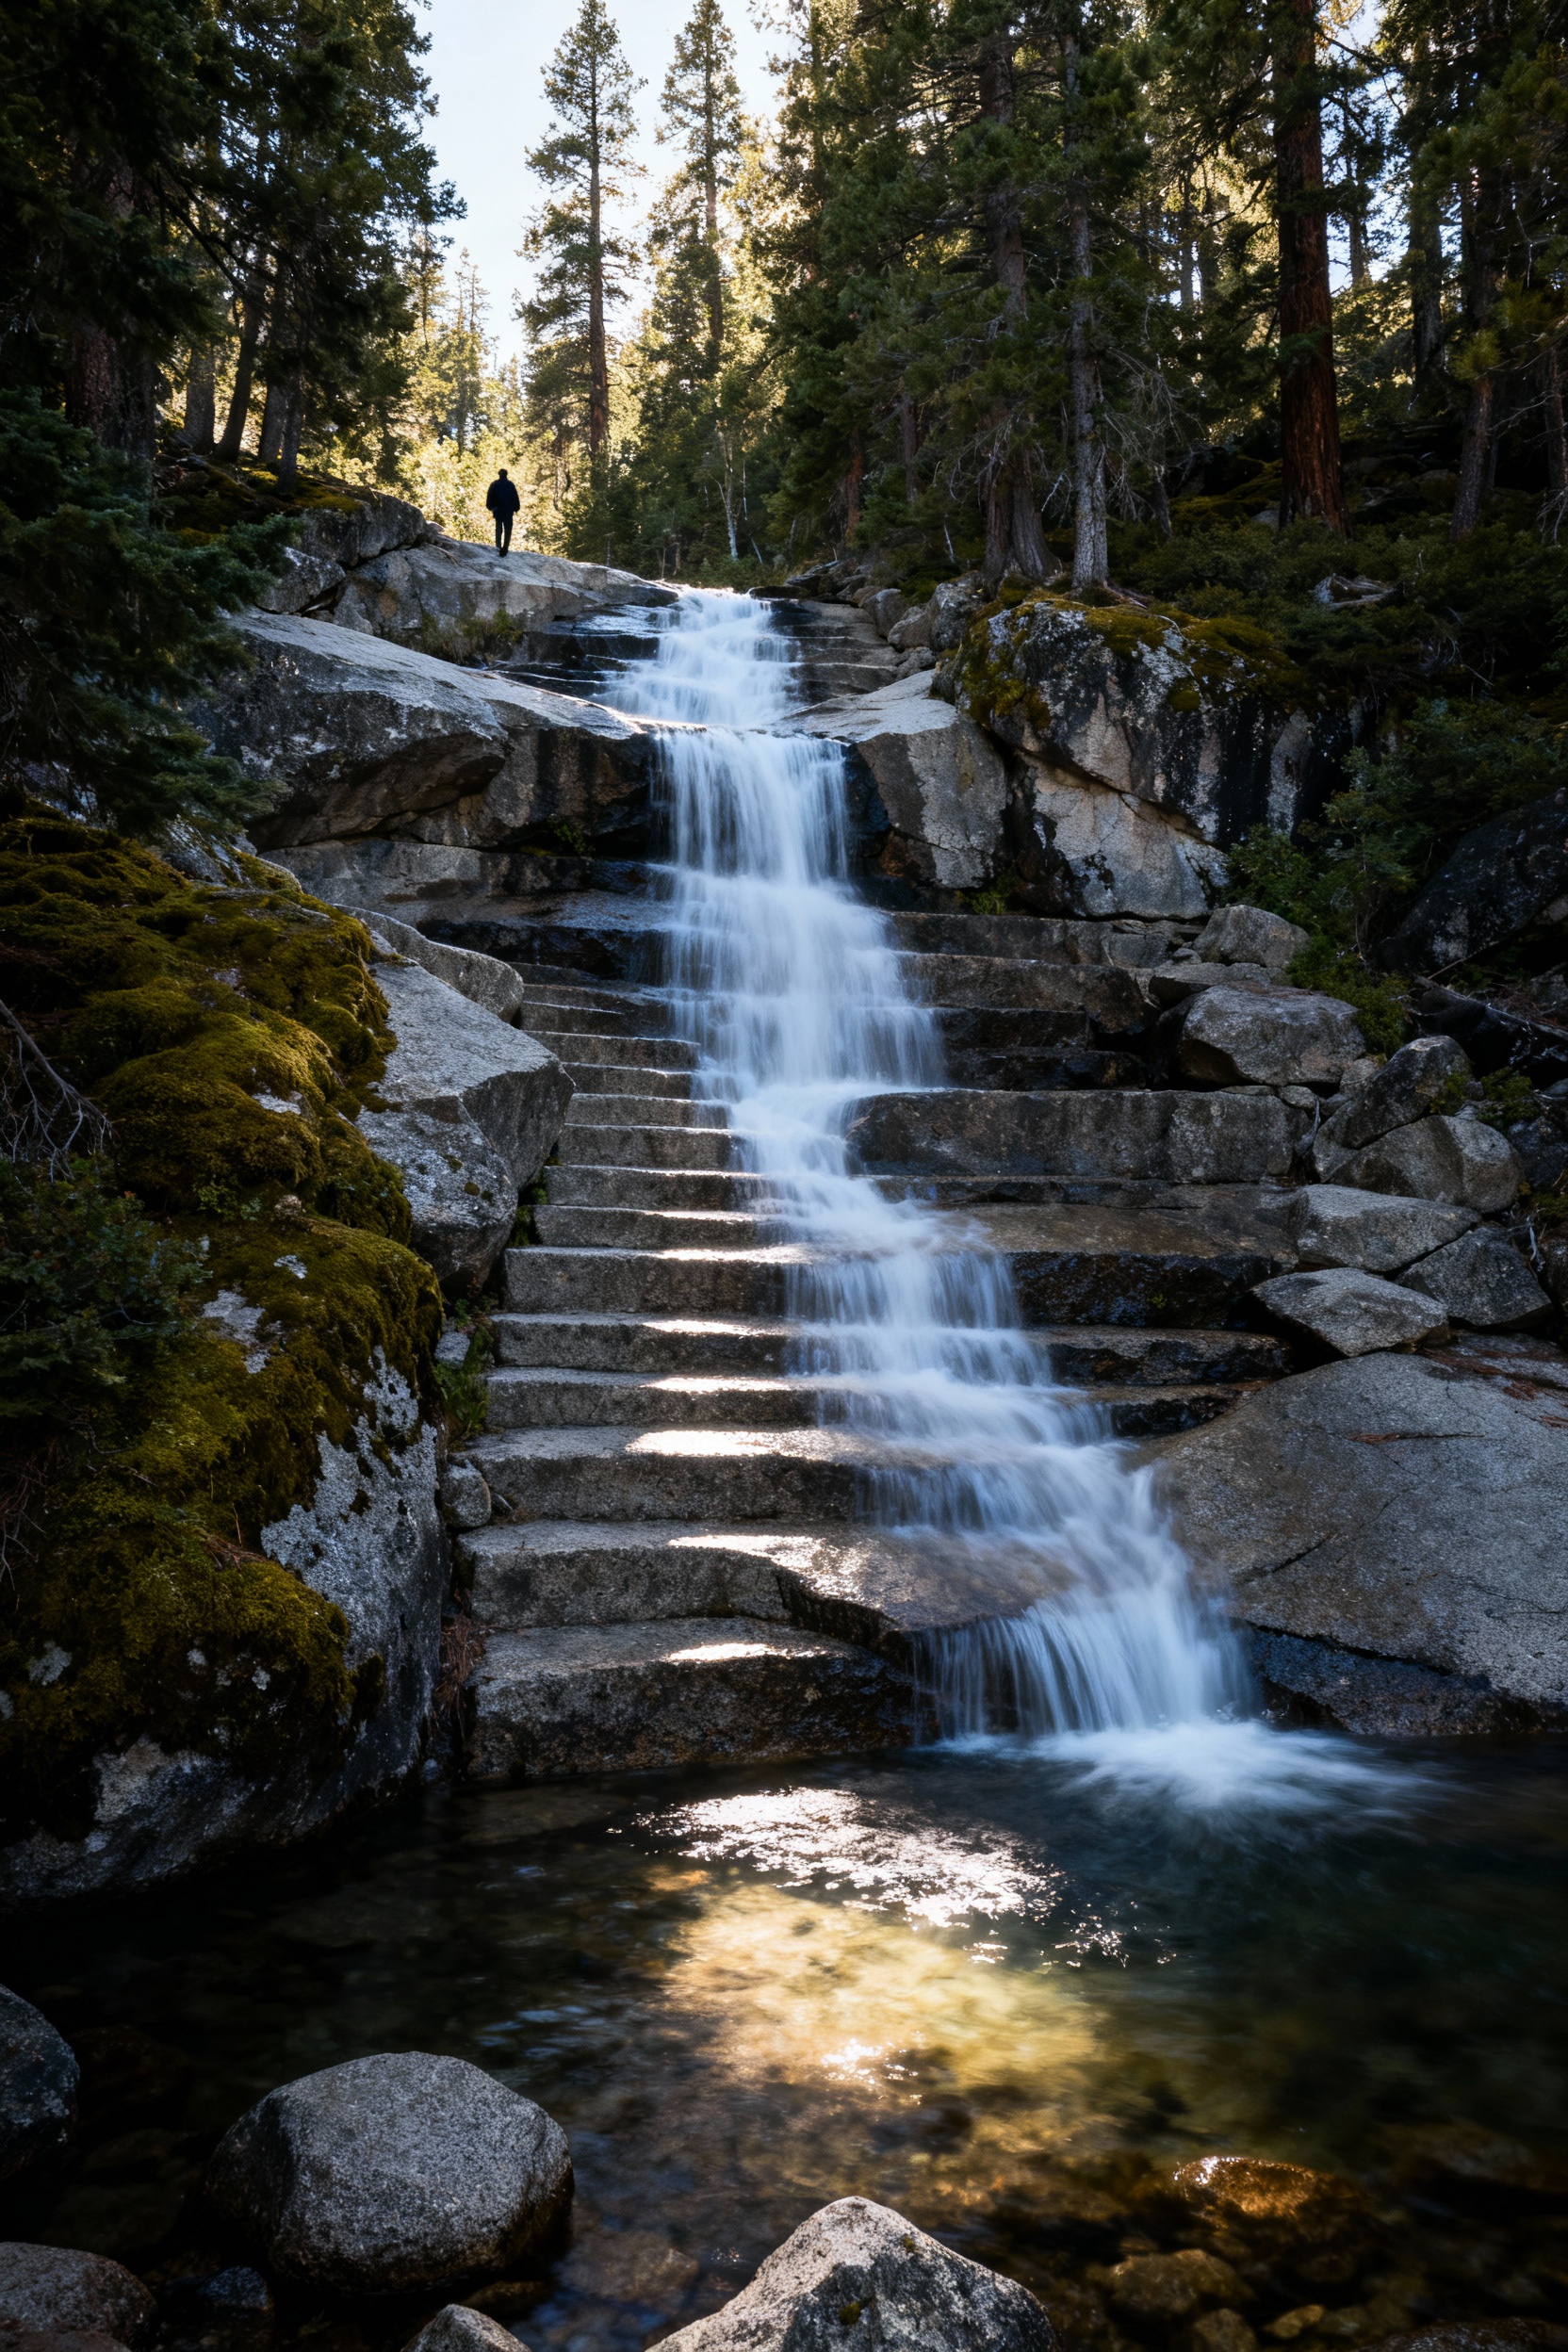
Eagle Falls is perfect when you want moving water, mossy rocks, and a totally different vibe from the lake overlooks. The upper viewpoints are quick to reach and give you strong compositions with cascades and granite ledges—great for long-exposure if you have a tripod. Go in the morning for calmer winds and cleaner water texture, and consider visiting in spring/early summer when flow is strongest. Pack a light jacket; it can feel cooler near the spray even on sunny days.
5) Rubicon Trail (Shoreline Vistas Toward Fannette Island)
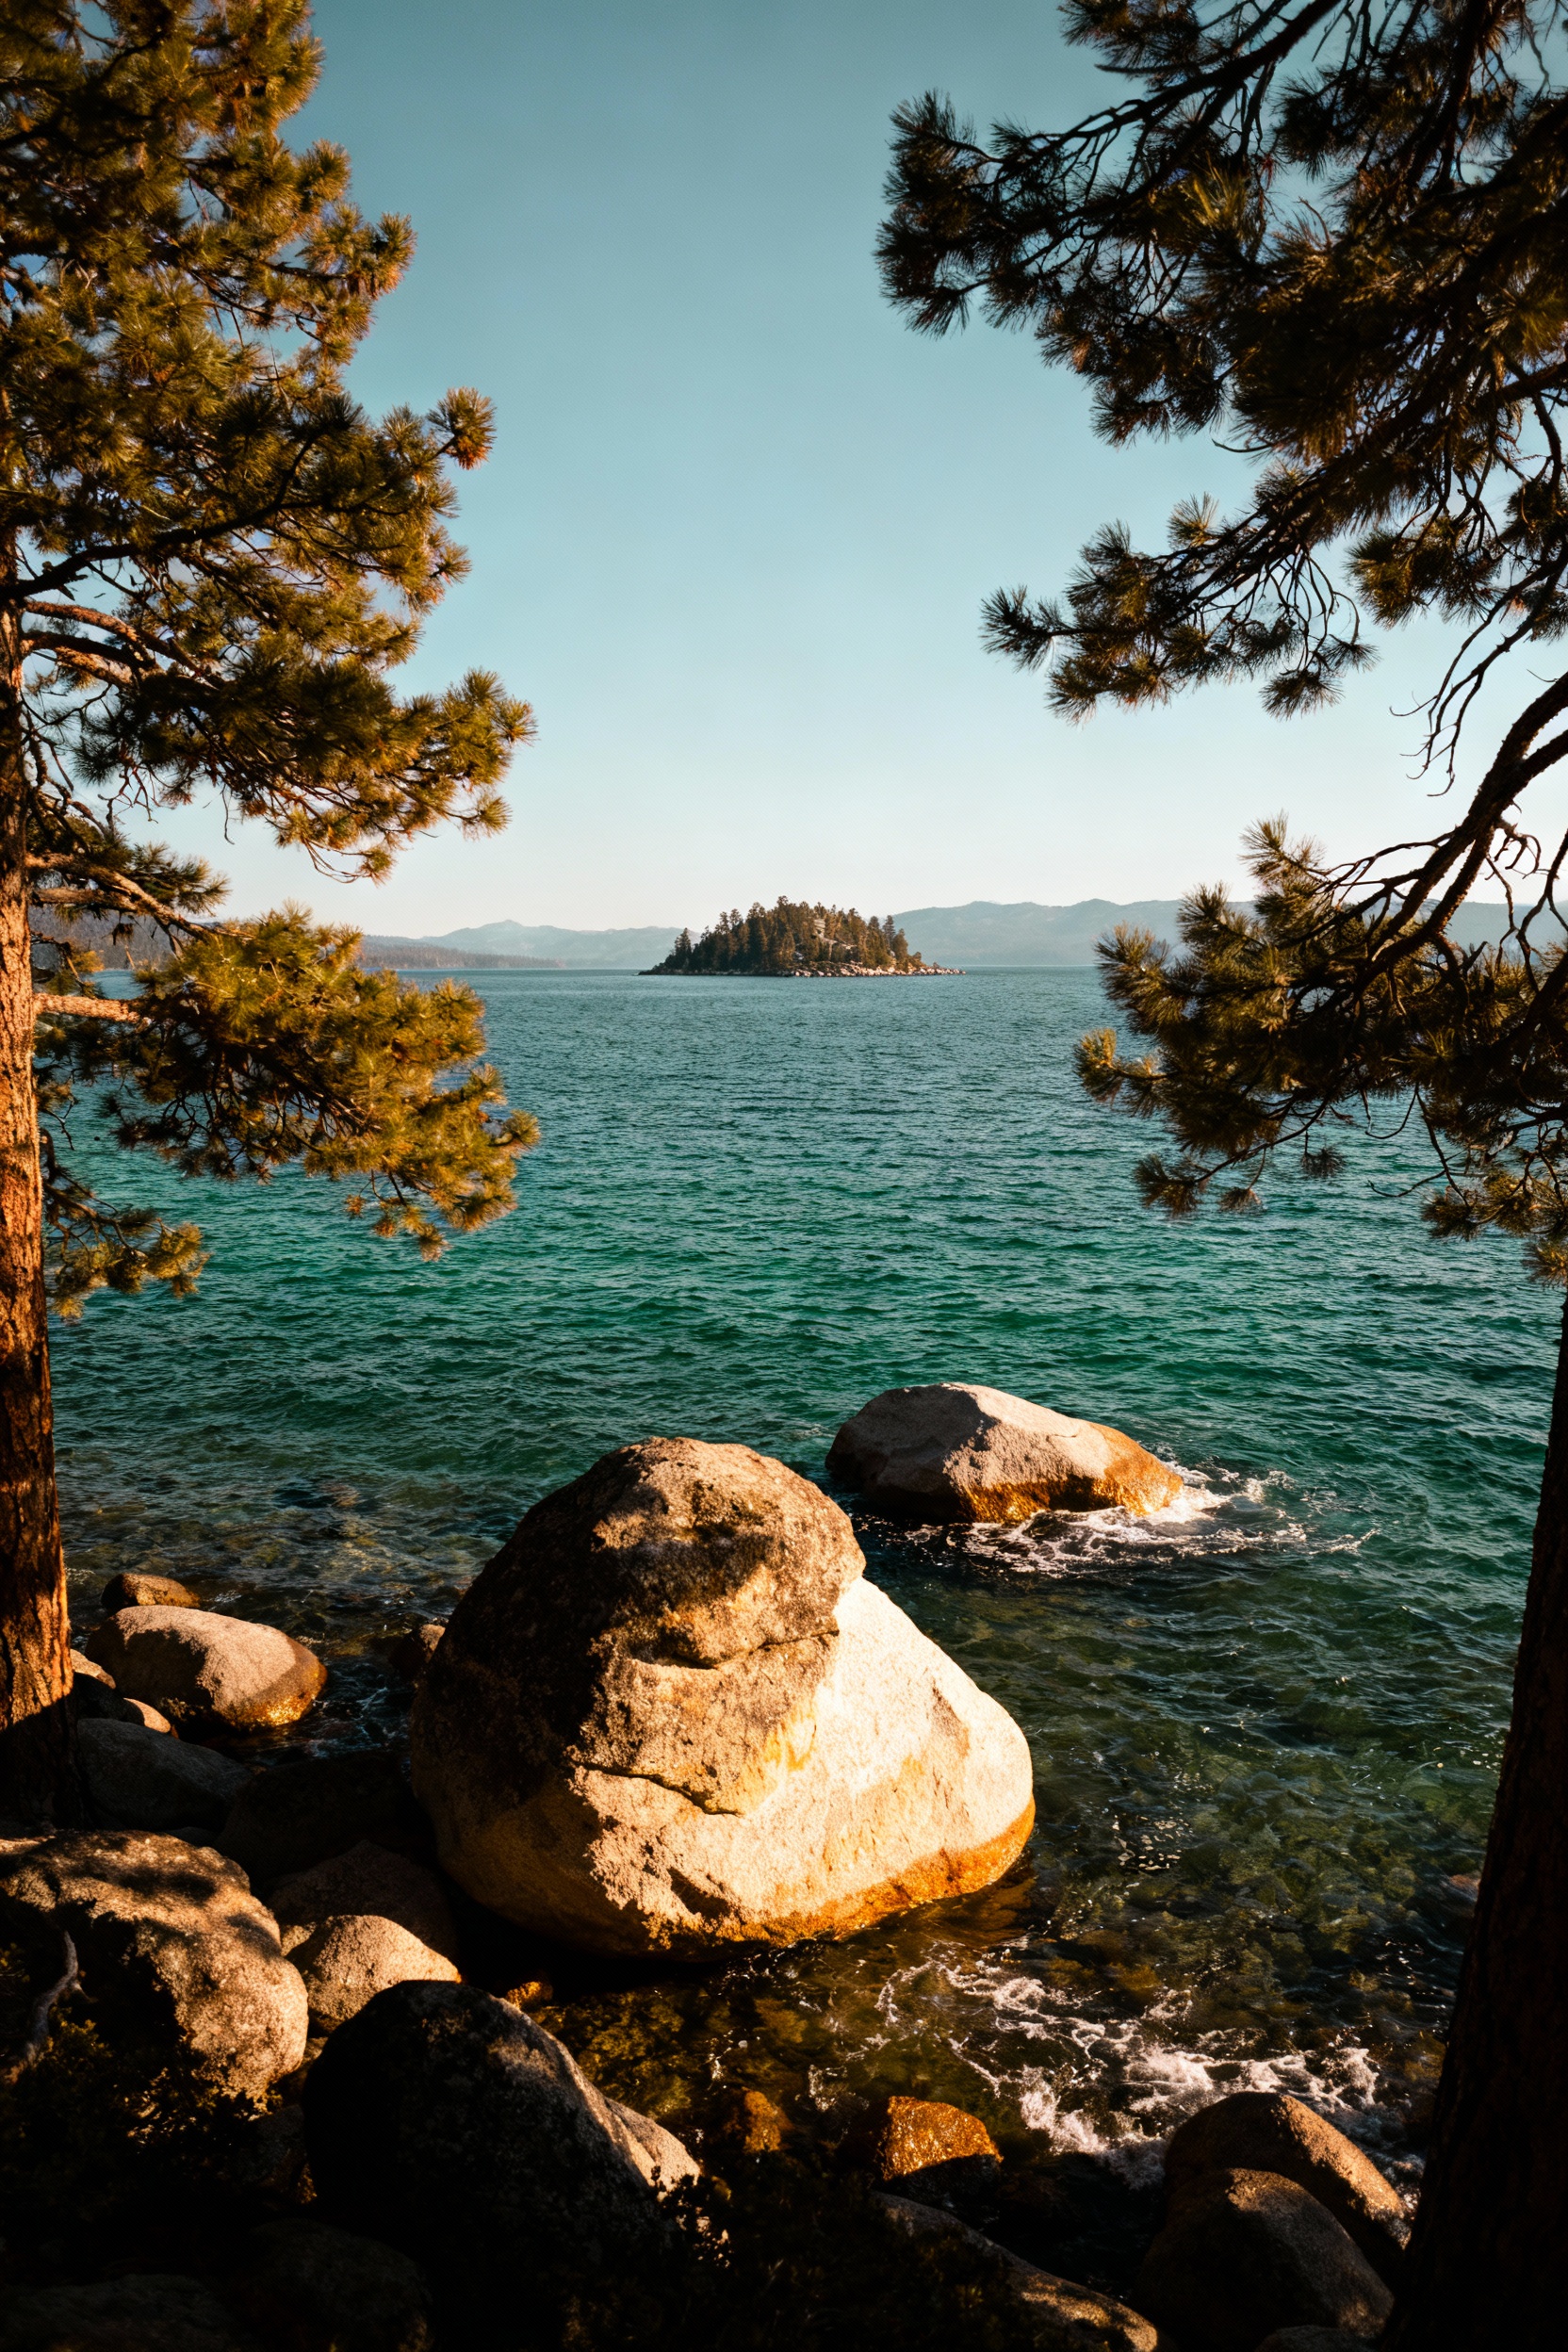
If you want quieter, less “everyone has this exact shot” photos, hop onto the Rubicon Trail and look for openings along the shoreline. You’ll get low-angle lake views with boulders, tree framing, and the island peeking through—ideal for storytelling shots like boots-on-rocks or a picnic setup. Start from the Emerald Bay side for easier access, and give yourself time to wander—your best frame is usually 5–10 minutes past the first obvious viewpoint. Bring snacks and a reusable water bottle, and keep your gear light if you’re walking farther than planned.
FAQ
What time of day is best for photos in Emerald Bay State Park?
Sunrise and the last 1–2 hours before sunset are the most flattering for lake color and granite glow, plus the crowds are usually smaller. Midday can still work, but expect brighter glare off the water and stronger shadows. If you’re shooting midday, use shade, tree framing, or waterfalls to soften the light.
Where should first-timers park for the main overlook?
Most people park at roadside pullouts along Highway 89 near Inspiration Point and nearby lookouts. Arrive early, especially on weekends and summer days, because spaces fill quickly and traffic can get slow. If lots are full, loop back patiently rather than stopping unsafely on the shoulder.
How hard is the hike to Vikingsholm?
The hike down is manageable for many beginners, but it’s steep enough that the return uphill feels real—plan extra time and take breaks. Wear shoes with grip, bring water, and avoid carrying heavy camera setups unless you’re comfortable hiking with them. If you’re sensitive to heat, go earlier in the day.
Do I need a tripod for Emerald Bay photography?
Not required, but helpful for waterfalls (like Eagle Falls), low-light scenes at sunrise/sunset, and crisp landscape shots. A small travel tripod works well and is easier on busy trails. If you don’t use a tripod, stabilize your phone/camera on a rock or railing and use a timer to reduce shake.
What should I pack for a photography day at Emerald Bay?
Bring water, snacks, sunscreen, and a light layer—Tahoe weather shifts fast. For gear, a wide-angle option, a polarizing filter (or lens clip), and a microfiber cloth for lake spray or dust are clutch. Also pack patience: the best shots often happen when you wait for a gap in crowds and cars.