
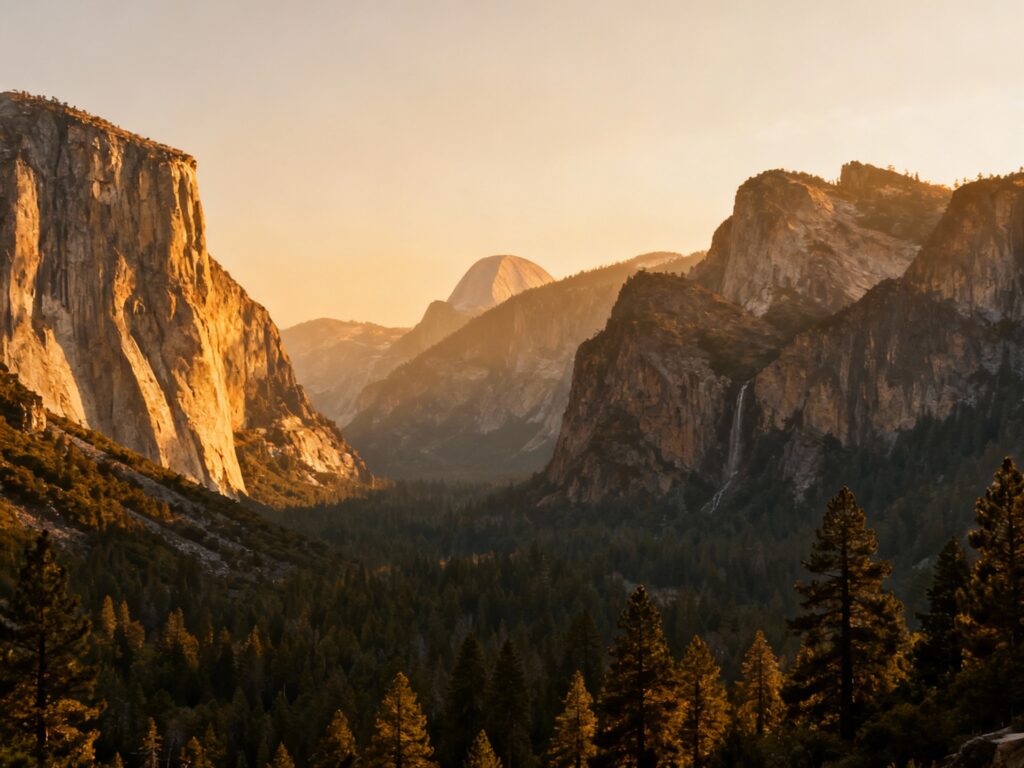
Yosemite is basically a masterclass in light, scale, and drama—aka, the kind of place that makes even a “nice pic” feel underwhelming if your settings aren’t dialed. The good news: you don’t need a brand-new camera or a suitcase of lenses to come home with shots you’ll actually frame.
These five settings are the biggest “bang for your effort” tweaks for first-timers, whether you’re shooting Tunnel View at sunrise or catching waterfalls in the valley. Set them once, practice a little, and you’ll spend way less time fiddling and way more time exploring.
Top 5
1) Shoot in Aperture Priority (Av/A) for Landscapes
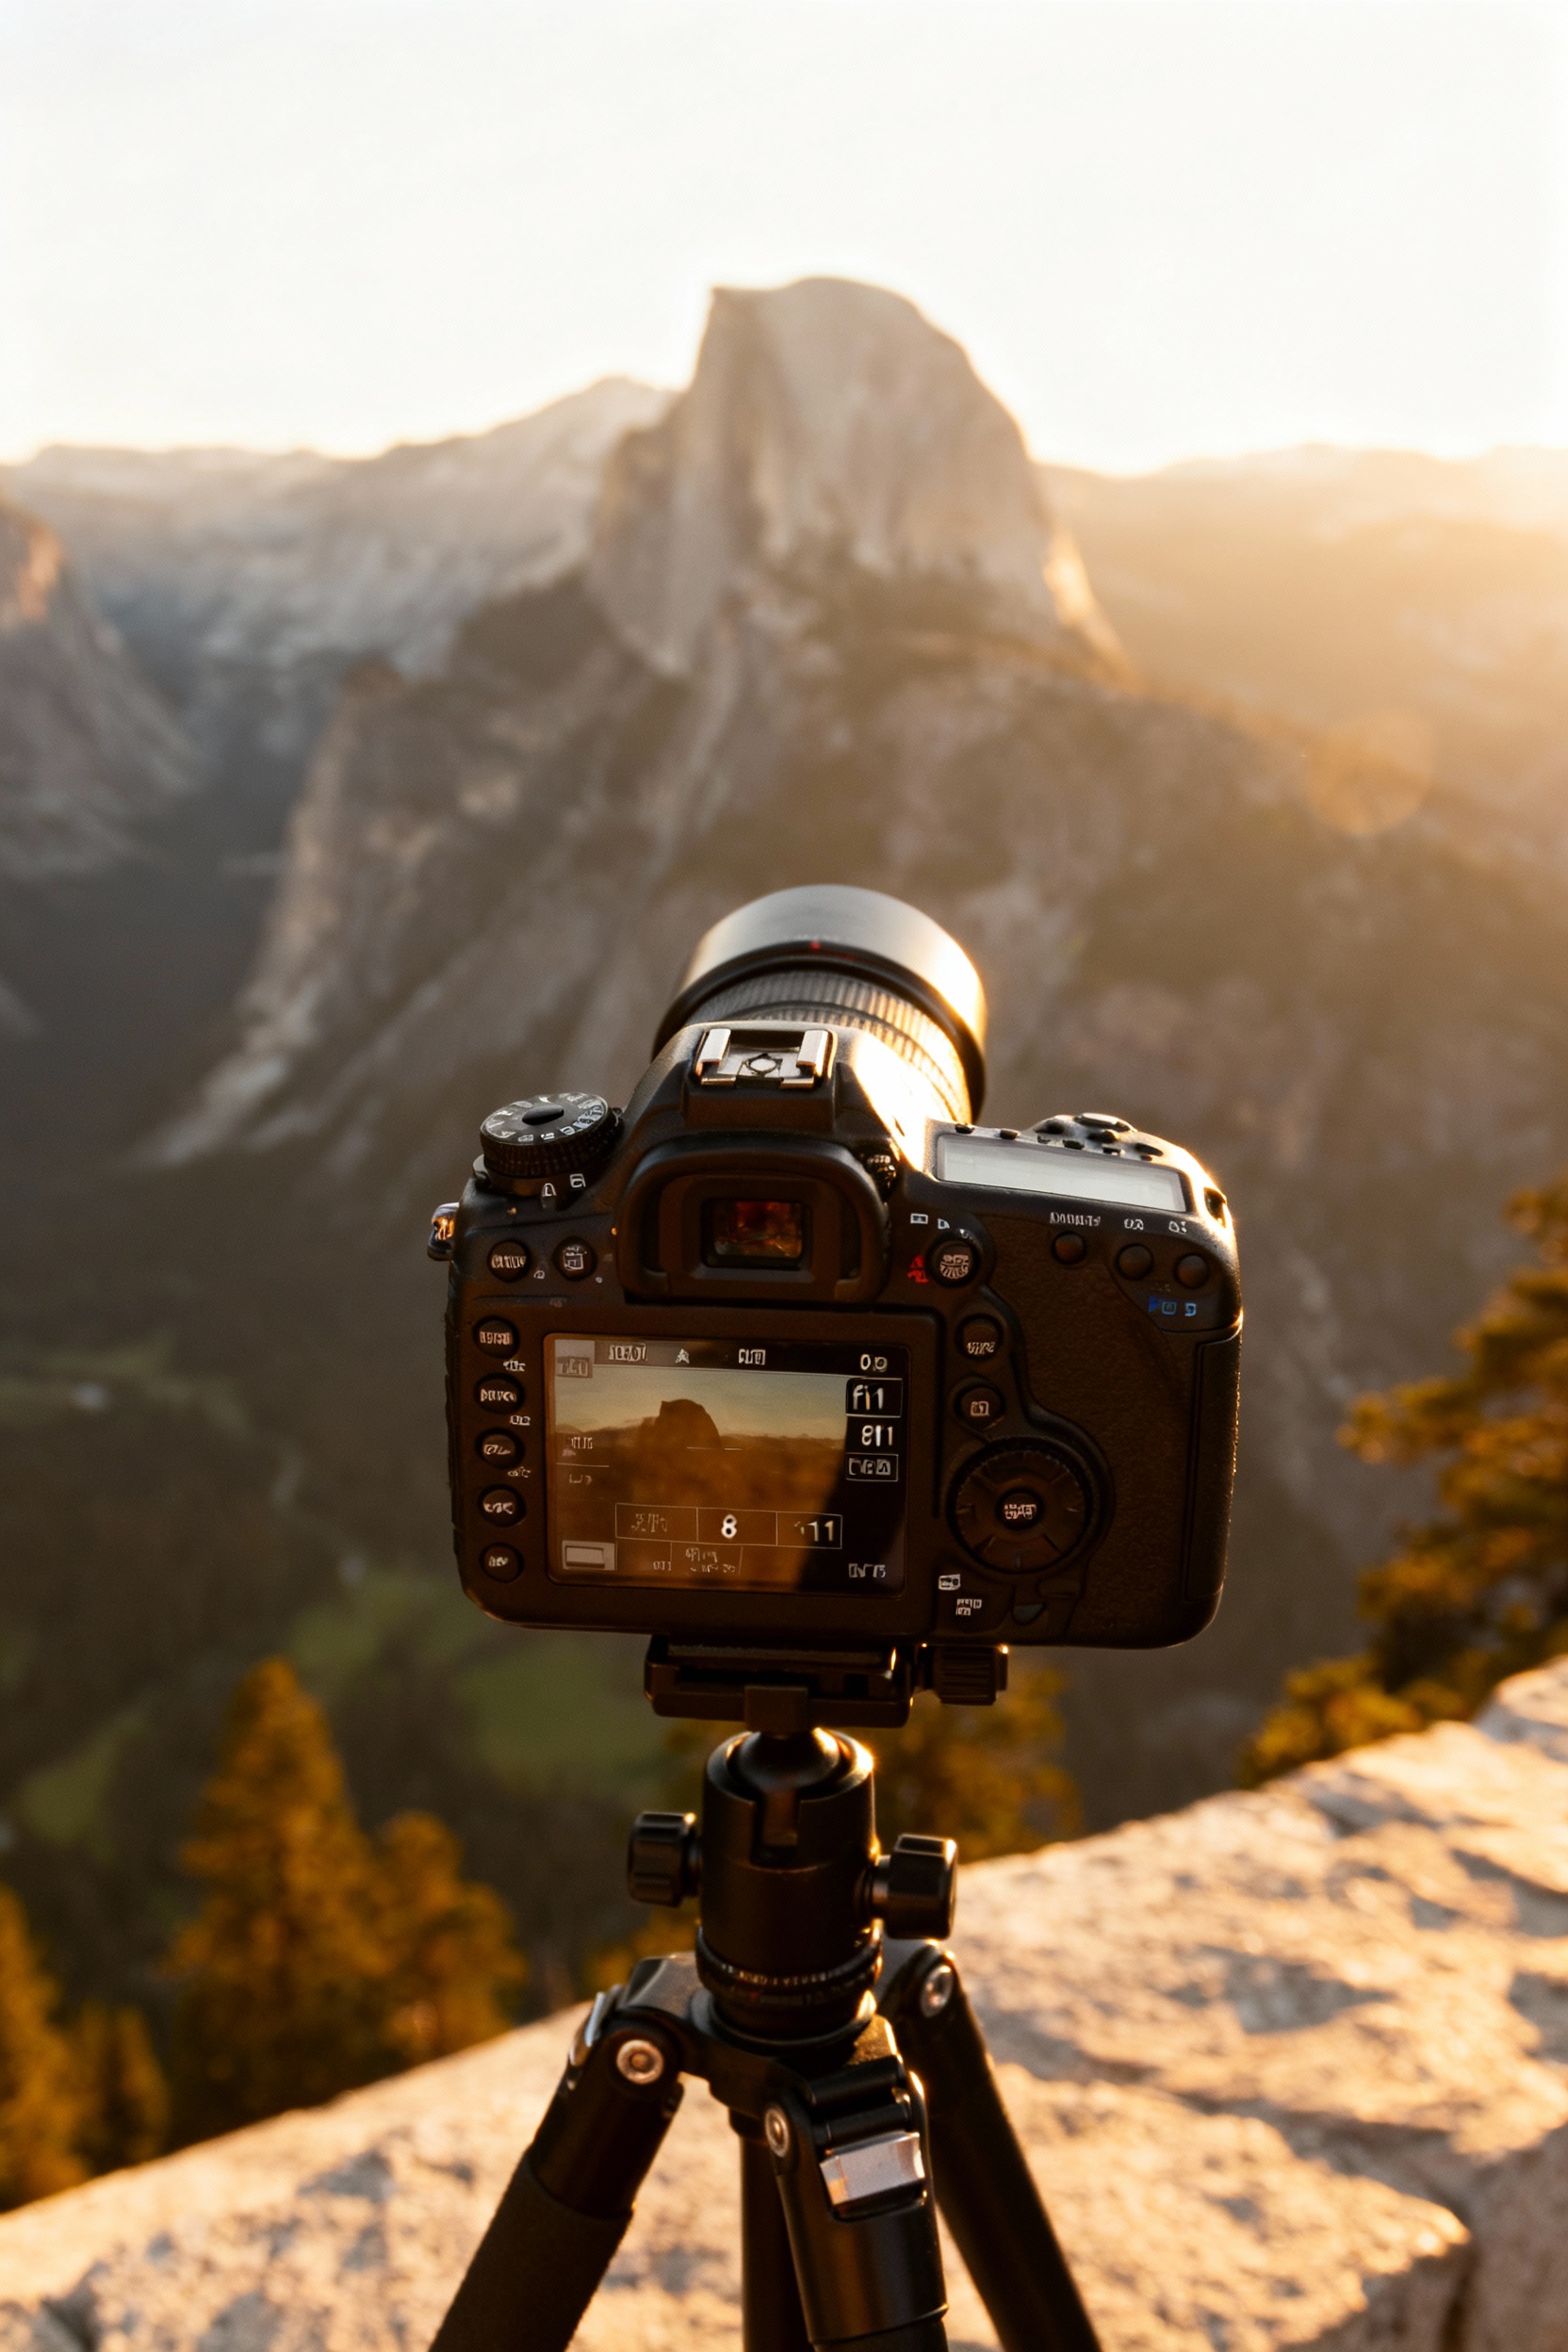
For classic Yosemite scenes (Tunnel View, Valley View, Glacier Point), start in Aperture Priority so you control depth of field while the camera handles shutter speed. Set f/8 to f/11 for crisp detail across the frame, then take a quick test shot and check sharpness on your preview. If you’re arriving before sunrise, pack a small tripod so your shutter can drop without blur, and plan to be parked 30–45 minutes early because the best pullouts fill fast.
2) Use a Low ISO (and Auto ISO Limits) to Keep Detail Clean
Yosemite’s granite and pine textures look best when you avoid noisy, smeared detail—so keep ISO low whenever you can (ISO 100–200 in daylight). If you like Auto ISO, set a cap (try ISO 800 for handheld, ISO 1600 if you’re okay with a little grain) so your camera doesn’t jump to extreme values in the shade. This is especially helpful in forested spots like Mariposa Grove where light changes constantly as you walk.
3) Dial in Shutter Speed for Waterfalls (Freeze vs. Silk)
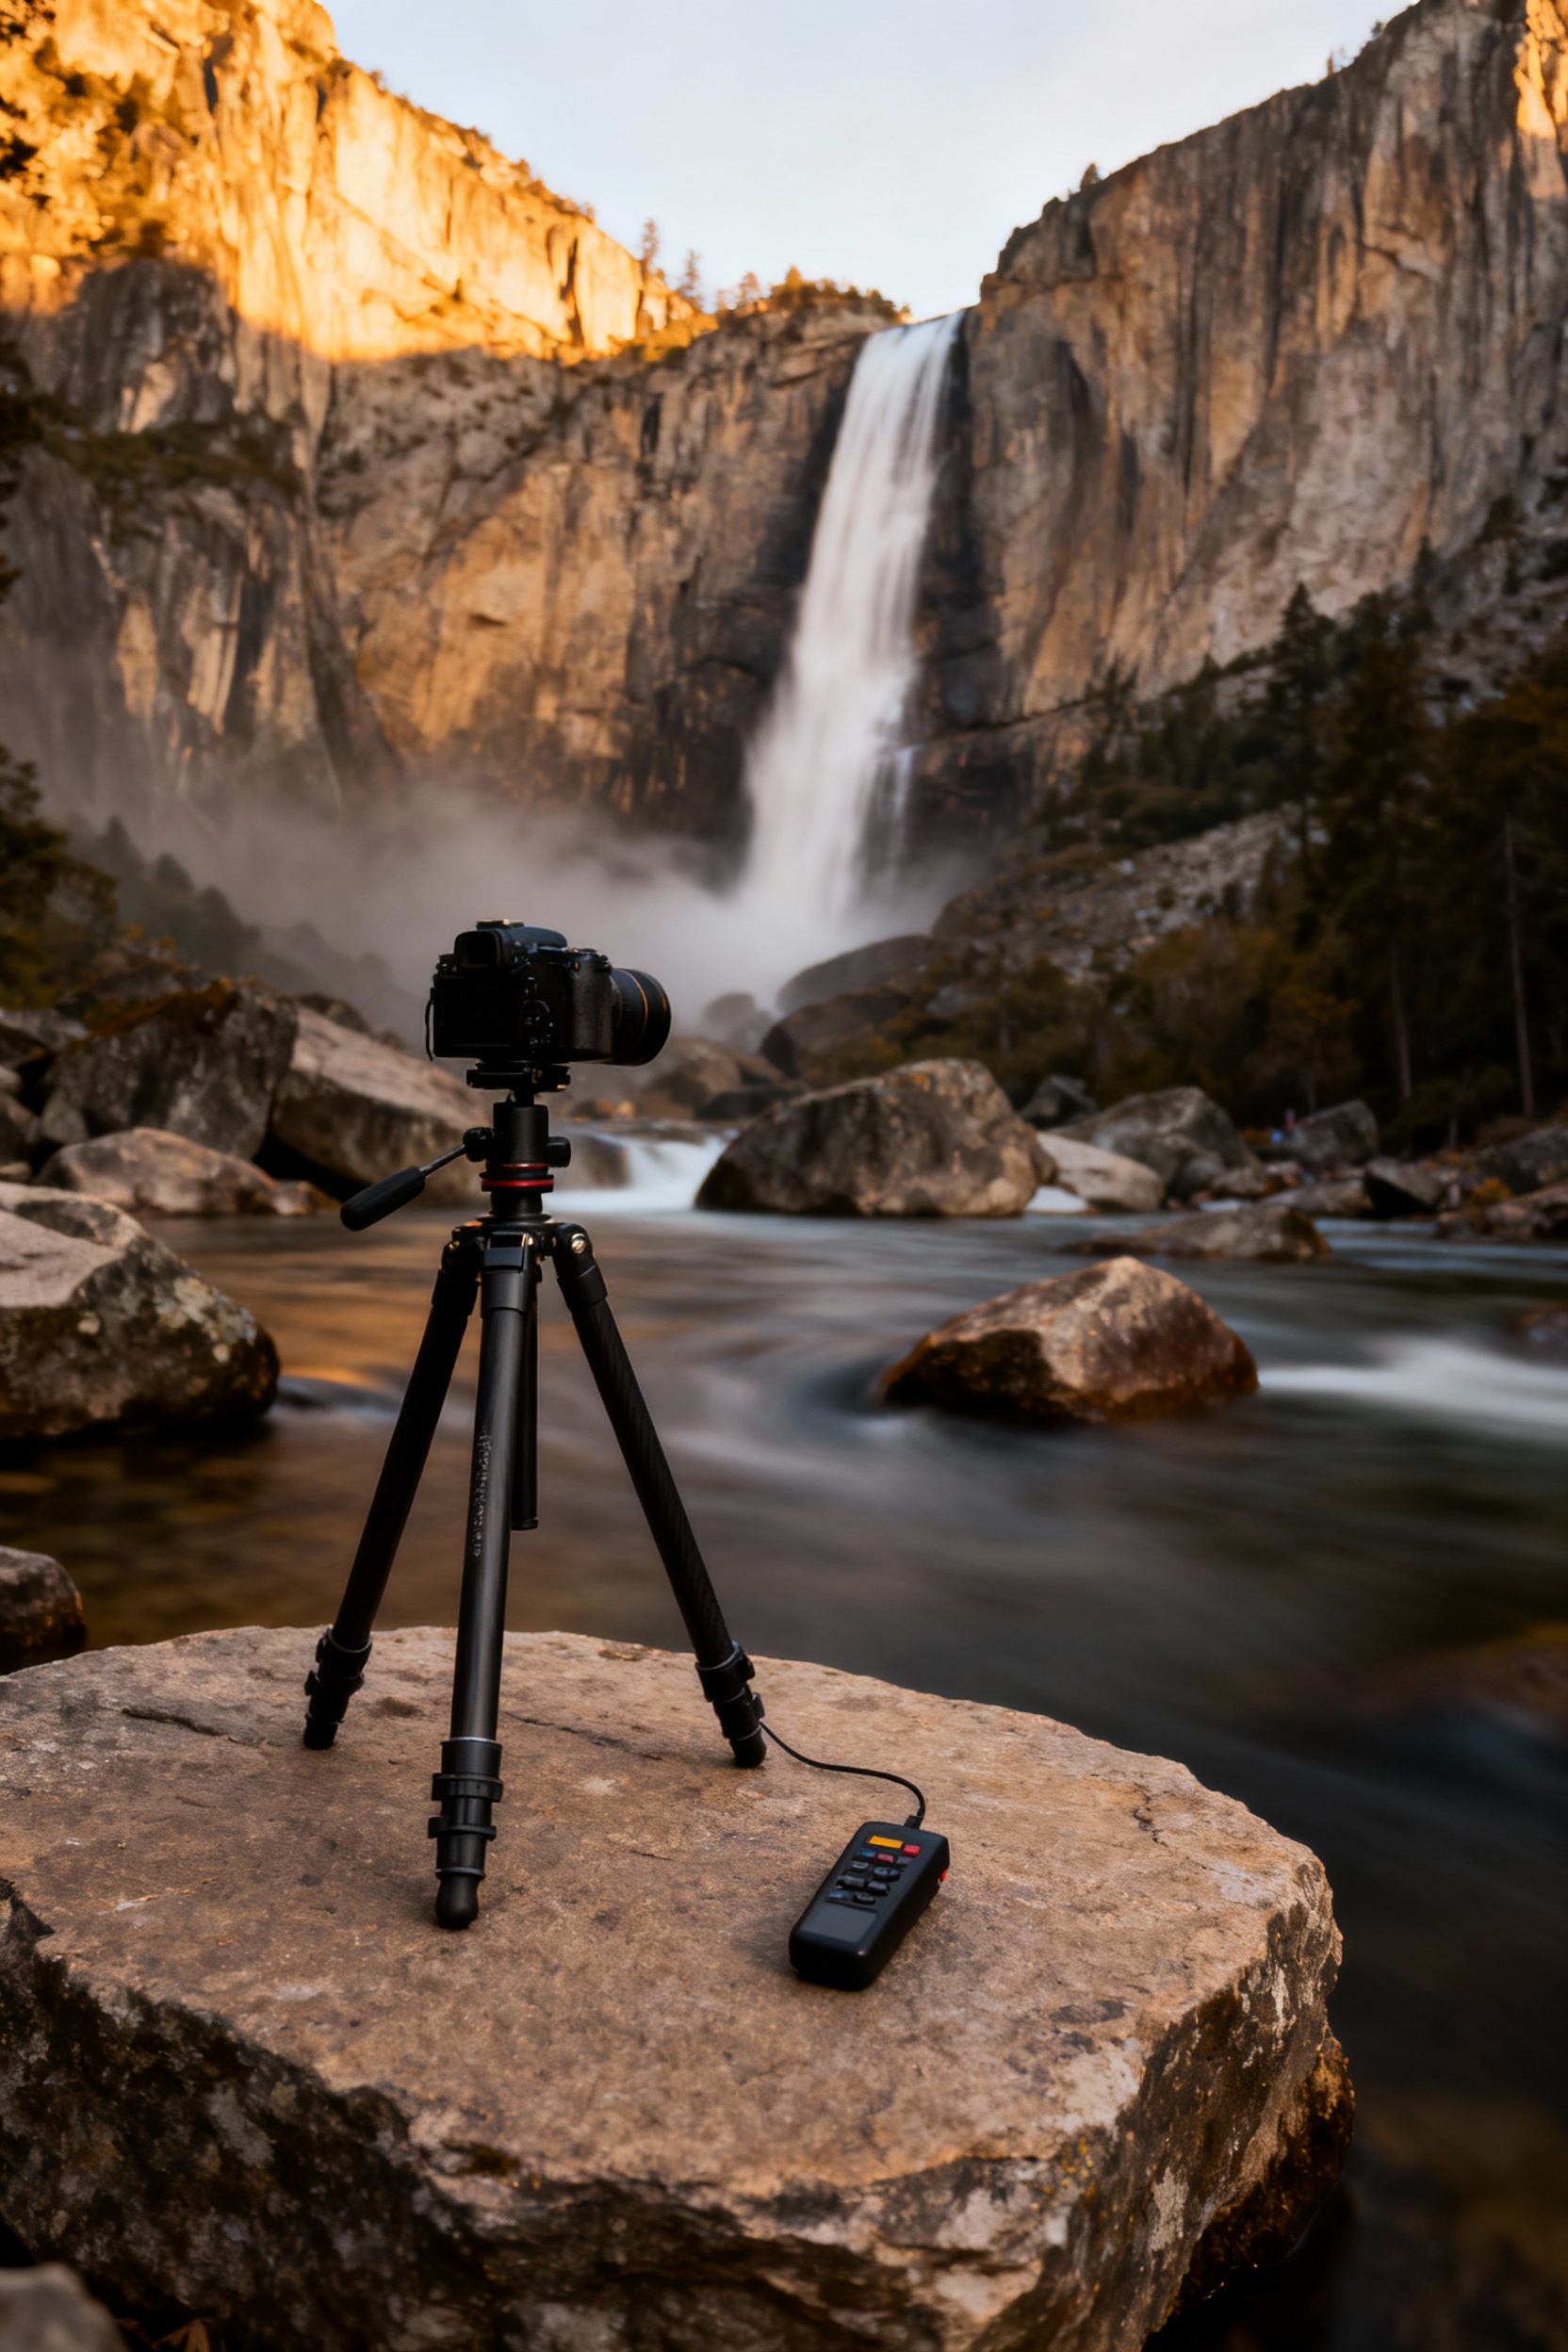
Waterfalls are Yosemite’s signature, but the vibe changes completely based on shutter speed. To freeze droplets at Yosemite Falls or Vernal Fall, aim for 1/500–1/1000; for that smooth, “silky” look, slow down to 1/4–1 second on a tripod. Bring a microfiber cloth (water mist happens), and consider packing a cheap rain cover or even a zip bag for your camera if you’re hiking the Mist Trail.
4) Set White Balance on Purpose (Don’t Let It Guess)
Auto White Balance can swing wildly between sunny granite, deep shade, and blue-hour skies, which makes your Yosemite set look inconsistent. Use Daylight for golden hour, Cloudy for overcast days (it warms the scene in a flattering way), and Shade if your shots look too cool under trees or canyon walls. If you’re bouncing between viewpoints quickly, lock white balance before you start shooting so your edits later are way easier.
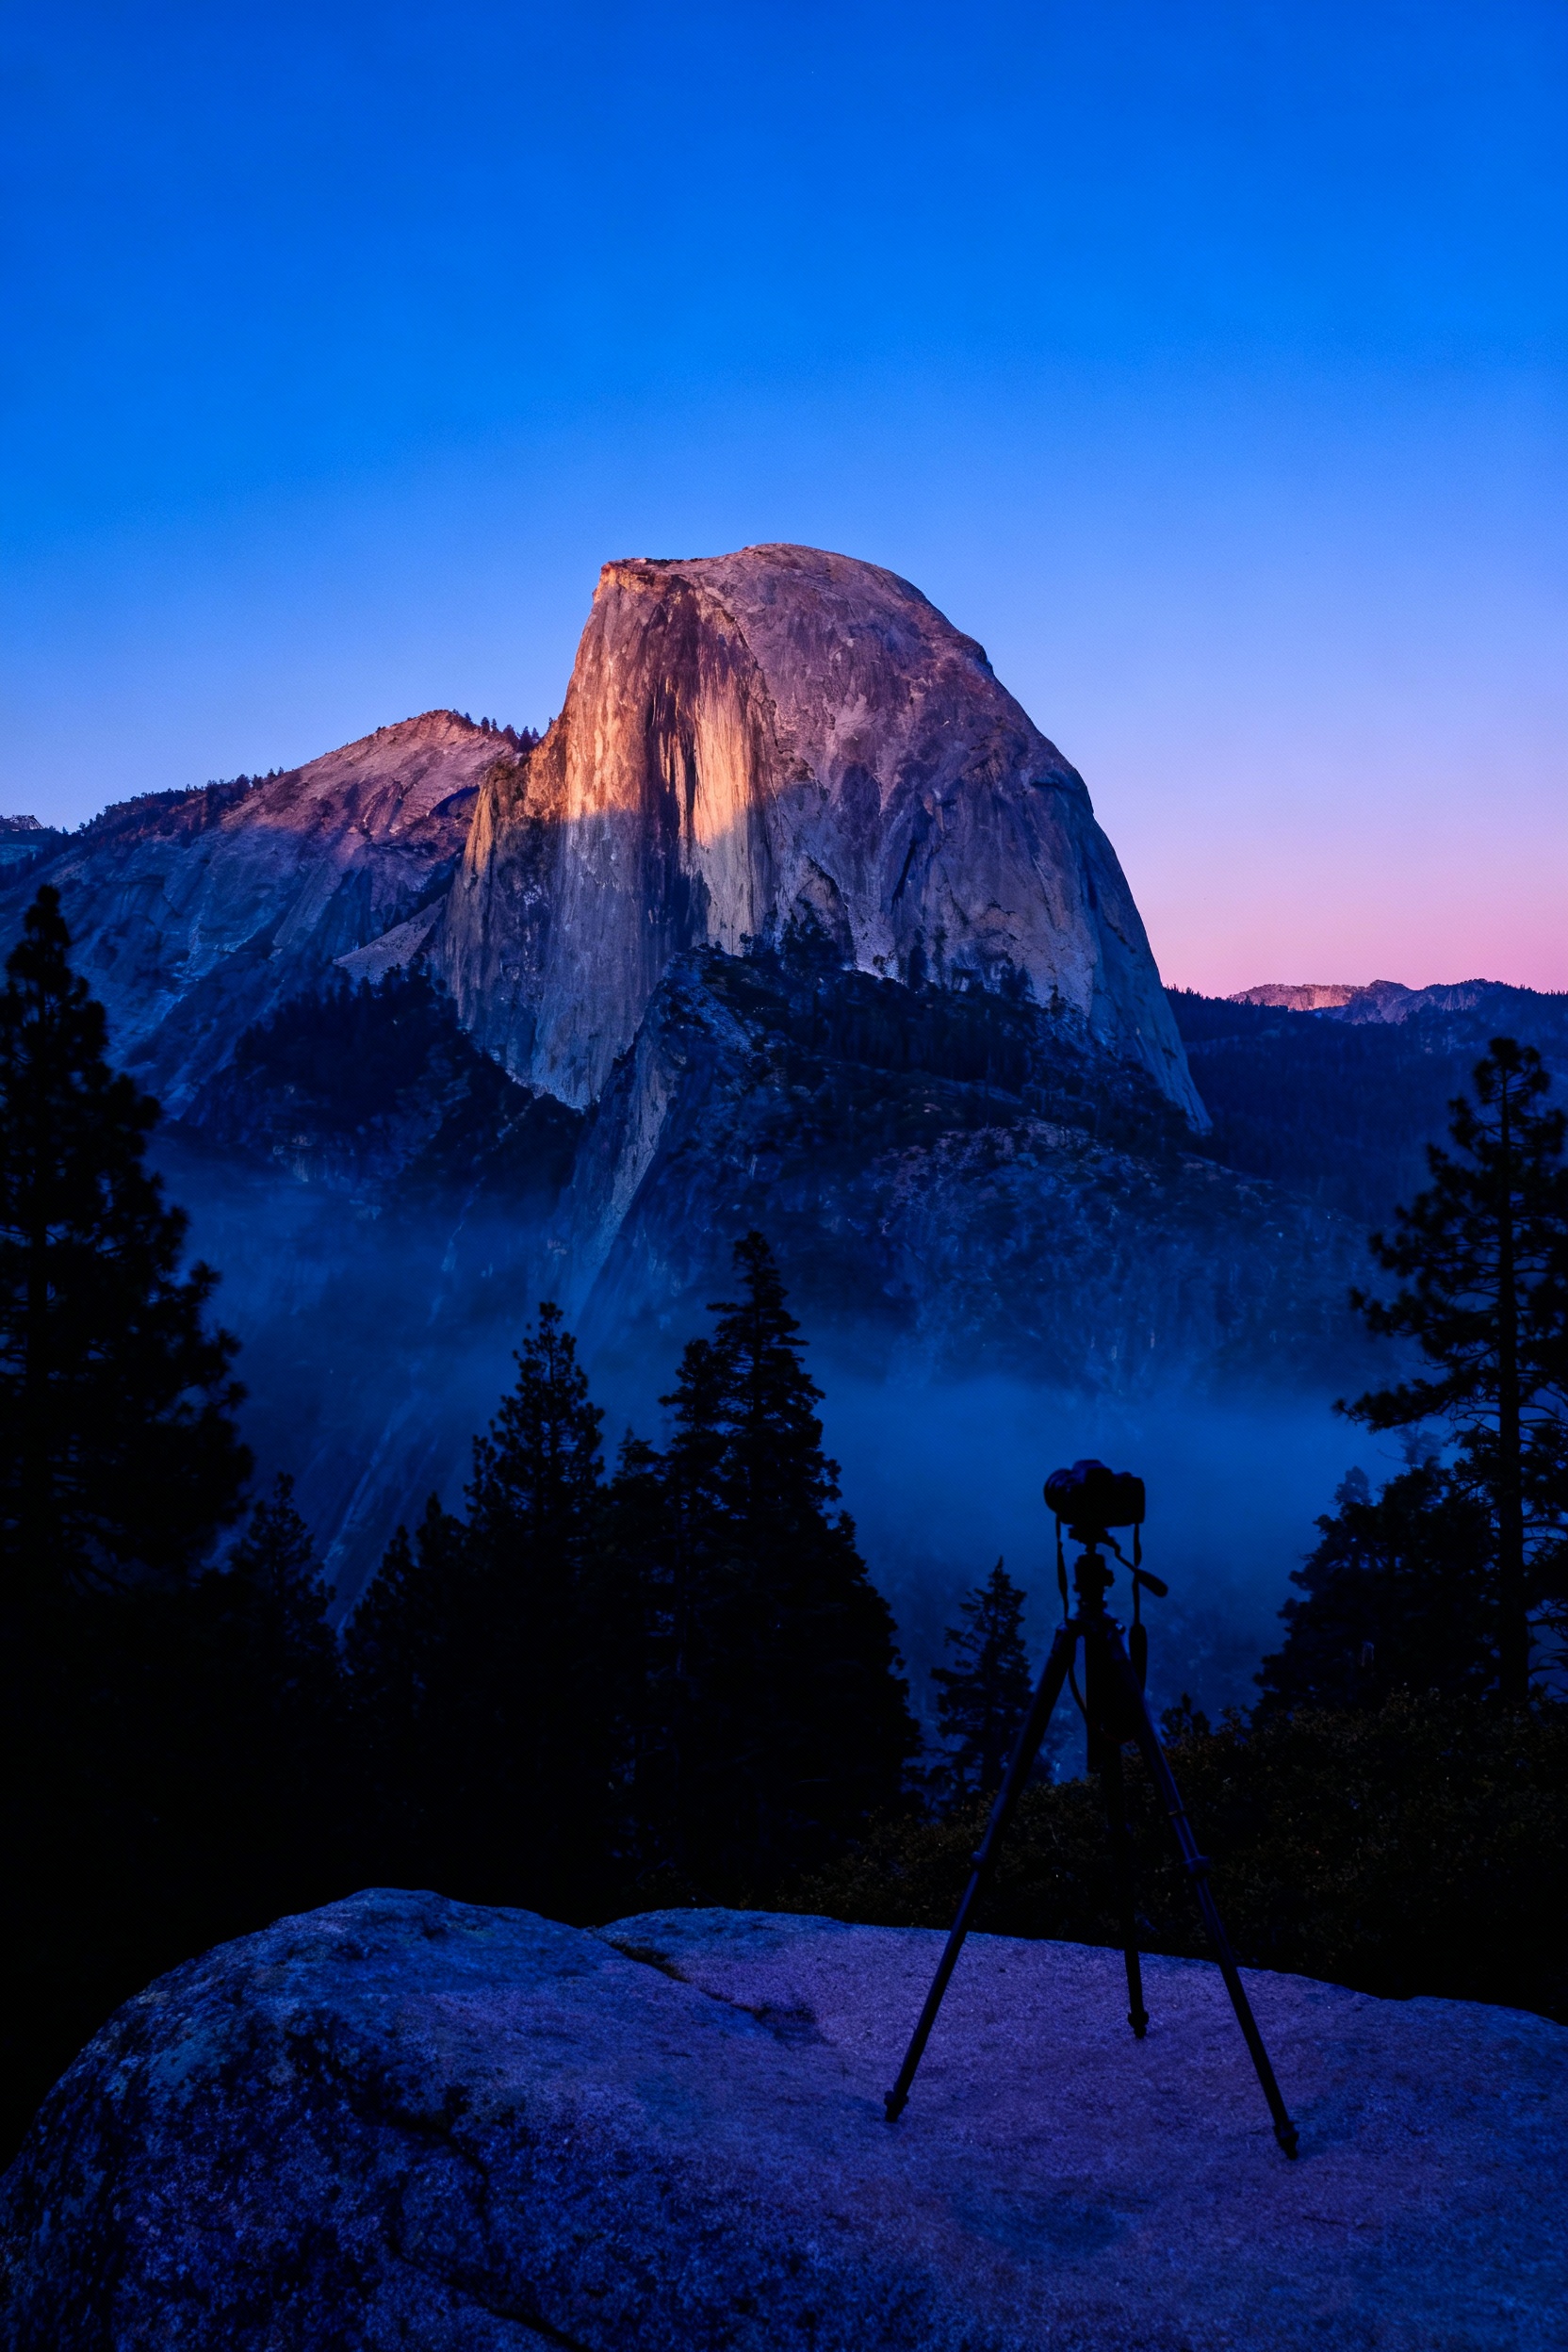
5) Turn On RAW (and Use Exposure Compensation + Histogram)
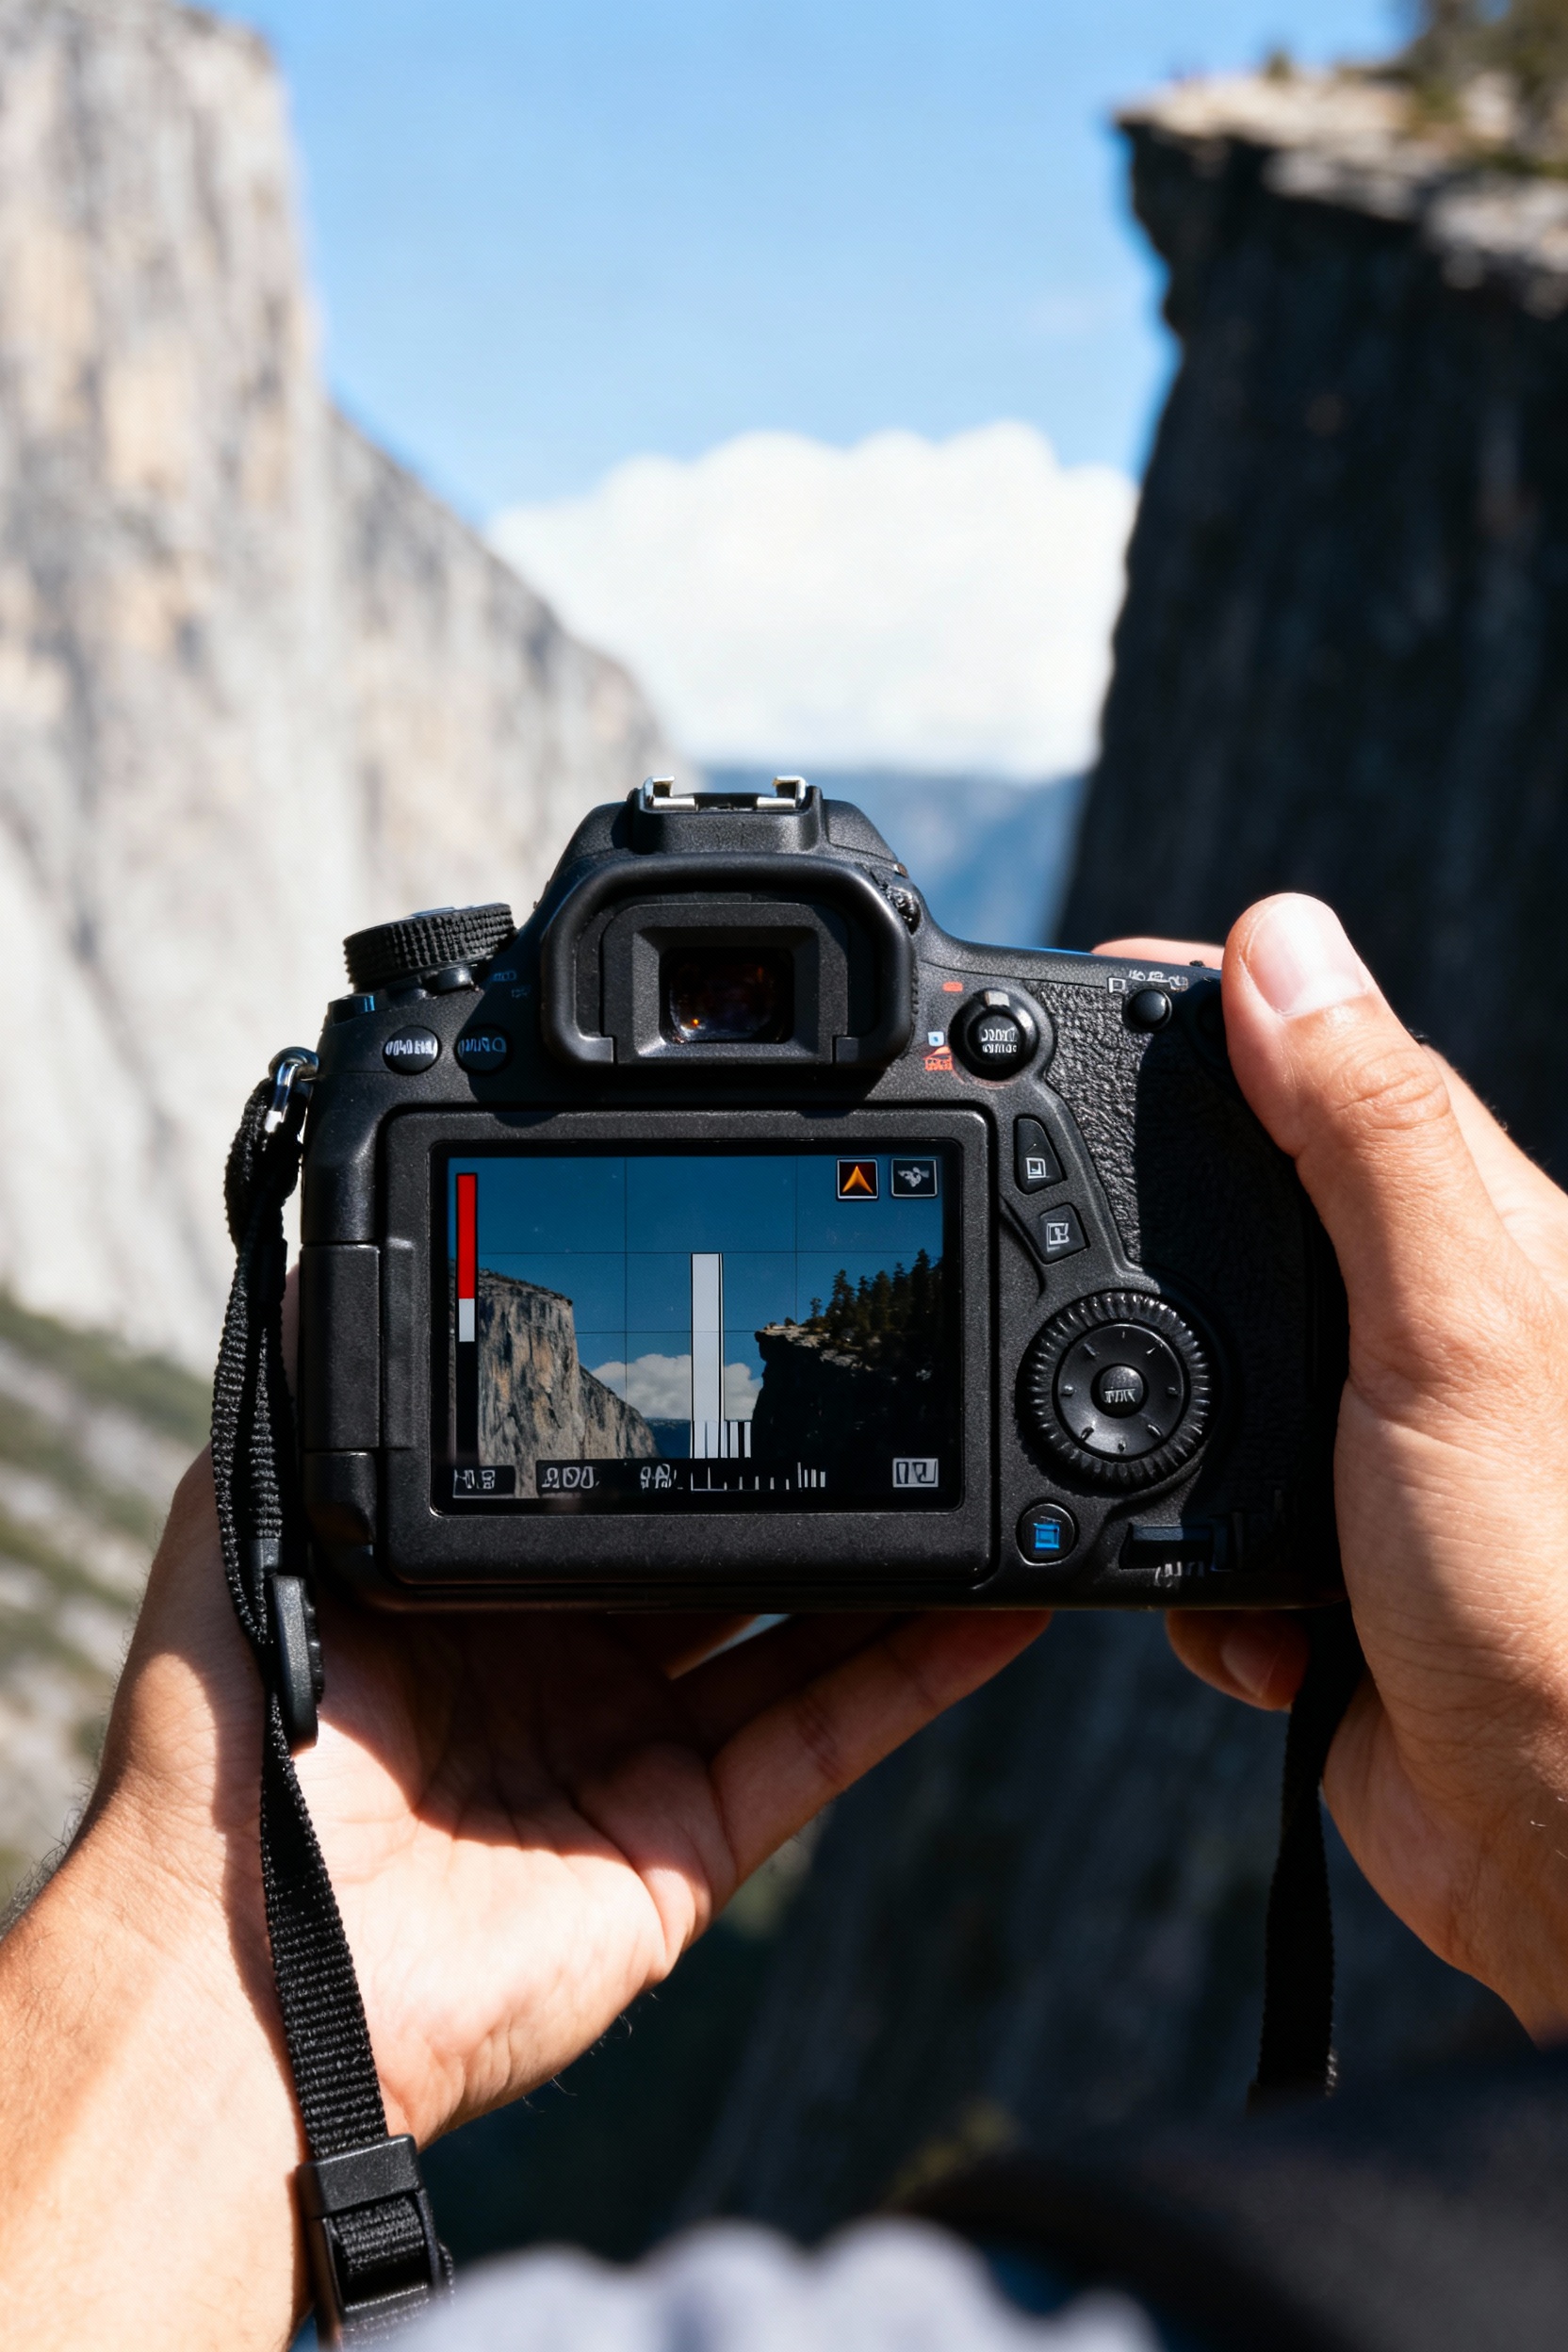
Yosemite has huge contrast—bright skies, dark cliffs—so RAW gives you more room to recover highlights and lift shadows without the image falling apart. Use exposure compensation to protect the sky (try -0.3 to -1.0 when clouds are bright), and check the histogram to avoid clipping on the right side. If you’re photographing Half Dome at sunset, expose for the highlights on the face of the rock, then let the valley go moodier—your photo will feel more natural.
FAQ
What are the best times of day to shoot in Yosemite?
Sunrise and the last 60–90 minutes before sunset are the easiest for “wow” photos because the light is softer and more directional. Midday can still work for waterfalls and forest details, but you’ll deal with harsher shadows at big viewpoints. If you can, plan one sunrise at Tunnel View and one sunset at Glacier Point (seasonal road access), then use midday for hikes.
Do I need a tripod in Yosemite?
Not for everything, but it’s the simplest way to level up your landscapes and waterfall shots, especially at sunrise, sunset, and in shaded areas. A lightweight travel tripod is enough for most viewpoints; you don’t need a giant studio setup. If you don’t have one, stabilize on a rock, use a jacket as a cushion, and set a 2-second timer to reduce shake.
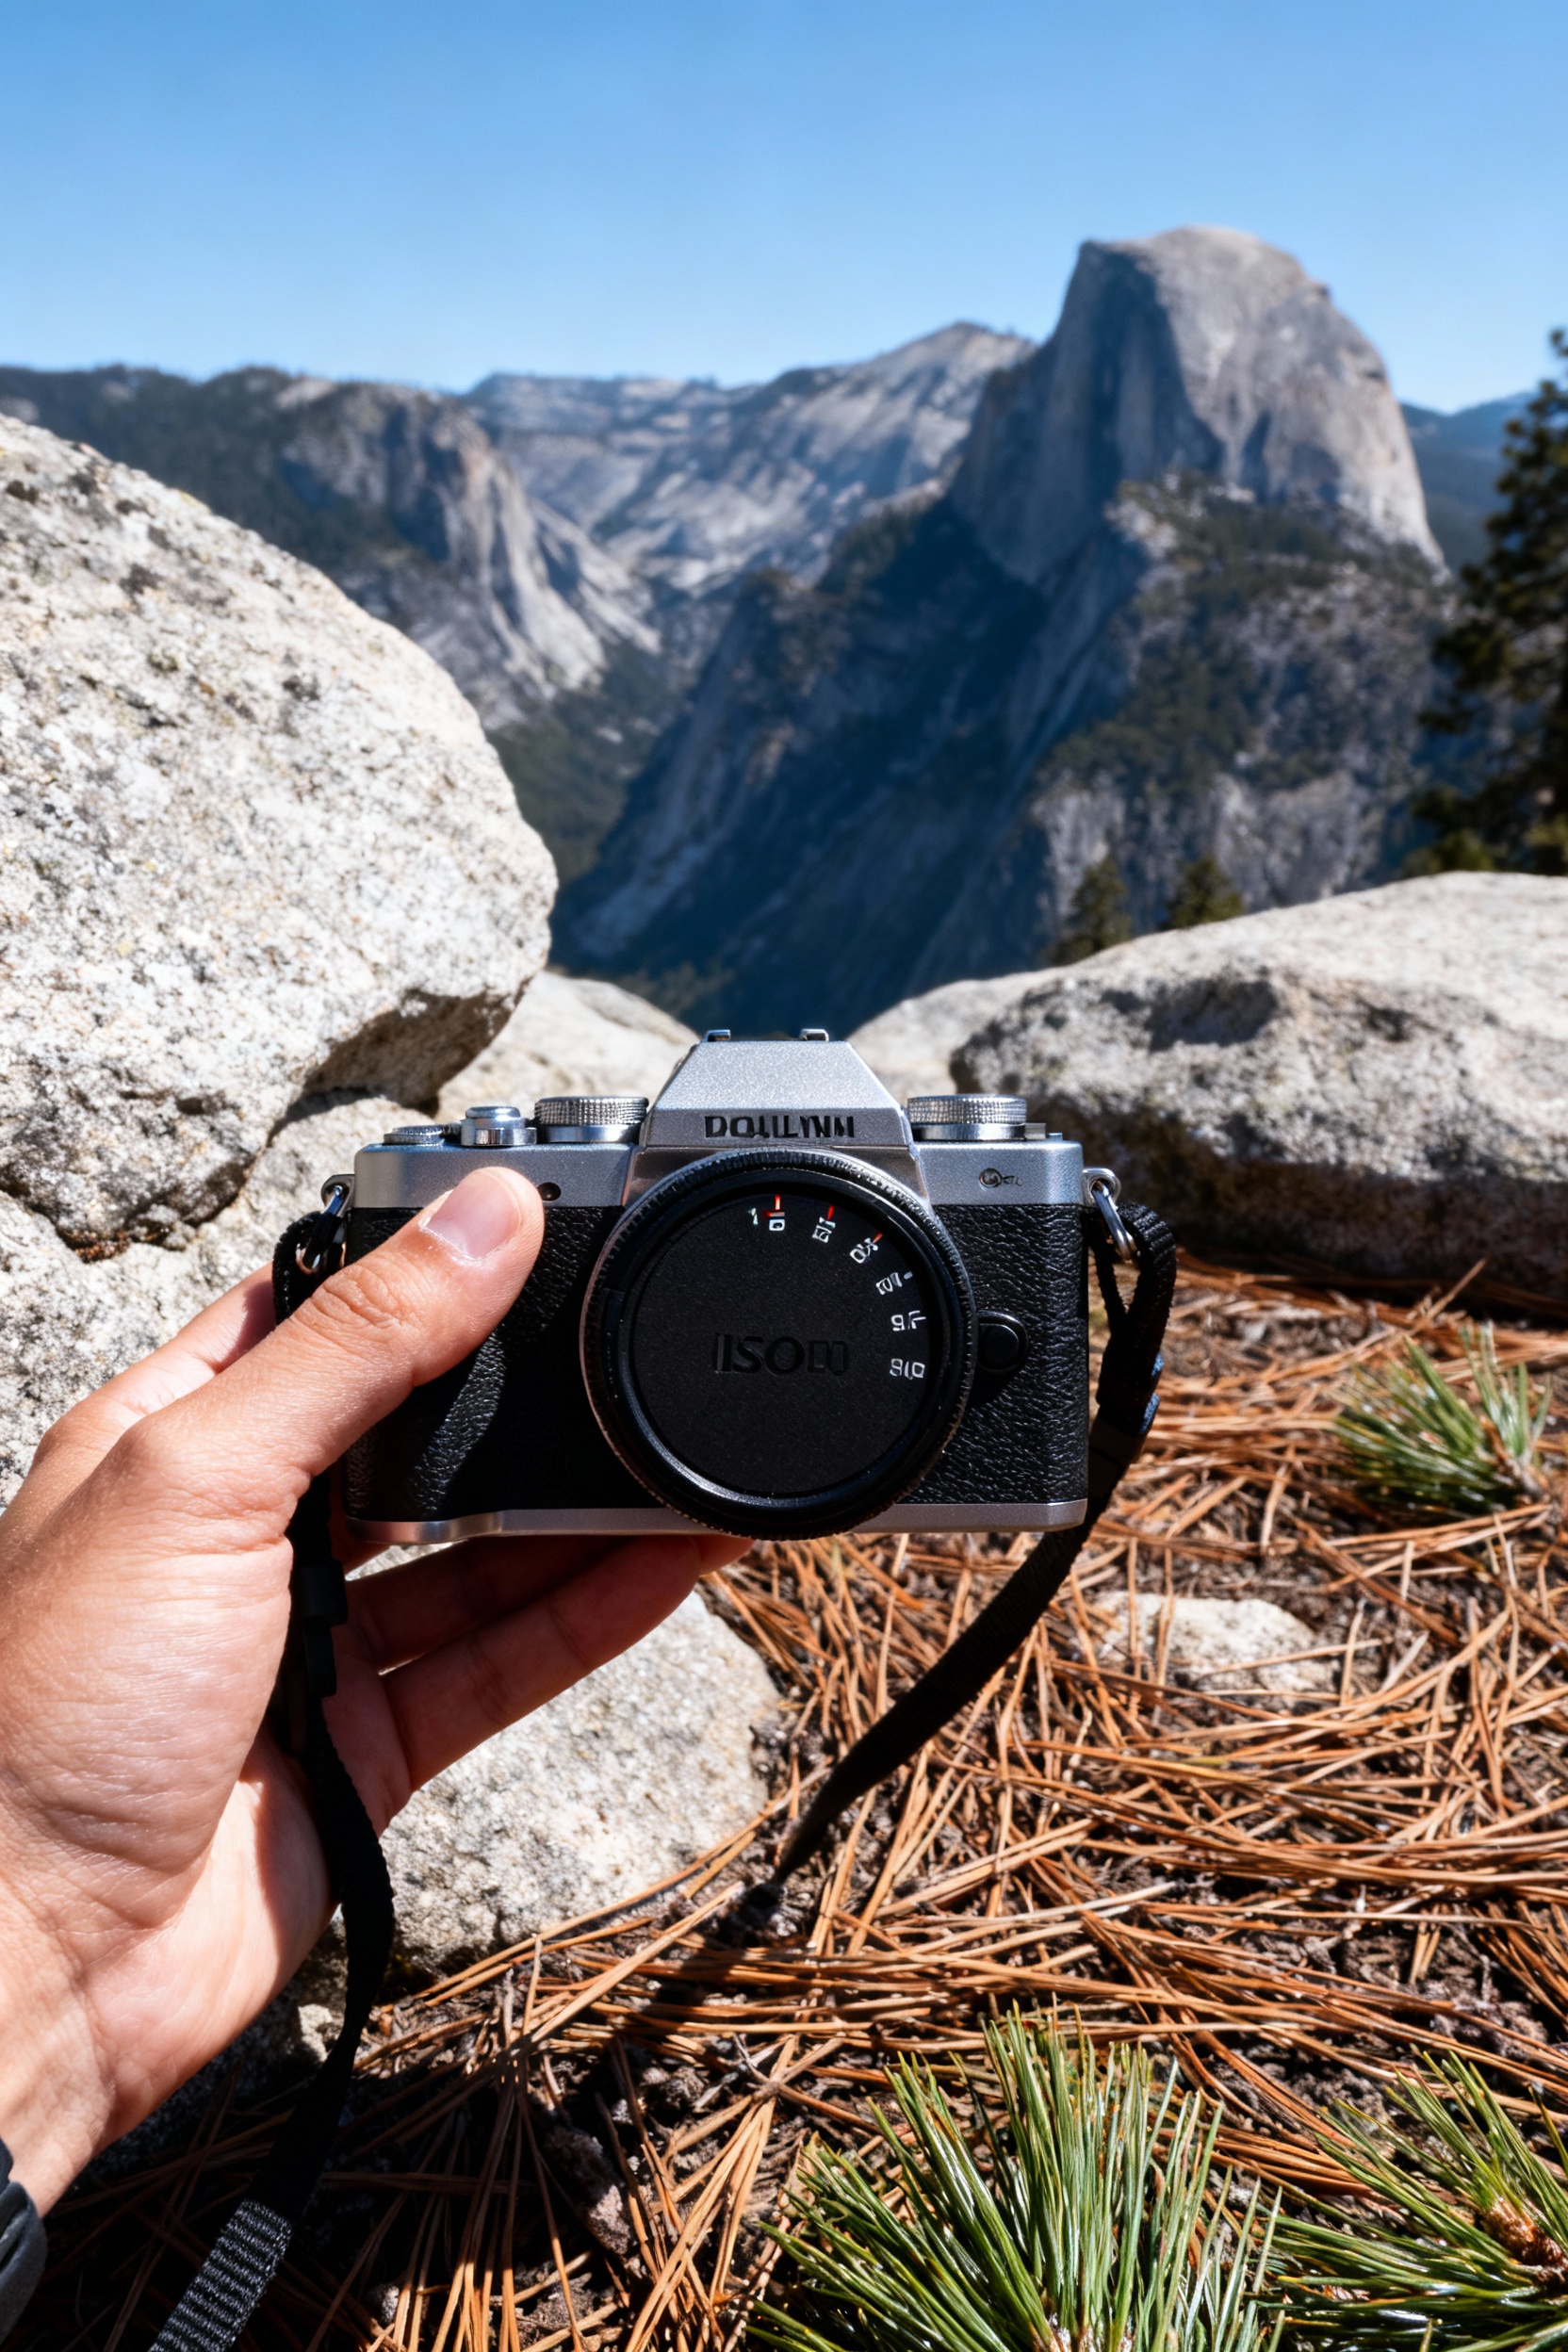
What lens should I bring for Yosemite photography?
If you only bring one, a 24–70mm (or similar) is the most versatile for viewpoints, river scenes, and general travel shots. Add a wide angle (16–35mm) if you love big, sweeping landscapes, and a telephoto (70–200mm) if you want to isolate details like patterns in the cliffs or distant waterfall sections. For phone shooters, a small clip-on tele lens can help, but the biggest upgrade is learning exposure control.
Where are the most beginner-friendly photo spots?
Tunnel View is the easiest iconic view with minimal walking, and Valley View is great for reflective river shots when the water is calm. Sentinel Bridge is a solid, simple composition for Half Dome (especially in cooler months when crowds are lighter). If you want a short, scenic stroll, try the Lower Yosemite Fall trail for close-up waterfall photos in spring.
How do I avoid crowds in my photos?
Go early (think: arrive before sunrise) or aim for shoulder seasons and weekdays when possible. Use a longer focal length to crop out busy areas, and wait a minute—people naturally move, and you’ll get a clean frame. If you’re photographing popular spots like Tunnel View, step a little away from the main railings and look for side angles that still capture the valley without the line of tripods.