
Yosemite is one of those places where your camera roll will accidentally become a whole personality. The best part: you can make epic photos in any season if you plan around light, access, and a few key “don’t learn this the hard way” details.
These five tips are built for first-timers—simple, practical, and designed to help you come home with shots that look like you knew exactly what you were doing.
Top 5
1) Chase the Light: Golden Hour + Blue Hour (Yes, Both)
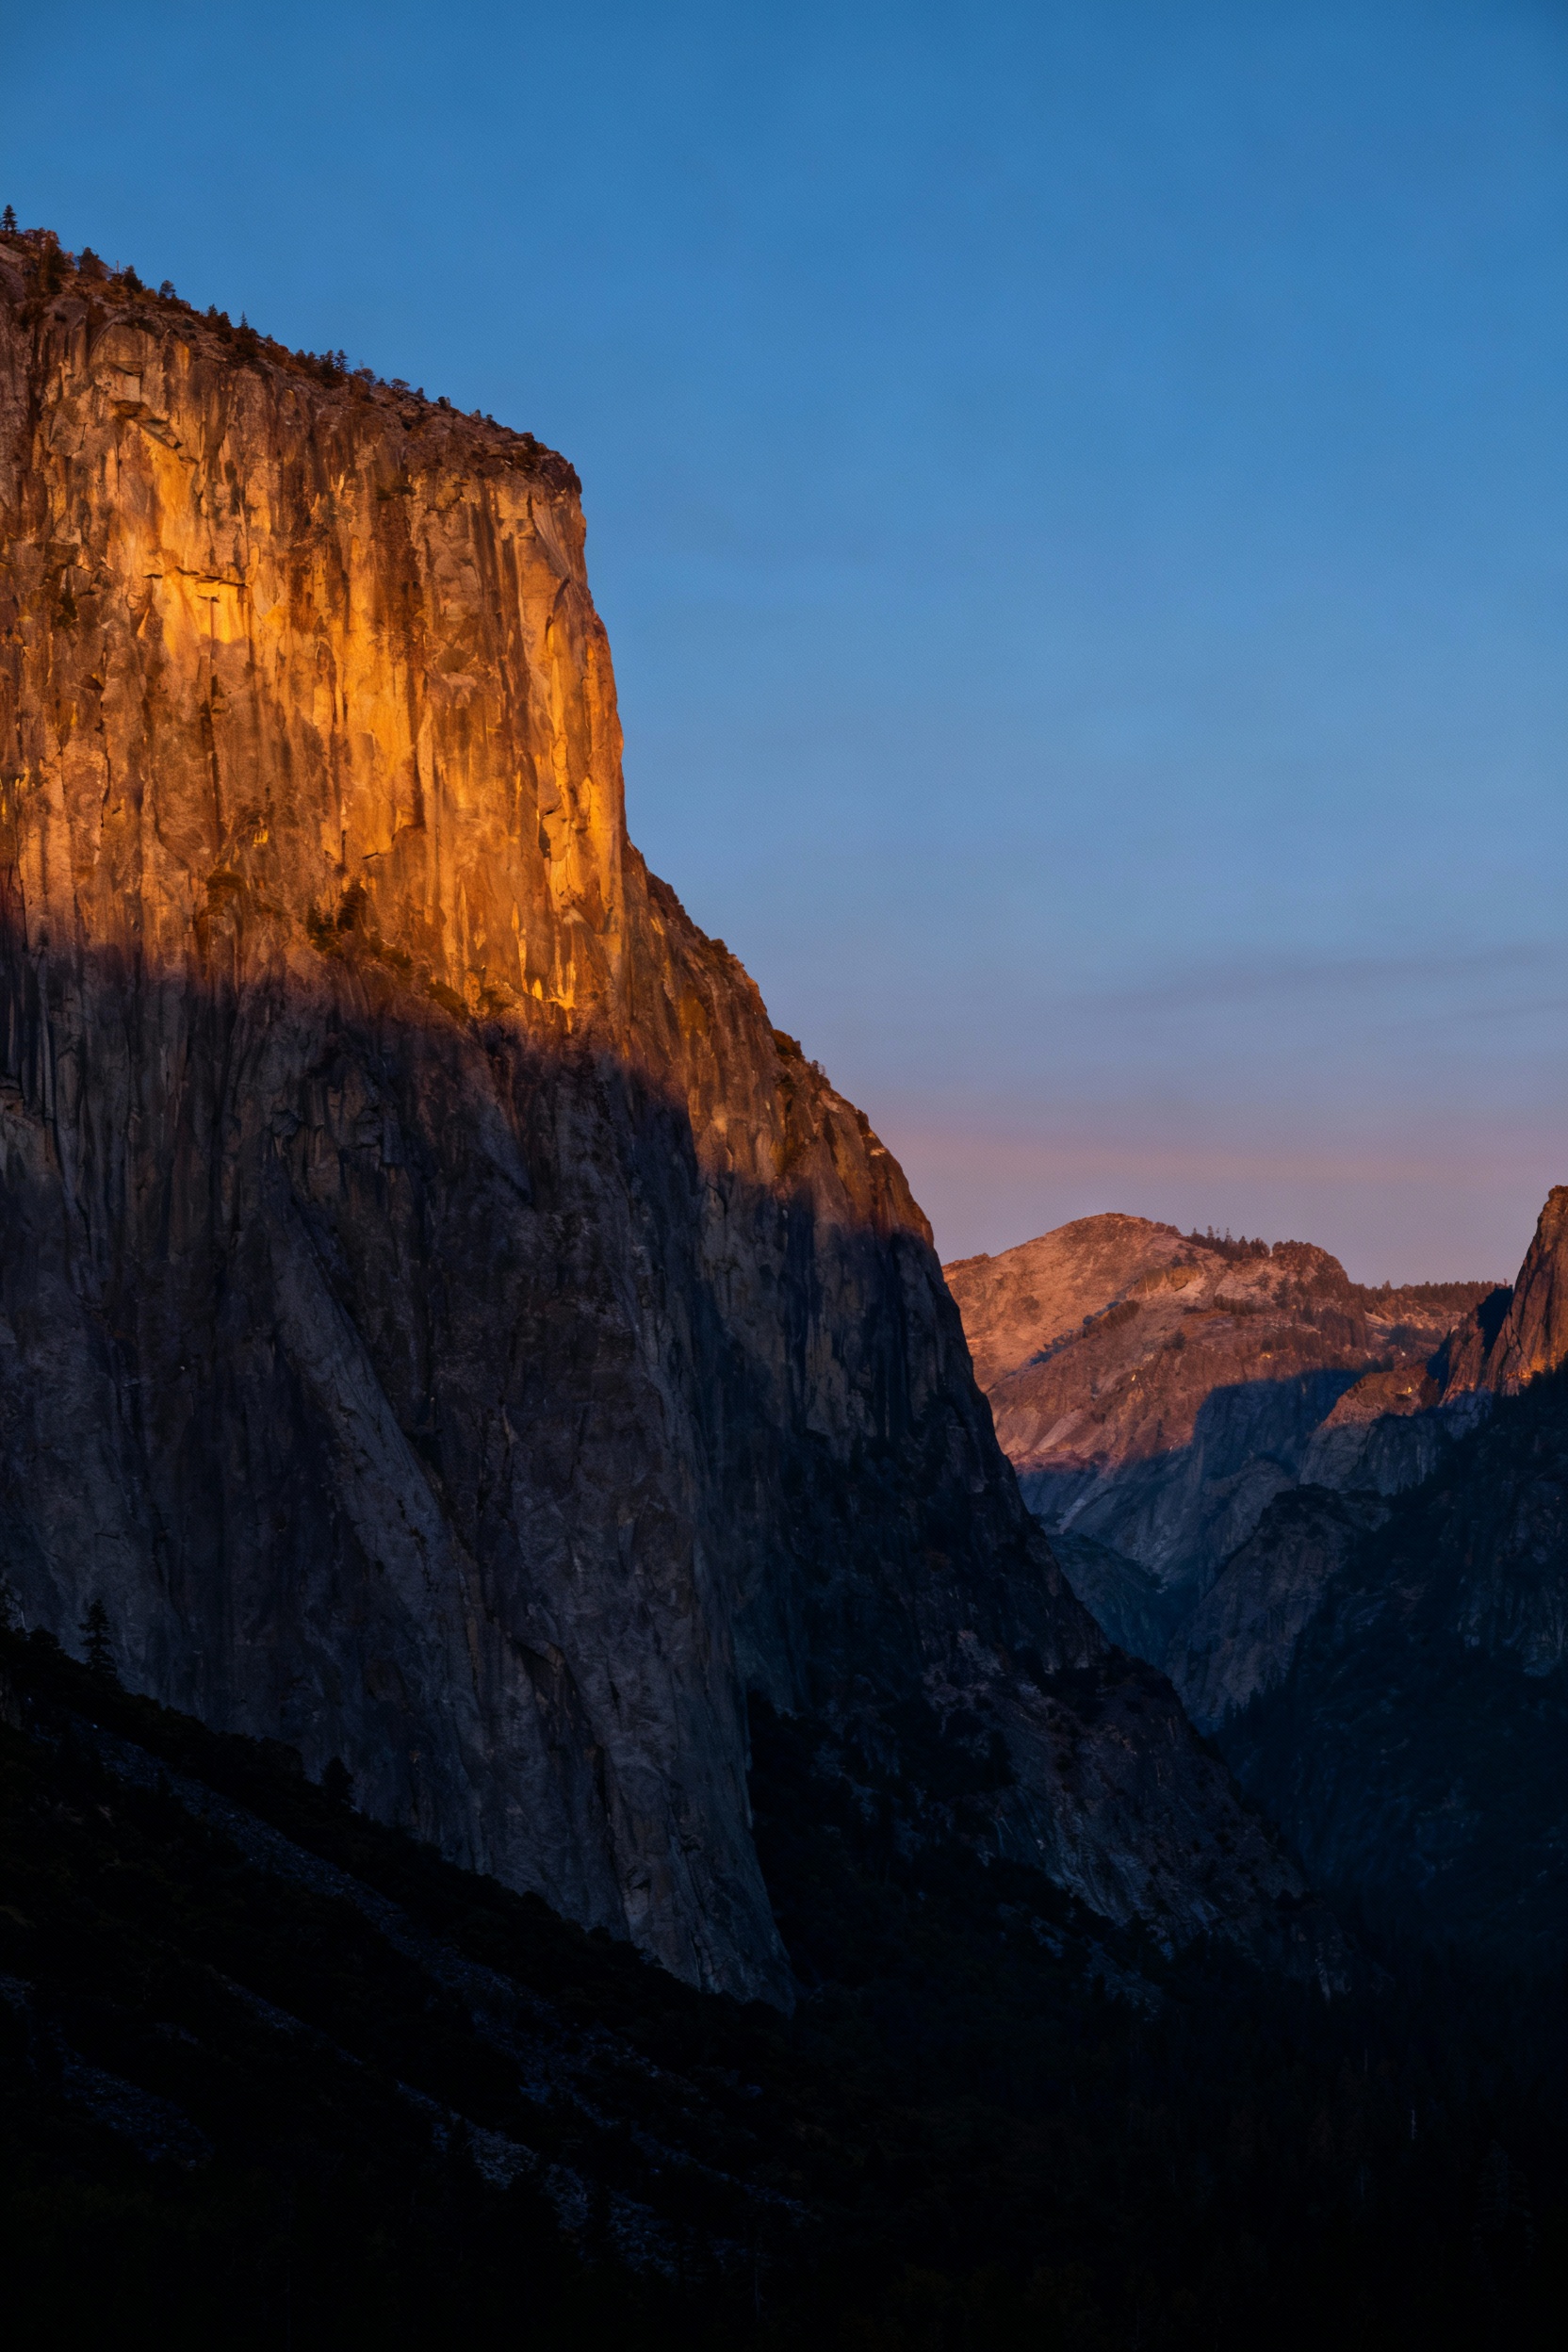
Plan your day around sunrise and sunset, not lunch reservations. In Yosemite Valley, golden hour hits icons like El Capitan and Half Dome with warm side-light, while blue hour adds that calm, glowy vibe after the sun drops. Arrive 30–45 minutes early to set up, and use a tripod if you want crisp low-light landscapes without cranking your ISO.
2) Lock in Your Icon Shots with Easy, High-Reward Viewpoints
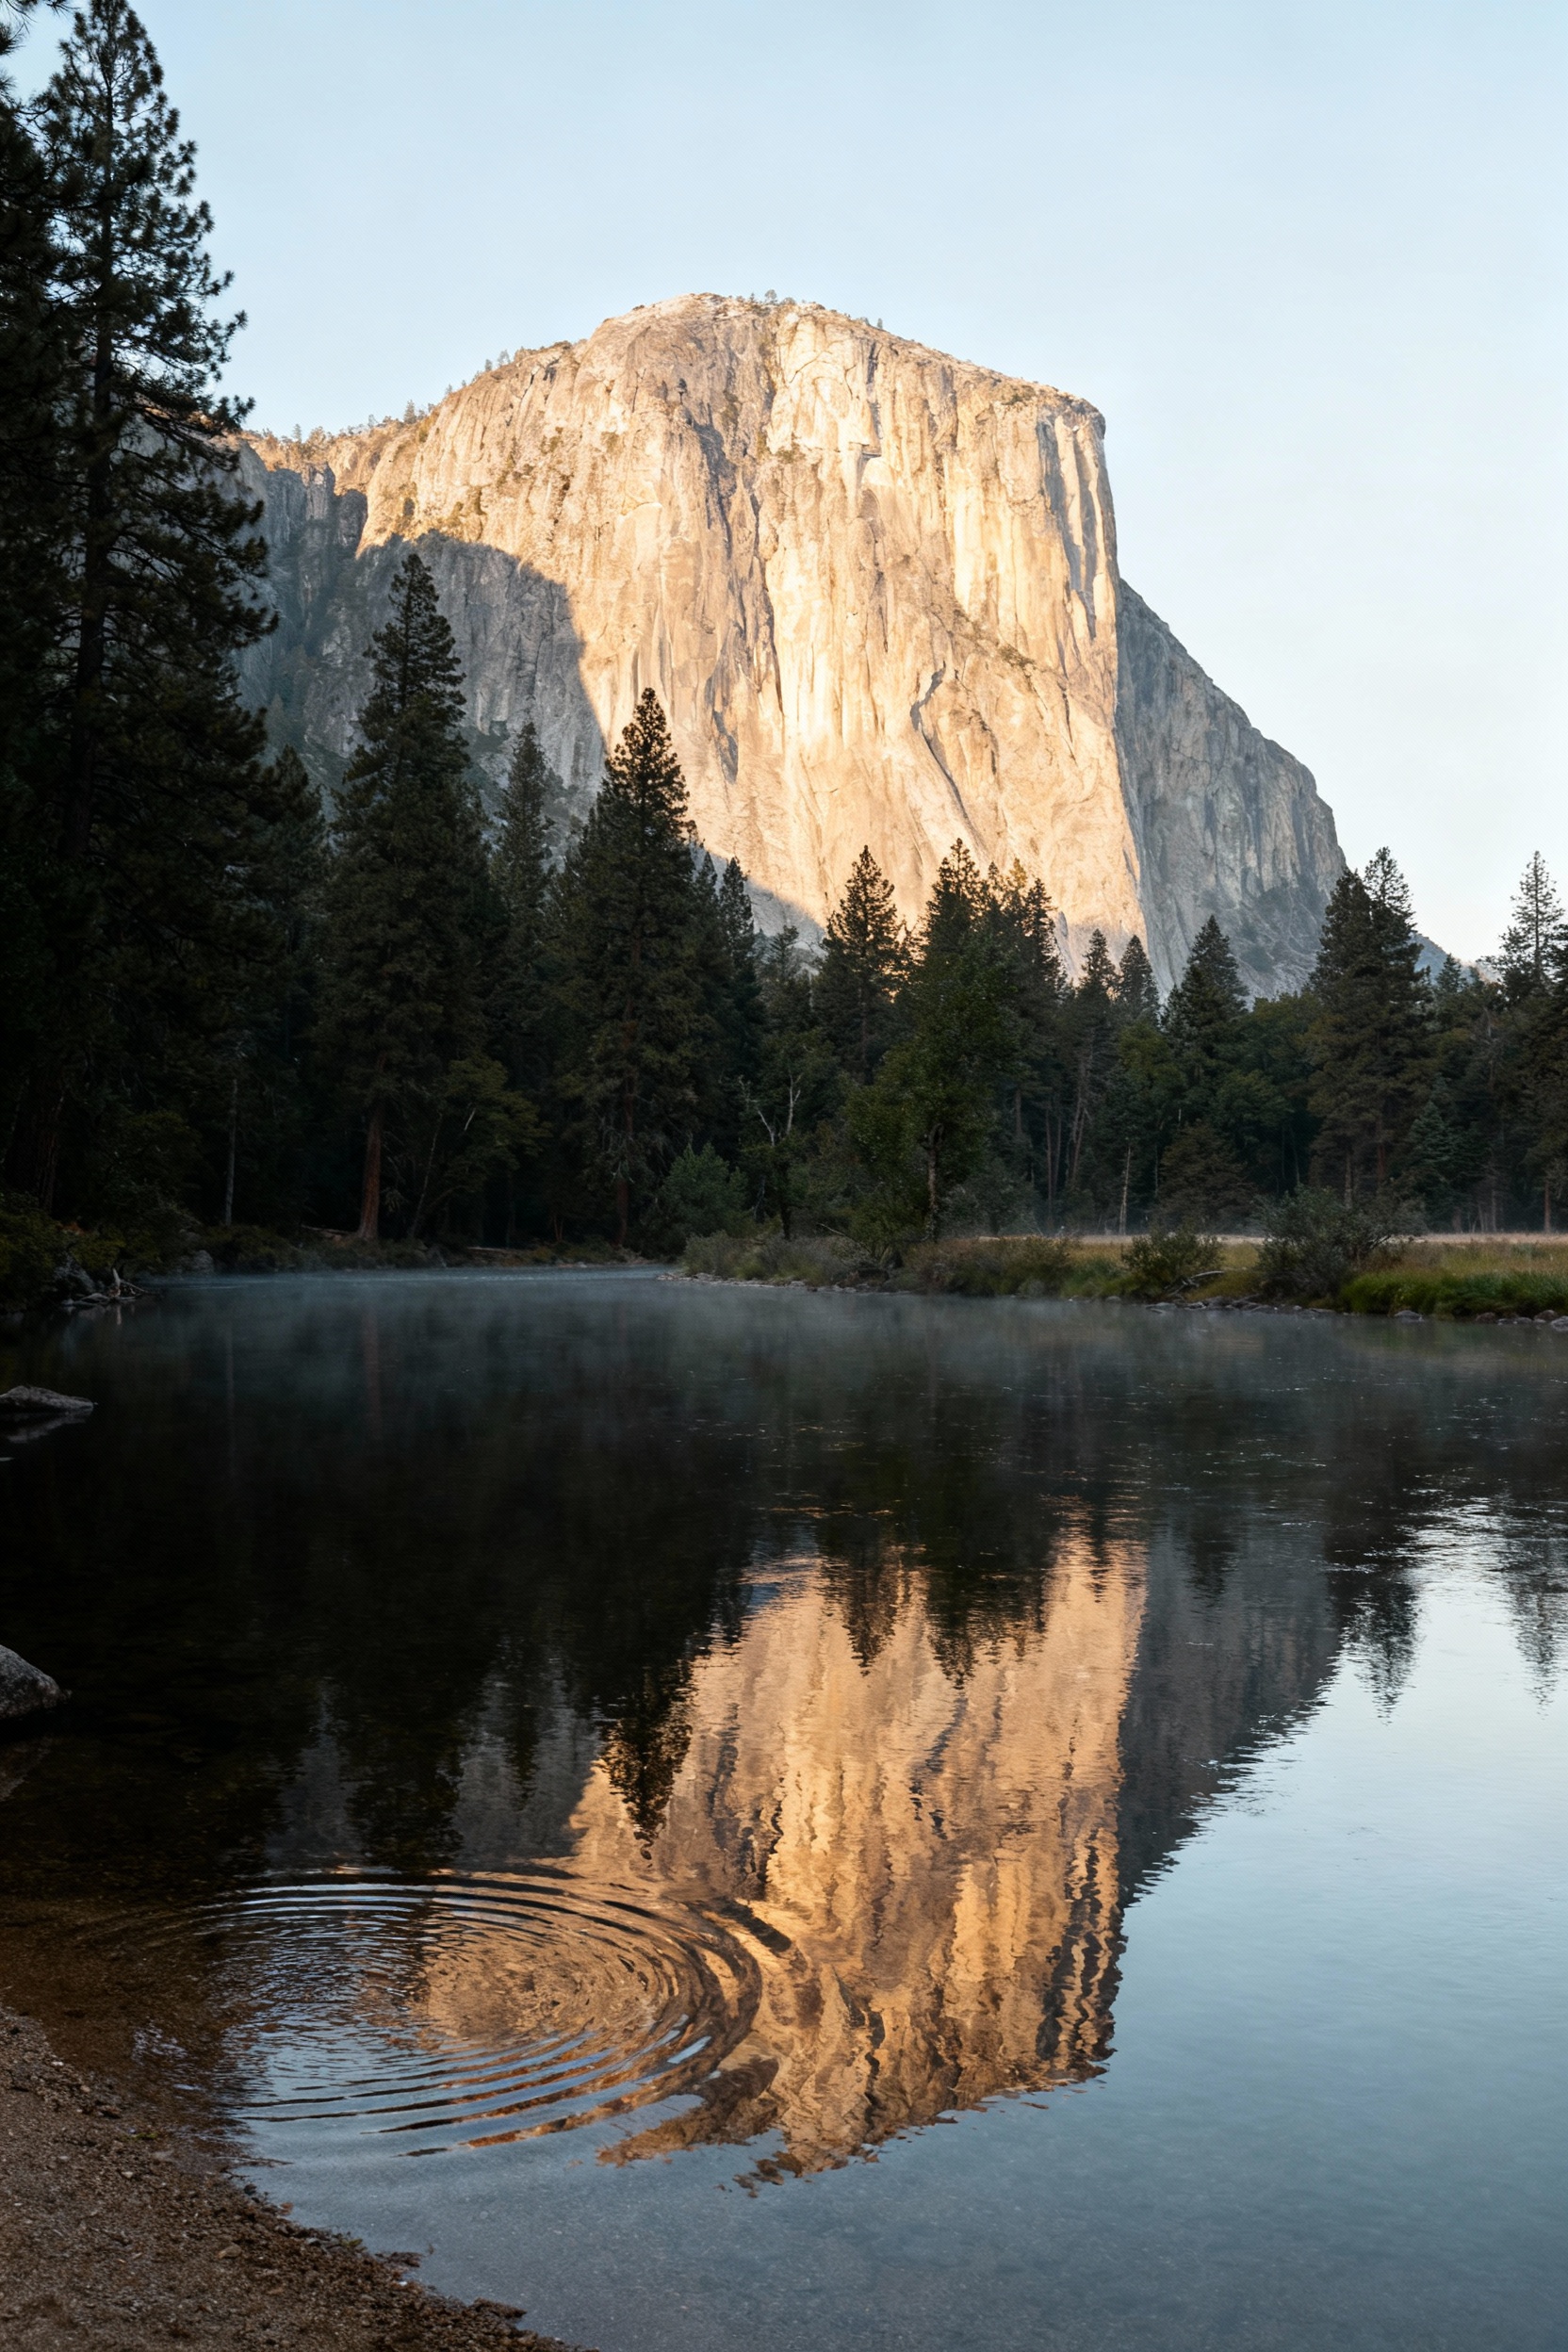
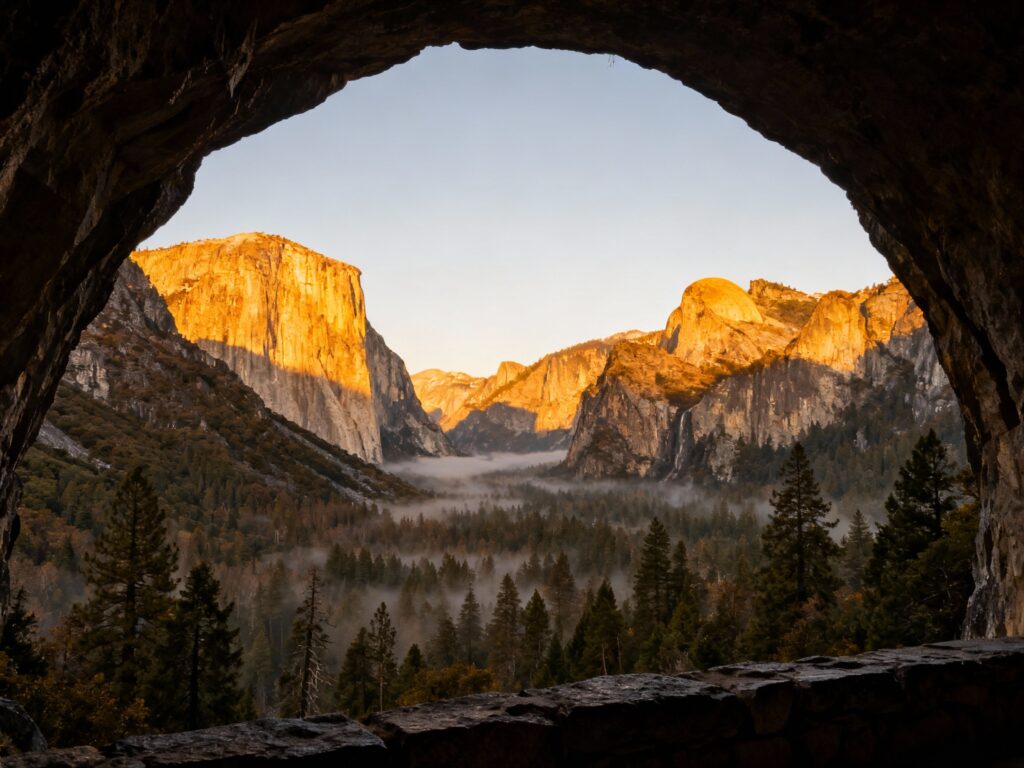
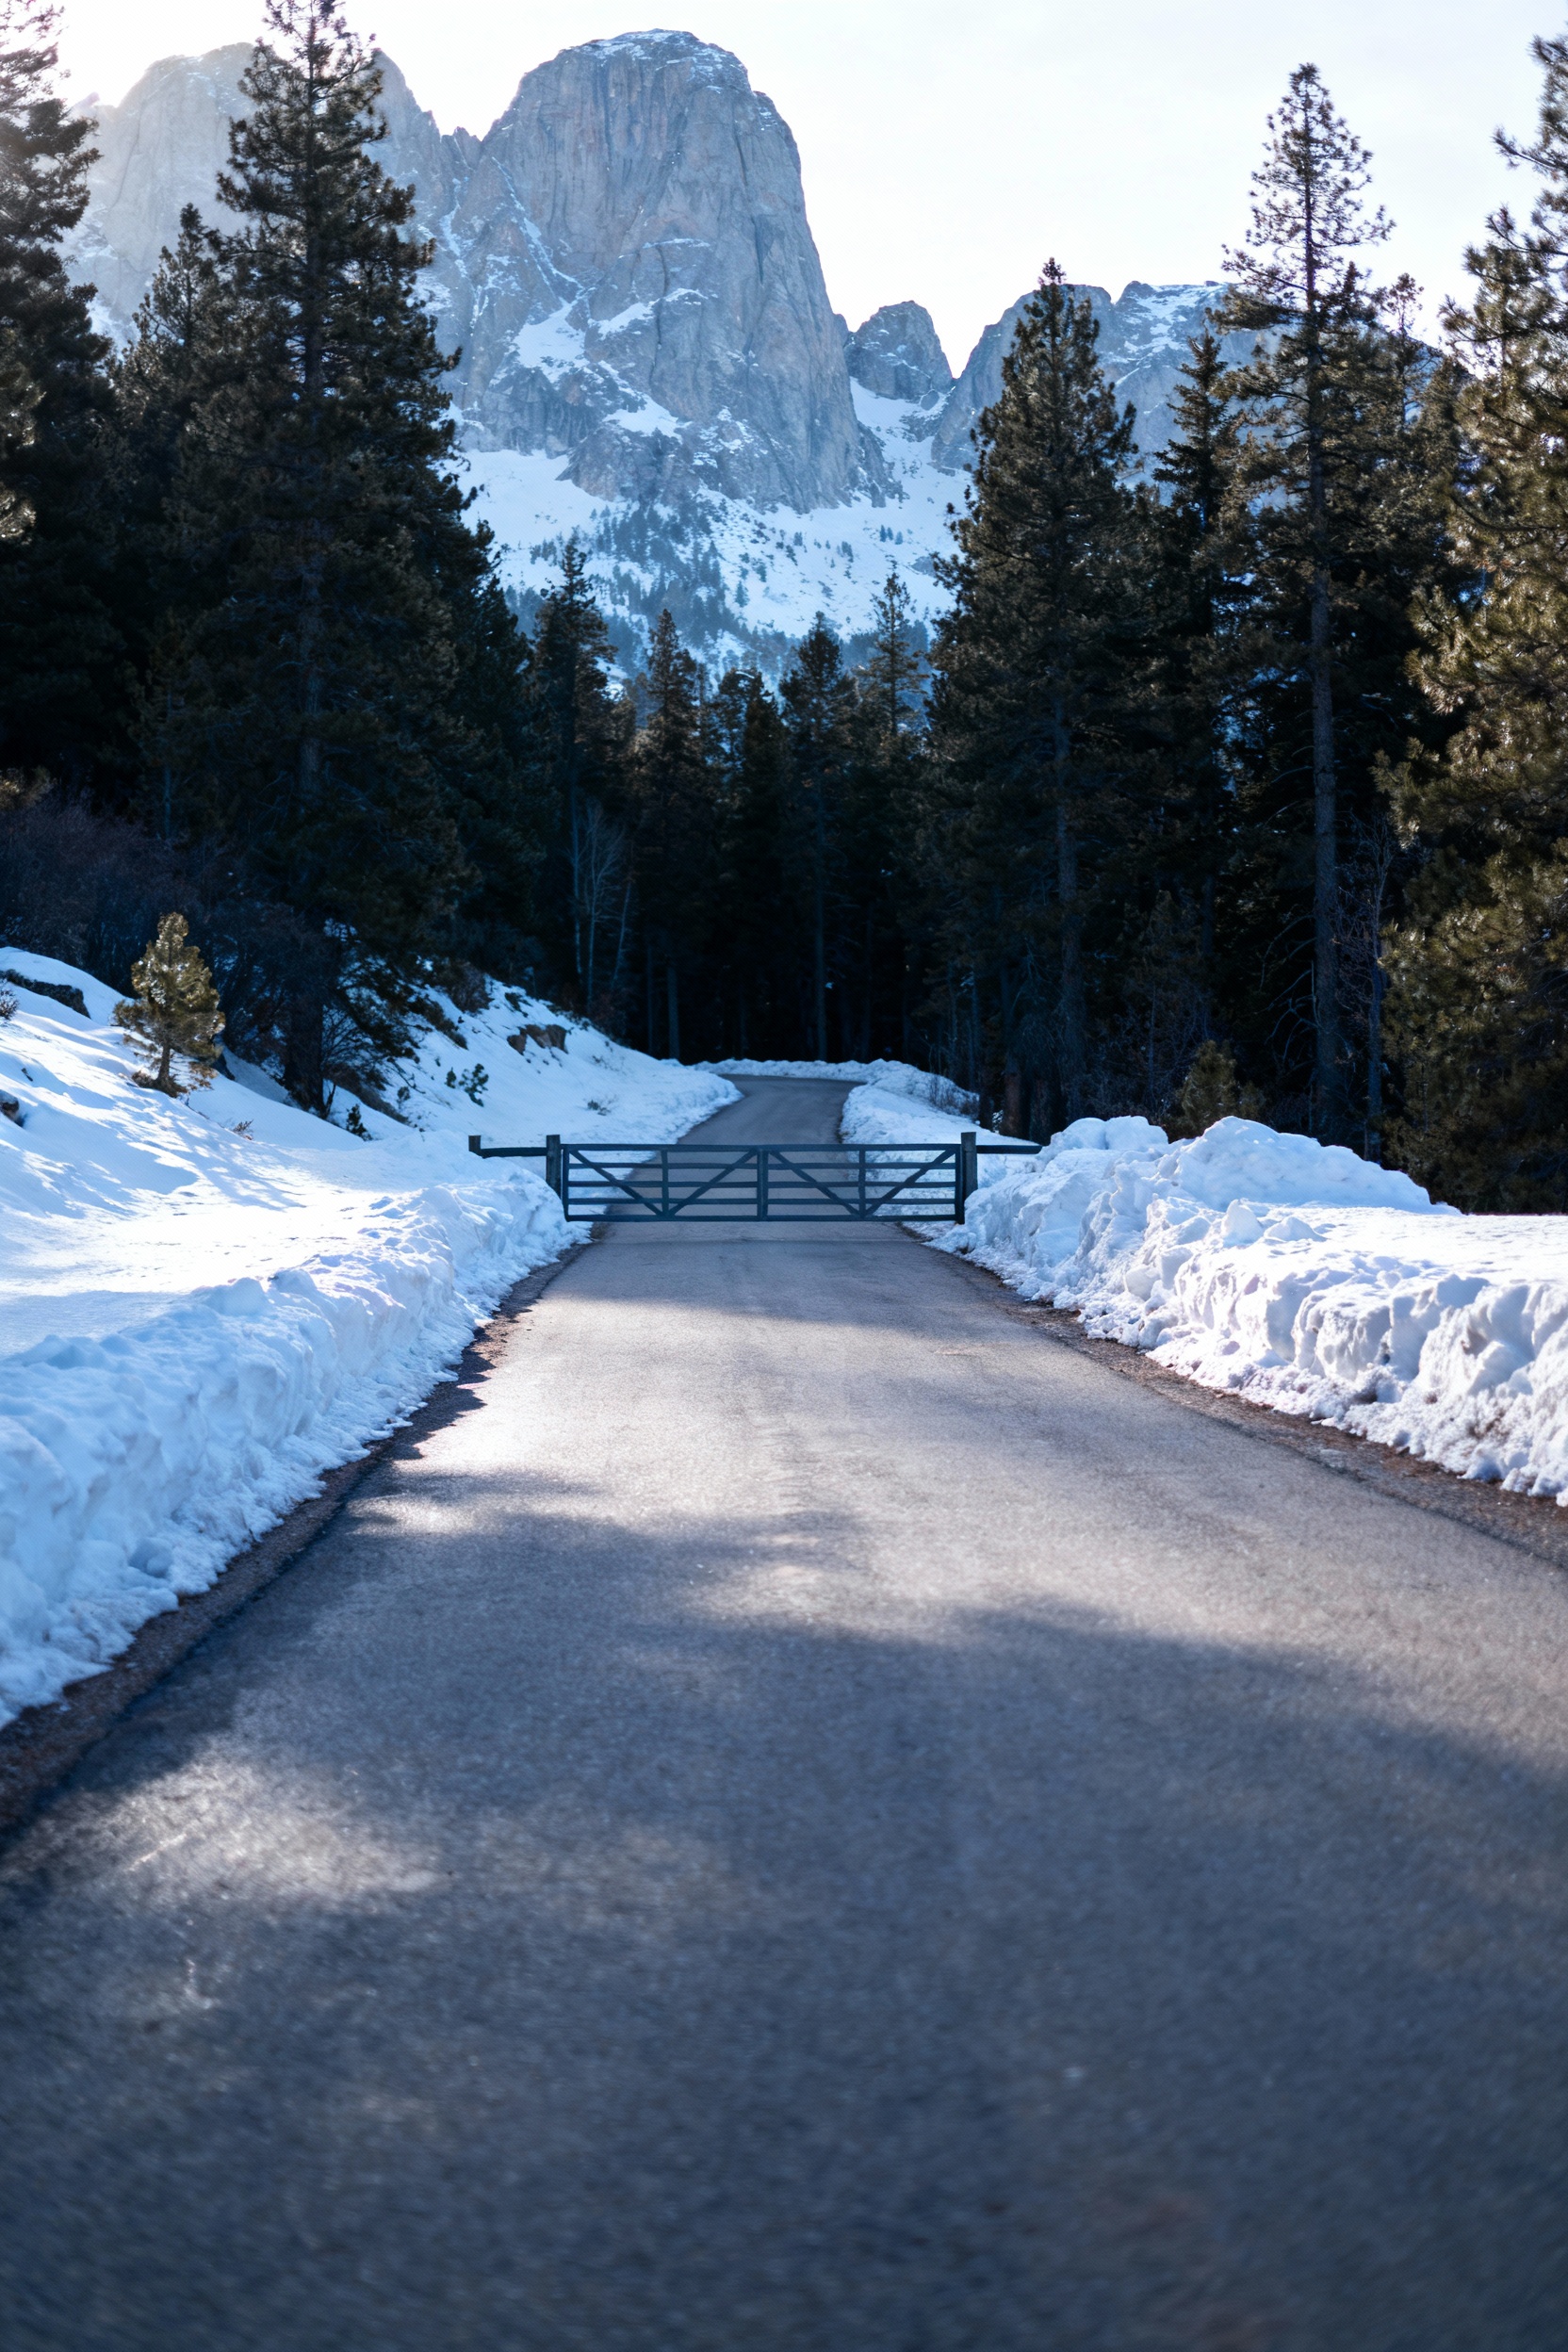
If you only have a day or two, prioritize viewpoints that deliver without a massive hike: Tunnel View for the classic Valley lineup, Valley View for river reflections, and Cook’s Meadow for wide open Half Dome scenes. In winter, these spots can look extra dramatic with snow-dusted cliffs and fewer people—just budget more time for driving and parking. Go early to avoid crowds and to claim a clean foreground before people fill the frame.
3) Pack for the Season (and Protect Your Gear Like a Local)

Yosemite weather changes fast, and your comfort affects your photos more than you think. Bring layers year-round, plus microspikes in icy months, and a light rain shell in spring when waterfalls and surprise showers peak. For your camera: pack a lens cloth, a rain cover (or a simple plastic bag + rubber band backup), and extra batteries—cold temps drain them fast.
4) Use the Right Lens Strategy: Wide for Drama, Tele for Story
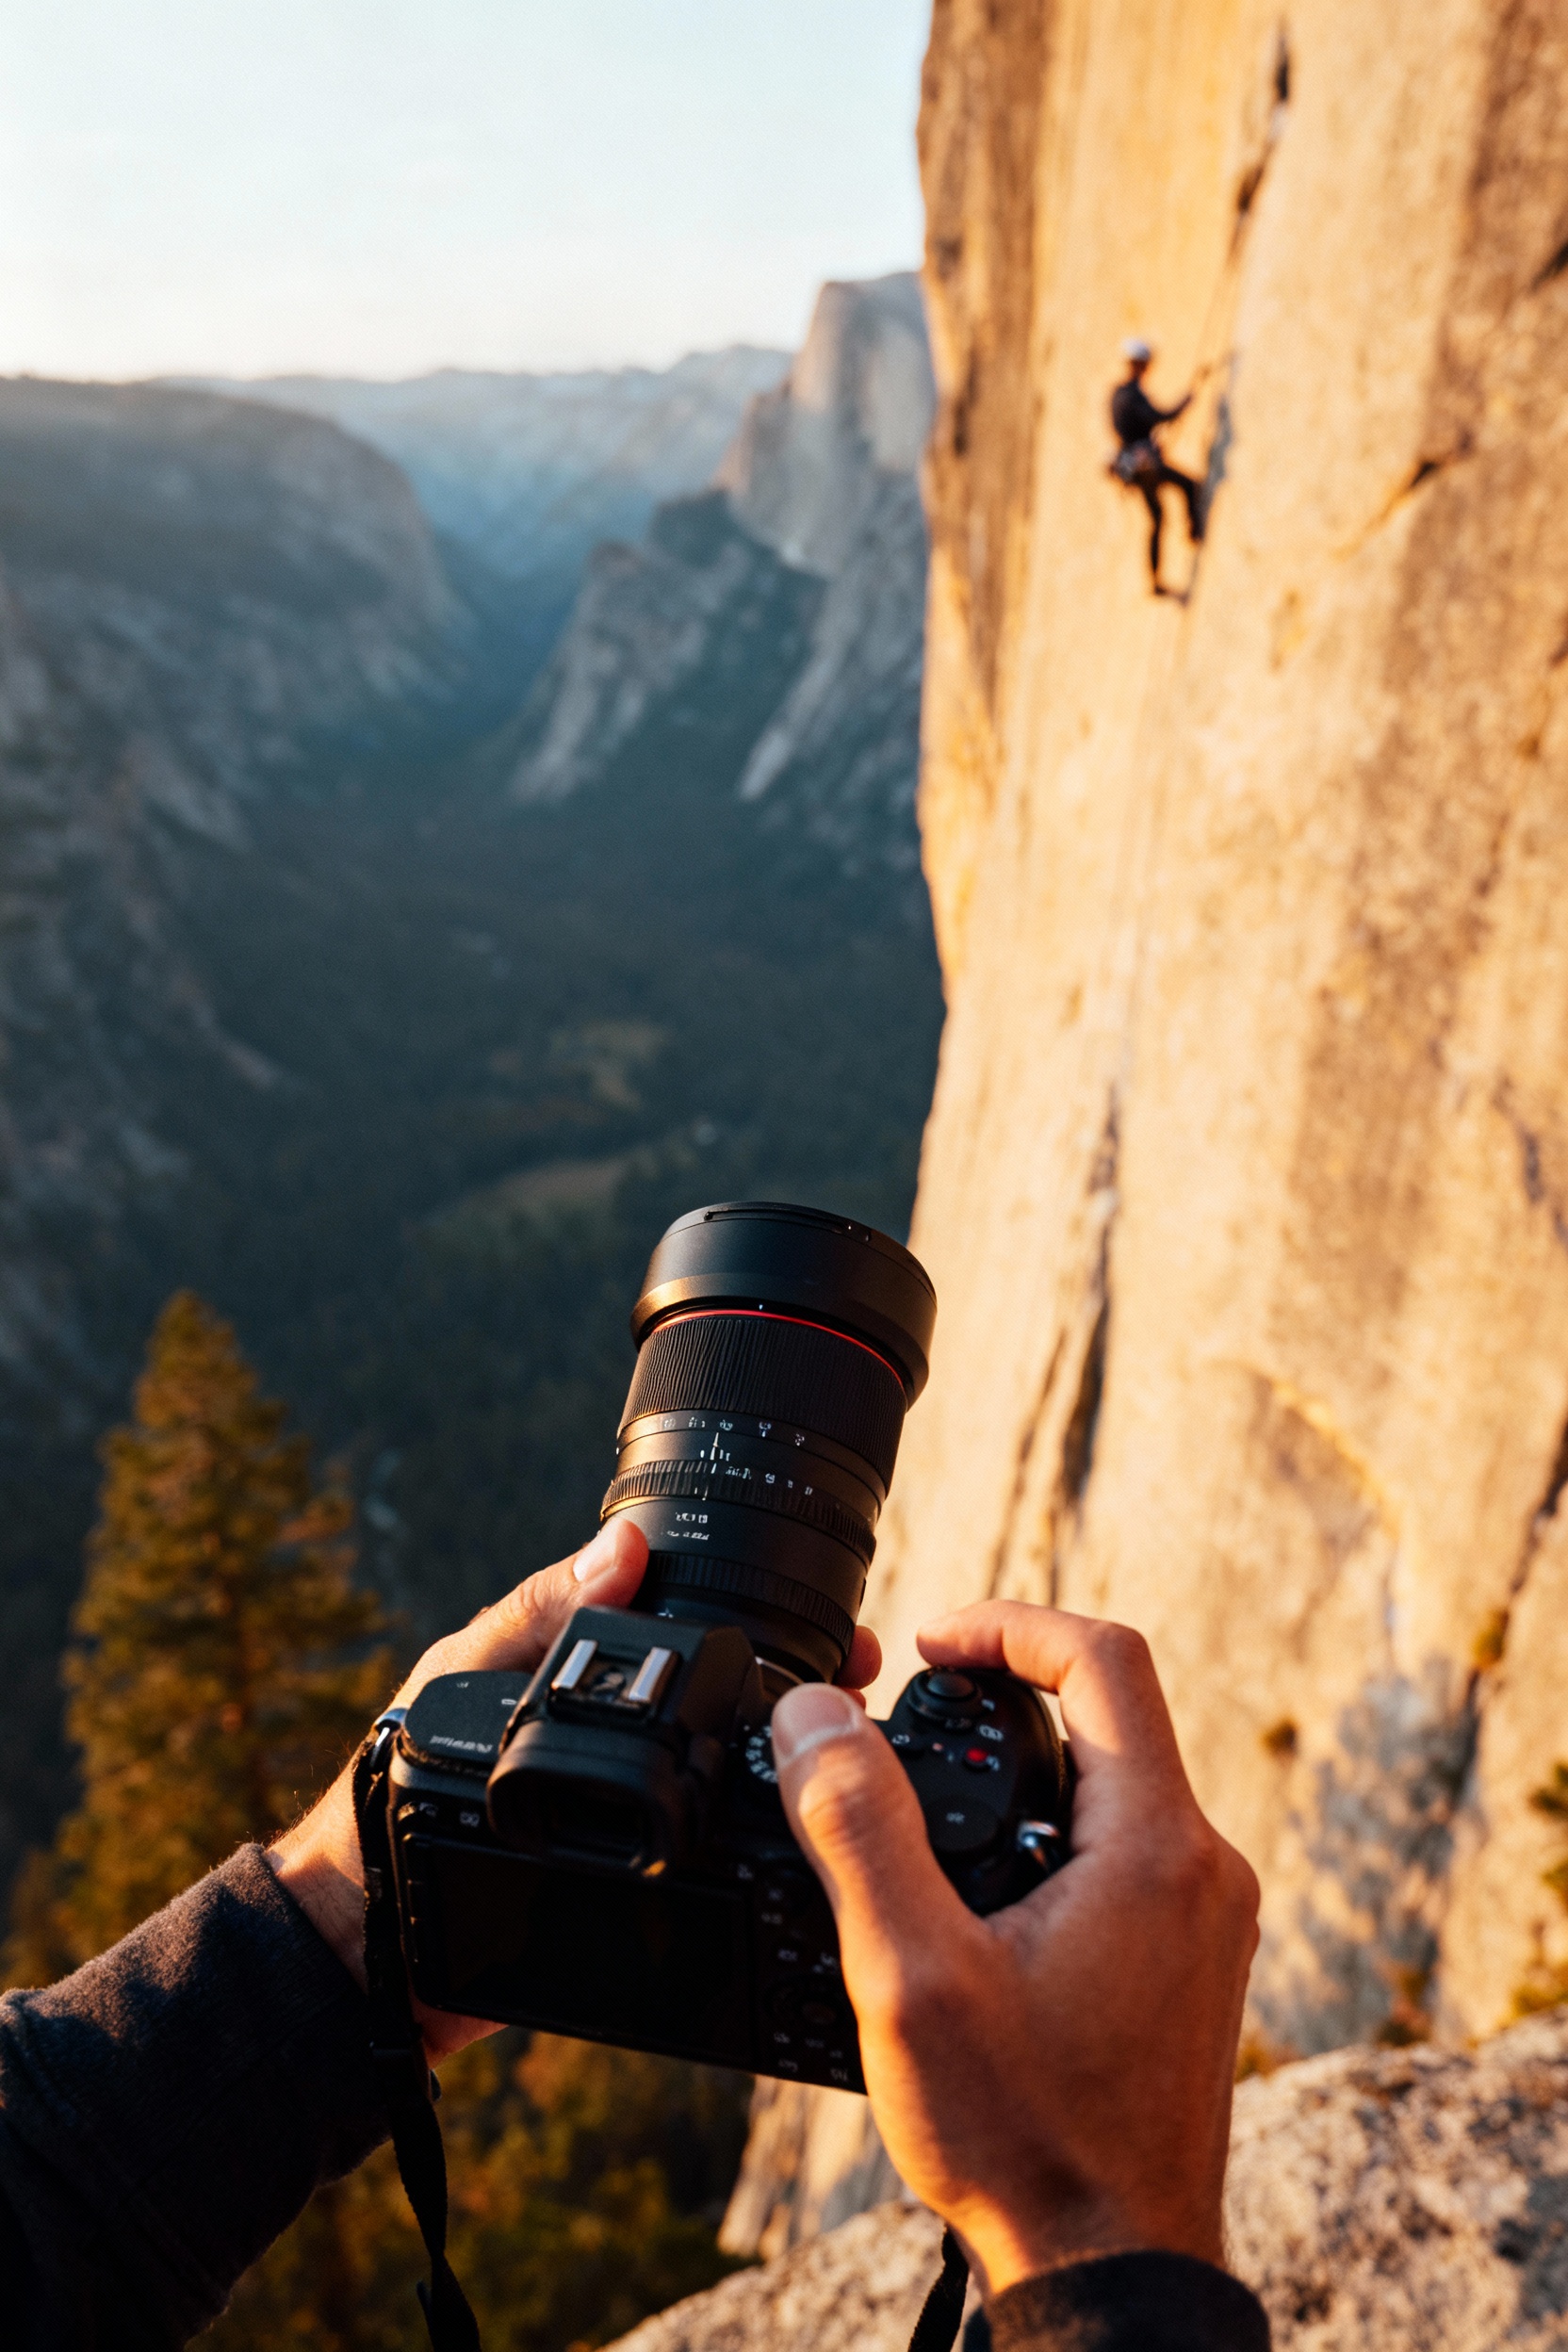
A wide lens (or your phone’s wide camera) is perfect for big scenes like Tunnel View, waterfalls, and meadow panoramas, especially in spring and early summer. A short telephoto (around 70–200mm) helps you isolate climbers on El Capitan, frame waterfalls through trees, or compress layers of granite at sunset. If you’re bringing only one lens, pick a versatile zoom and plan to “zoom with your feet” on the easier Valley paths.
5) Plan Access + Permits So You’re Not Photographing a Closed Road
Seasonal access can make or break your shot list, especially for Glacier Point Road and Tioga Road, which typically close in winter and open later in spring/early summer depending on snow. Check the National Park Service Yosemite website the day before (and morning of) for road, trail, and chain control updates. In peak months, expect entry reservations or heavy traffic—book lodging early inside the park or stay in El Portal for quick Valley access.
FAQ
What’s the best season for Yosemite photography?
There isn’t one “best”—it depends on what you want. Spring is prime for waterfalls and lush greens, summer has long days and high-country access, fall brings golden foliage and fewer crowds, and winter delivers snow-draped cliffs with a calmer vibe in the Valley. Pick your season based on roads you want open and whether you’re chasing waterfalls, snow, or high alpine views.
Do I need a tripod in Yosemite?
It’s not required, but it’s a huge upgrade for sunrise/sunset, blue hour, and silky-water waterfall shots. If you don’t want to carry a full-size tripod, a compact travel tripod works well for Valley viewpoints and meadow boardwalks. If you’re only using a phone, a small phone tripod or clamp can still make a big difference.
Where should first-timers go for the most iconic photos?
Start with Tunnel View, Valley View, and Cook’s Meadow for high-impact landscapes with minimal effort. Add Yosemite Falls (easy access from the Valley) and Bridalveil Fall when the trail is open and safe. If Glacier Point is accessible, it’s one of the best “wow” viewpoints in the park—just confirm the road status before you build your plan around it.
How do I avoid crowds in my photos?
Go early (sunrise) or late (sunset/blue hour), and aim for weekdays if you can. Use a telephoto to crop out busy areas, and look for foregrounds like trees, rocks, or river edges that naturally hide people. If you’re shooting on a phone, try Portrait mode on closer subjects or frame tighter to simplify the scene.
What camera settings should I start with for landscapes?
For a simple starting point: shoot in aperture priority around f/8 to f/11 for sharp landscapes, keep ISO as low as you can, and let shutter speed fall where it needs to (use a tripod if it gets slow). If you’re on a phone, tap to set focus/exposure, lower exposure slightly to protect highlights in bright granite, and shoot in RAW/Pro mode if your device supports it. The biggest “setting” is timing—great light beats perfect gear every time.