
Solo travel + photography is a power combo: you move on your own schedule, chase the light, and spend as long as you want framing the shot. The only catch is you’re doing everything yourself—planning, safety, gear, and confidence.
These tips are for anyone traveling alone who wants better photos without overpacking or overthinking it.
Top 5
1) Plan Your “Golden Hour Route” Like a Mini Photo Tour
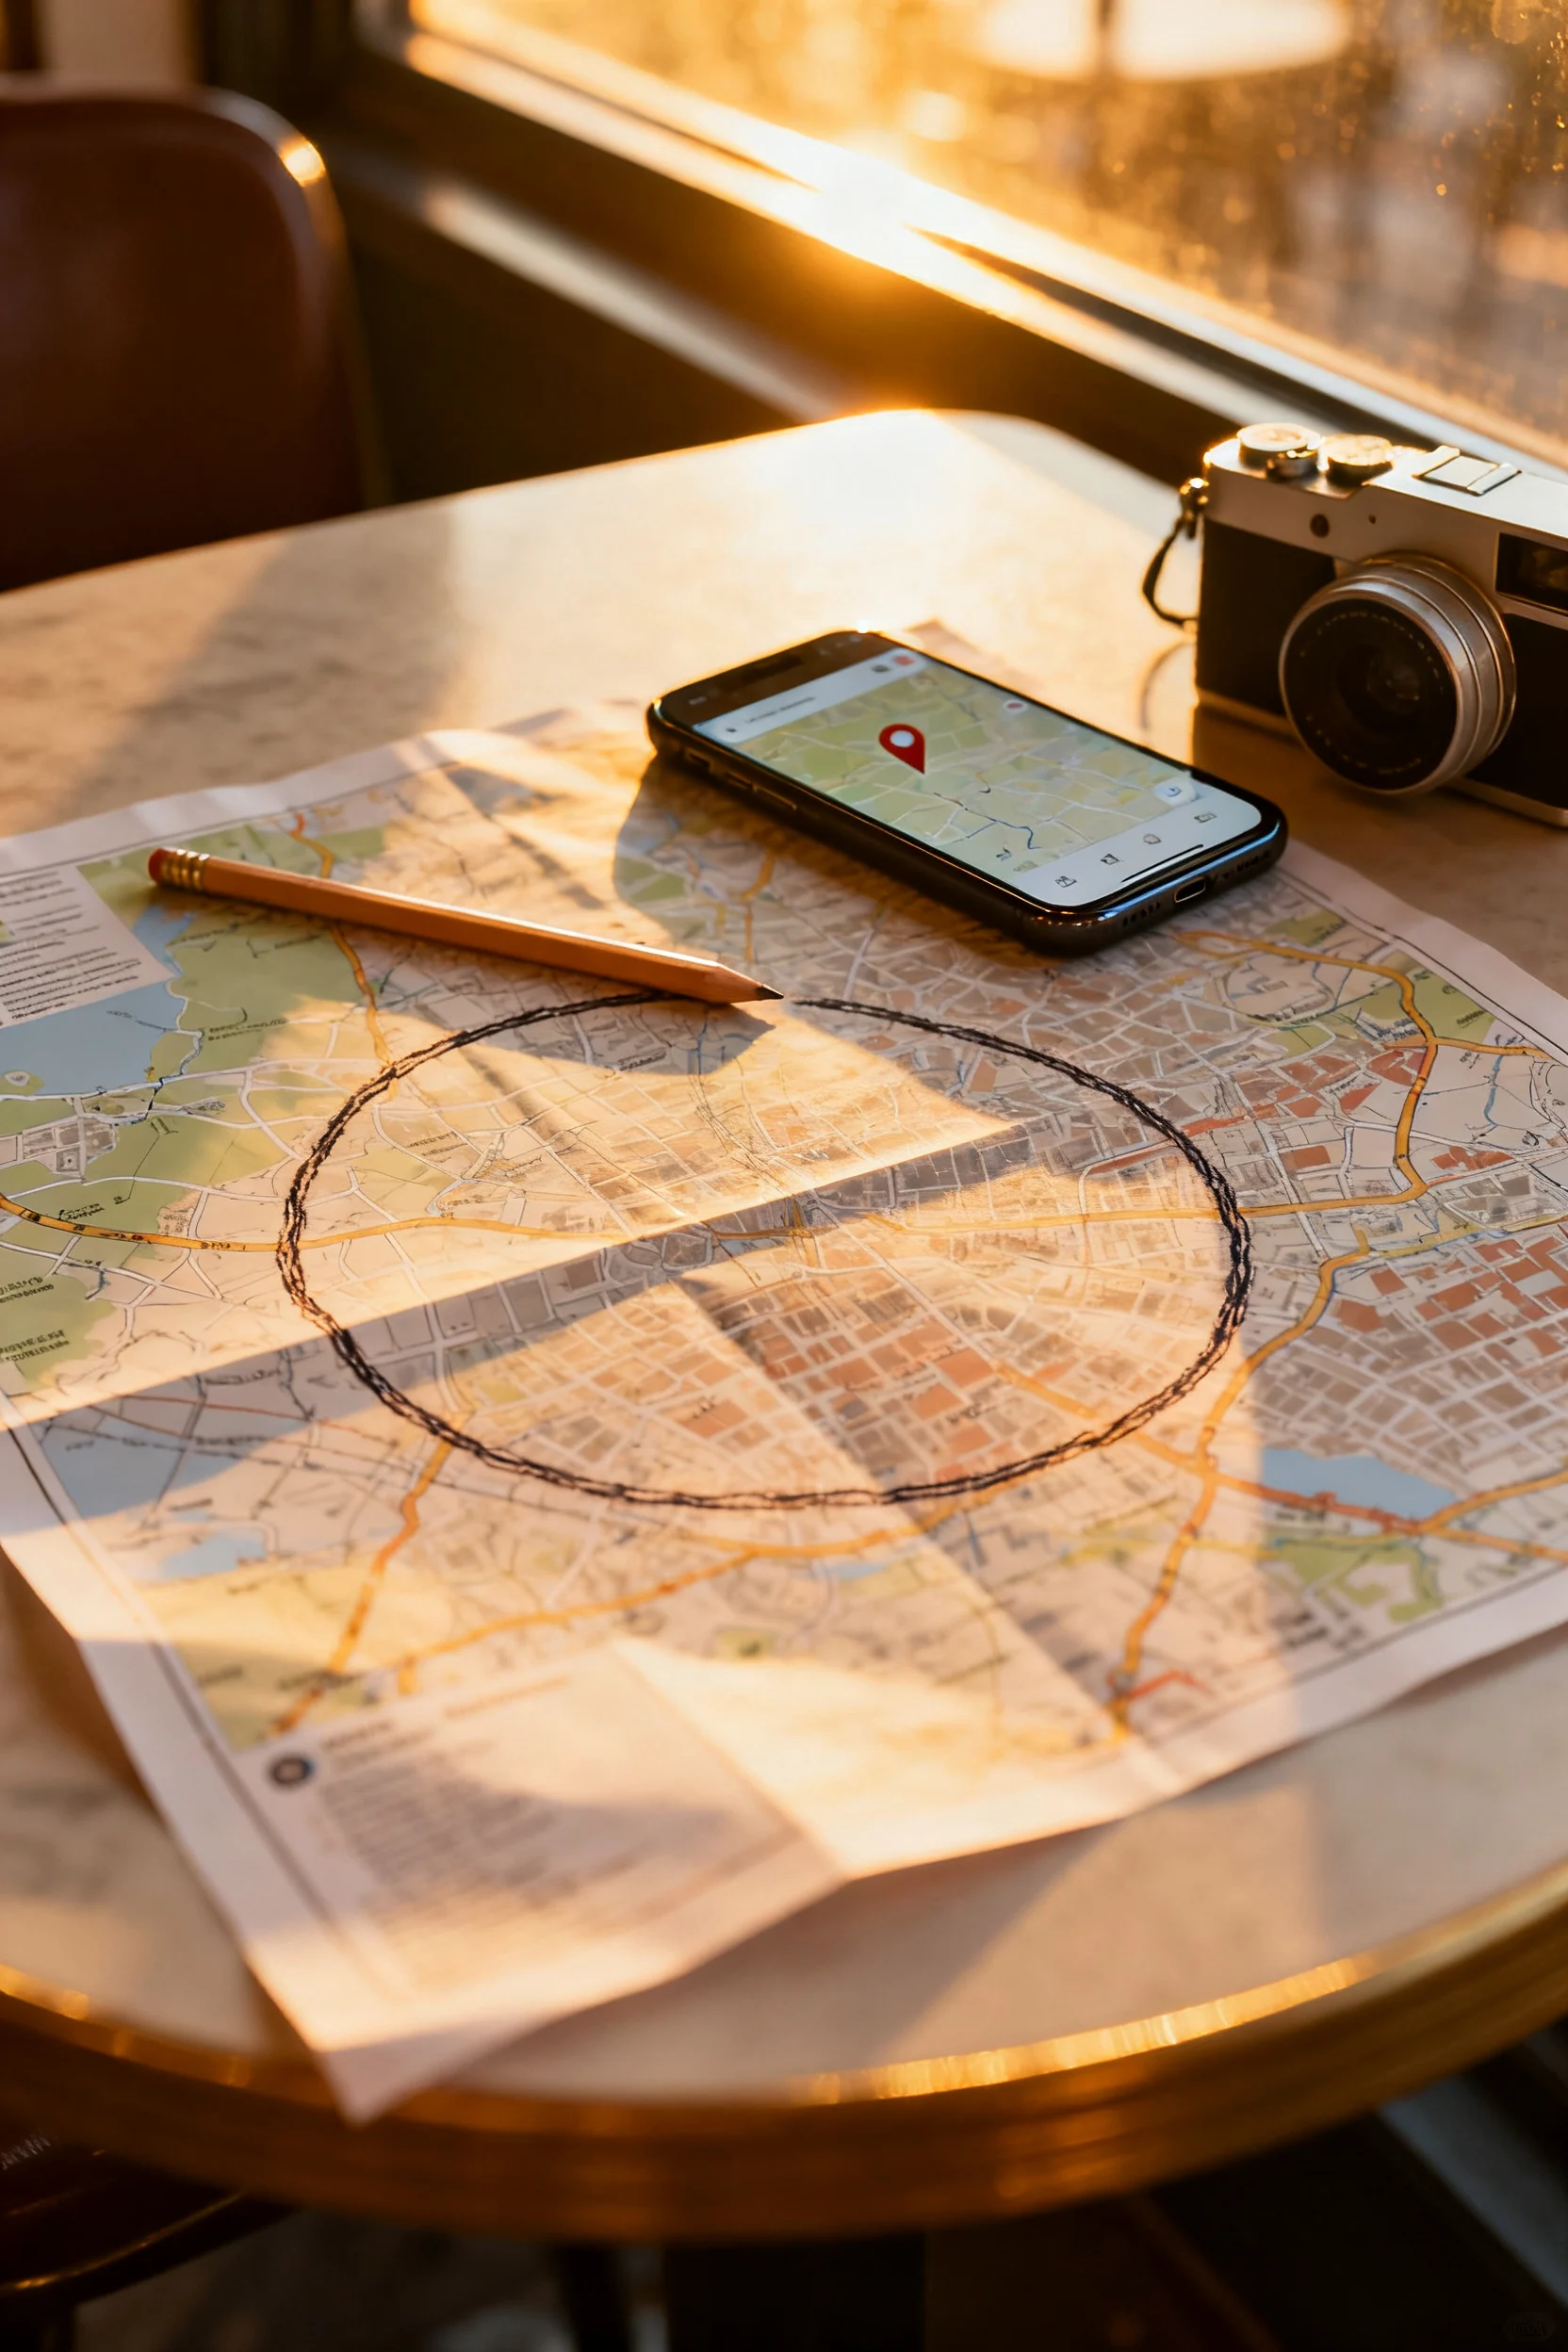
Pick one neighborhood per morning/evening and map a simple loop with 4–6 stops (viewpoint, street, cafe, landmark, park). Aim for sunrise in popular spots if you want clean compositions, then save busy markets for mid-morning when energy is high. Screenshot your route offline and pin a “home base” coffee shop so you always have a reset point. If you’re short on time, book a 2-hour local photo walk on day one to learn the angles fast.
2) Choose a Stay That Makes Sunrise Easy (and Safe)
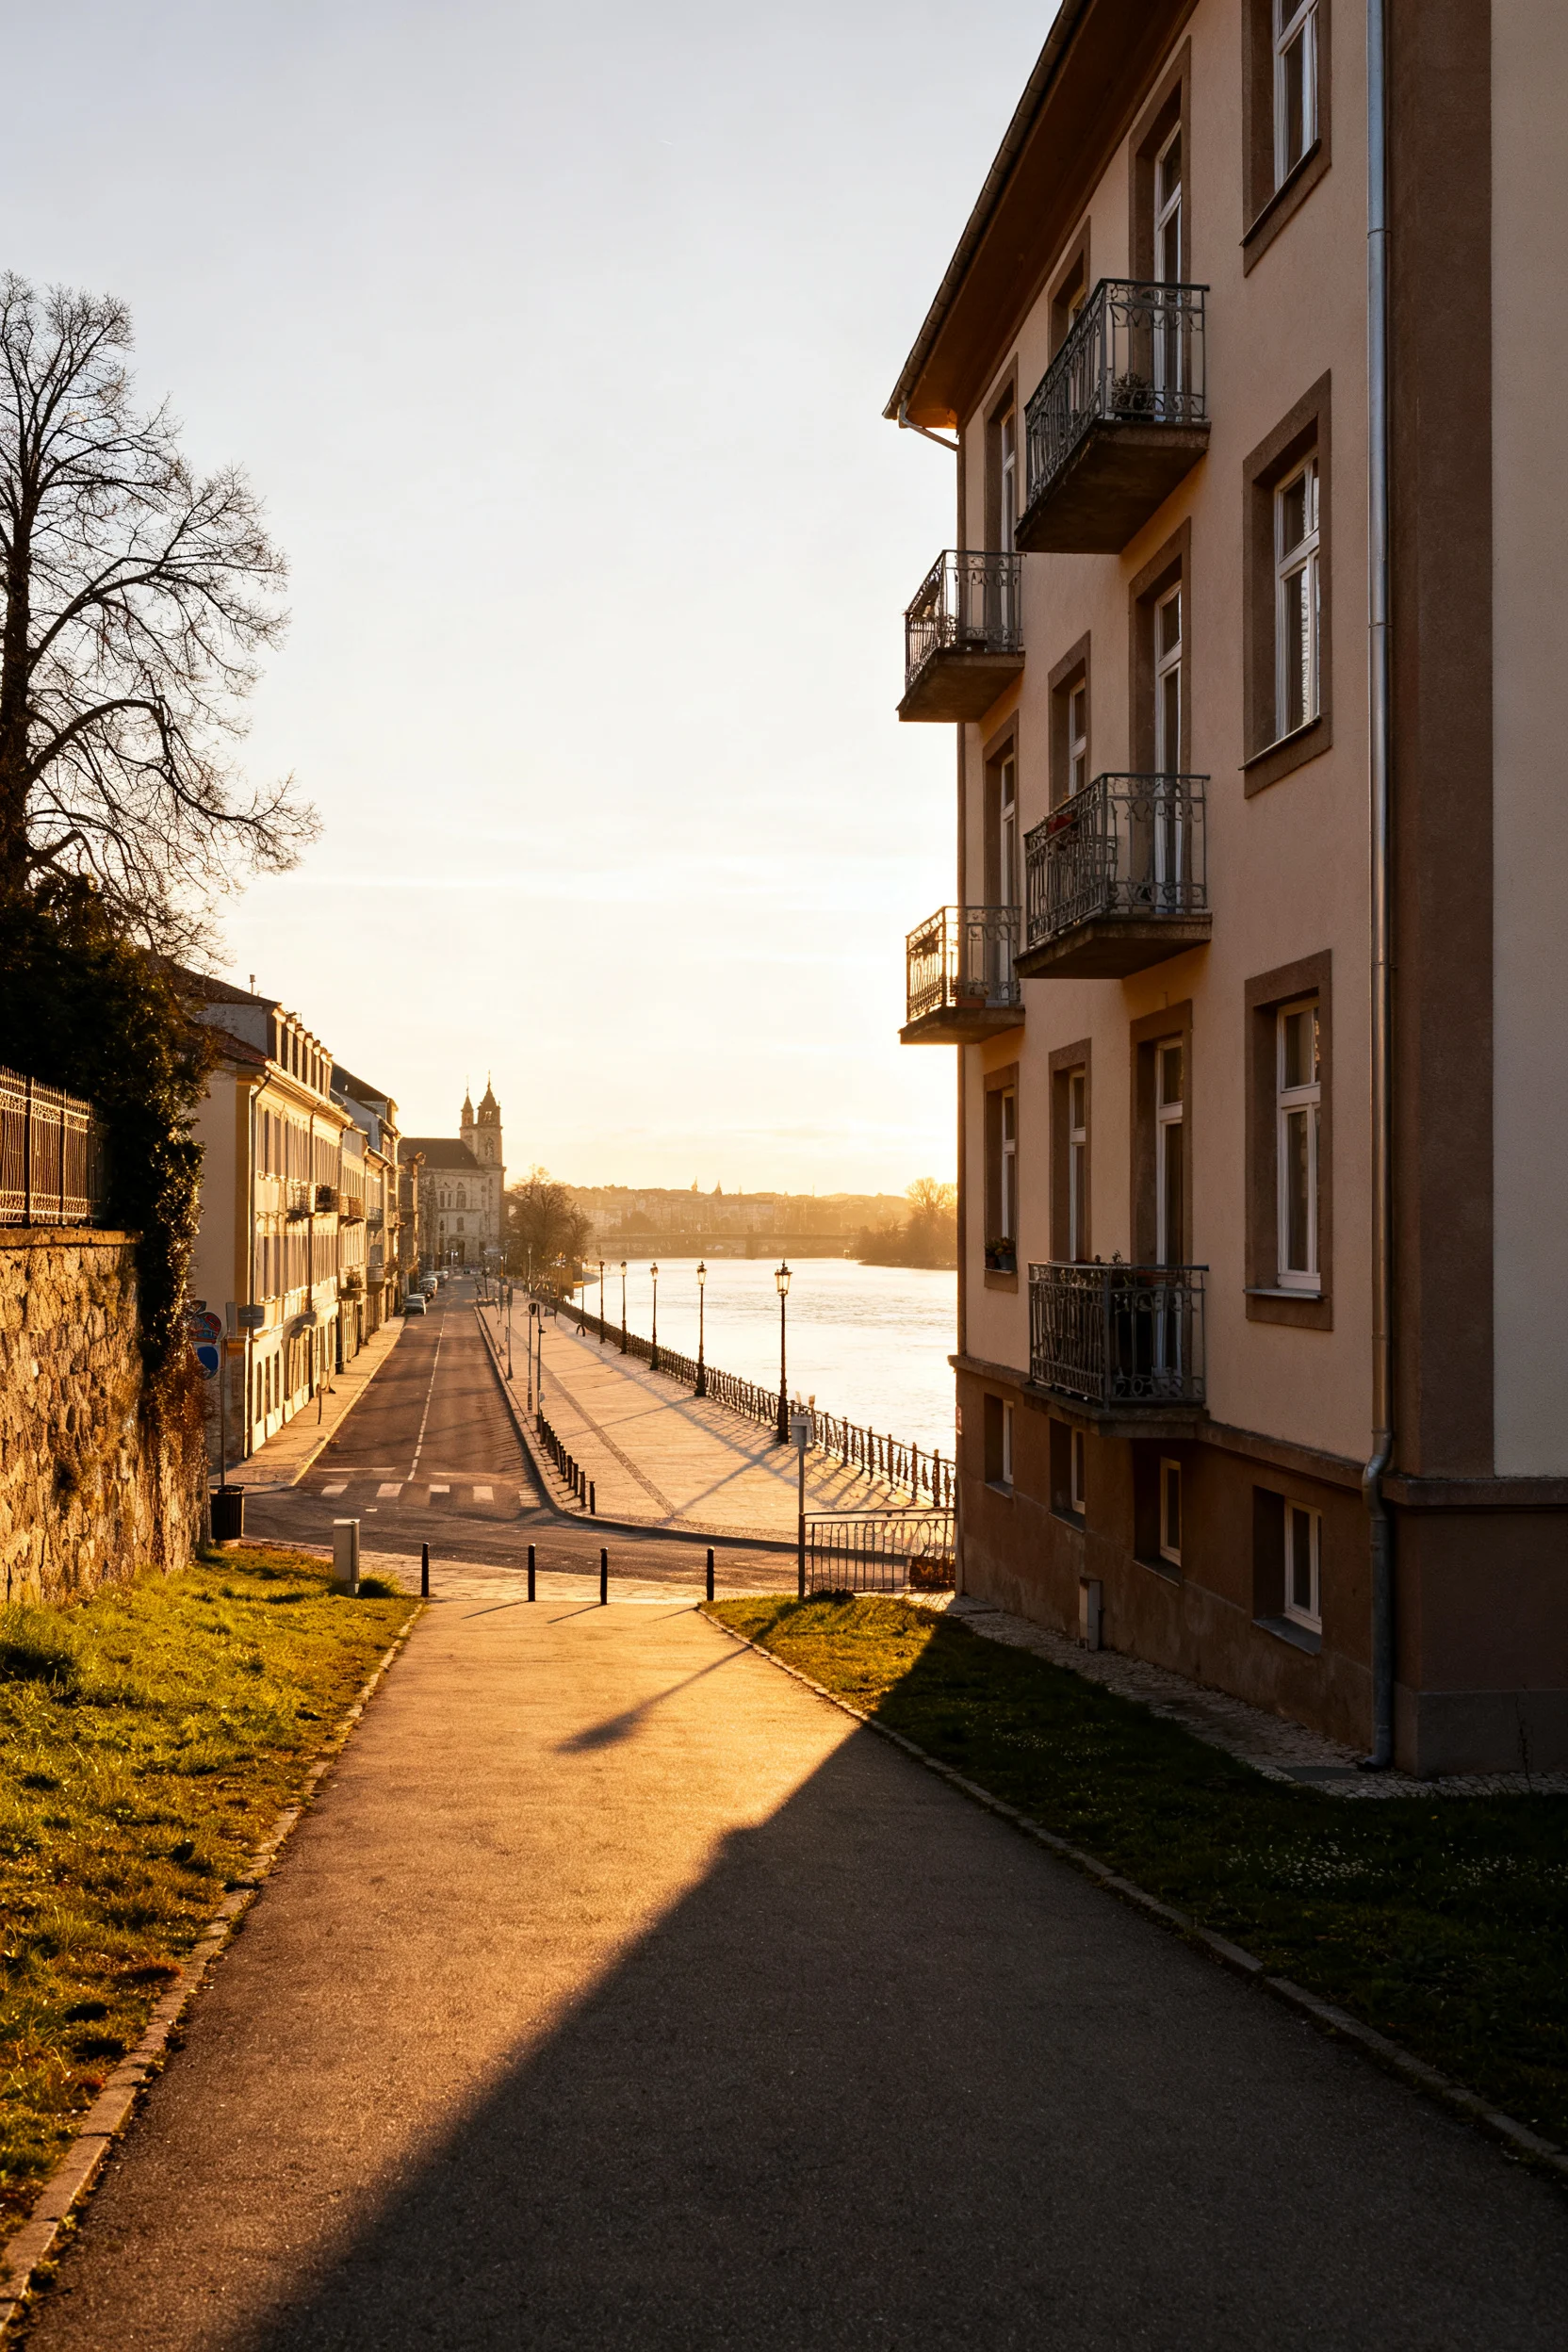
Your accommodation is part of your photography plan—stay somewhere walkable to at least two photogenic areas so you’re not relying on late-night transit alone. Look for neighborhoods with early-opening cafes, good street lighting, and reliable ride-share pickup spots. Request a room on a higher floor or with a street view if you like shooting from windows/balconies (and check quiet hours if you’ll be up at dawn). If you’re torn between “cute but far” and “central and practical,” choose central for solo travel.
3) Pack a Light, Smart Kit (and a Backup Plan)
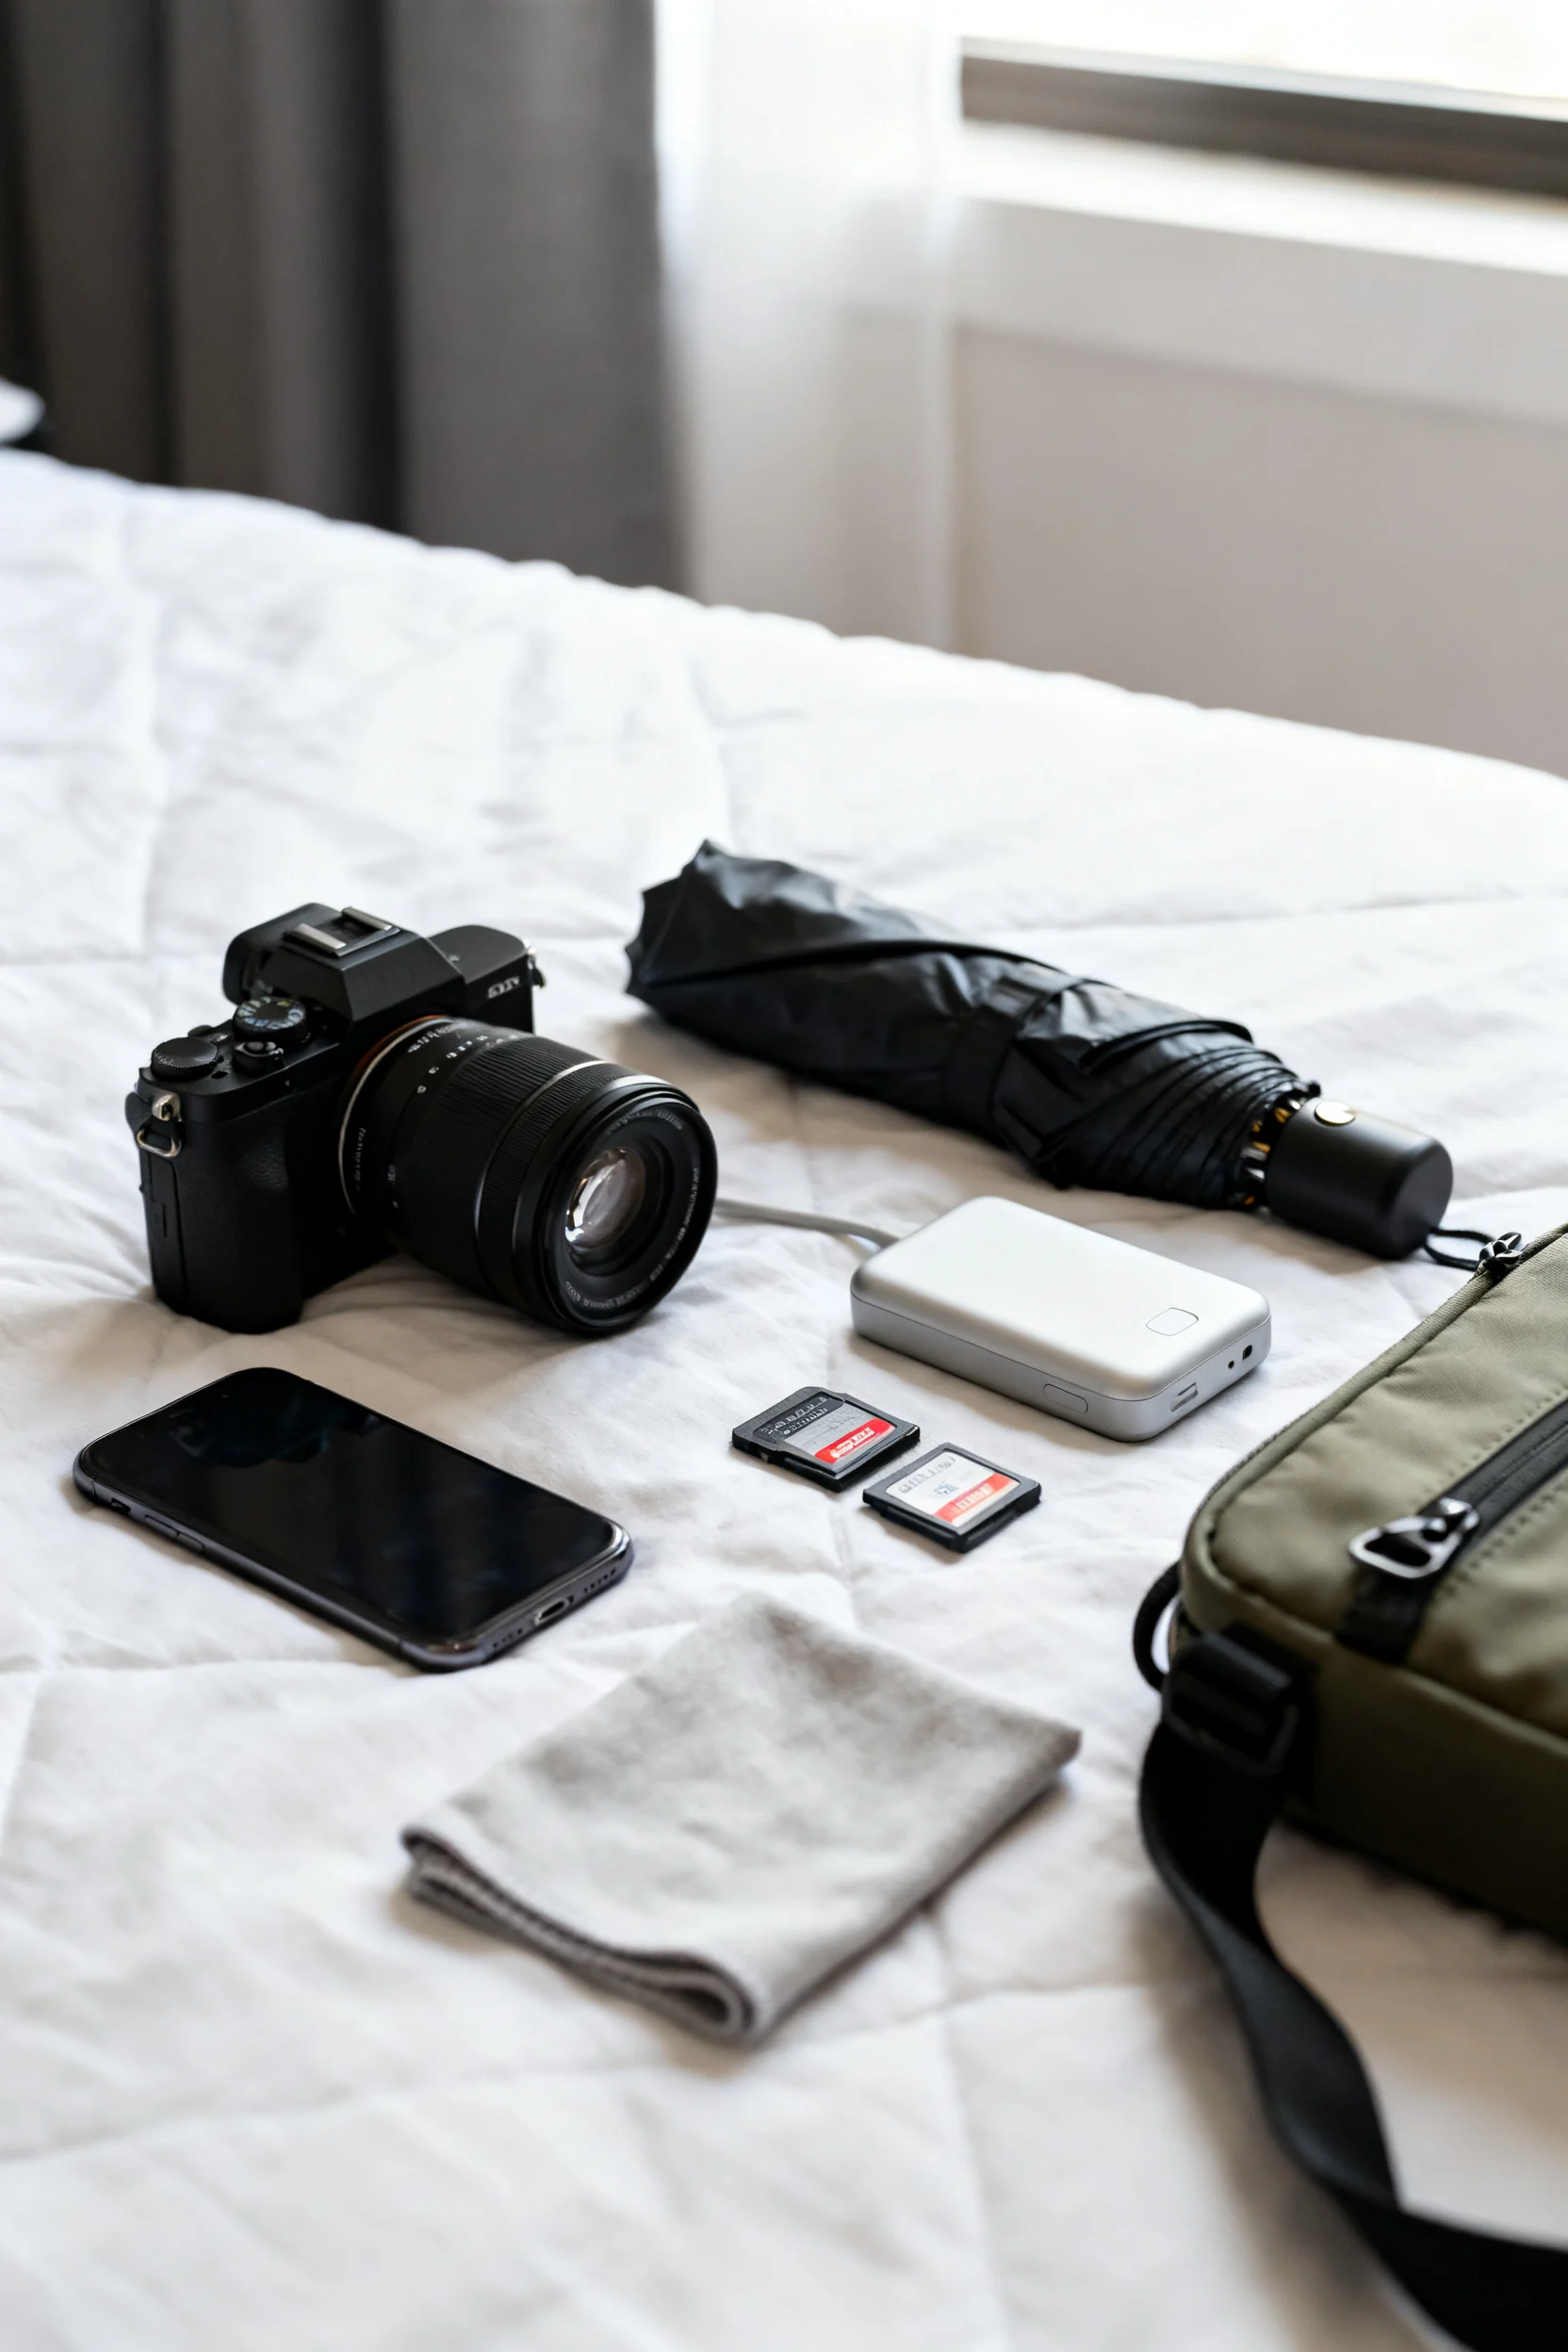
Bring one main camera/lens setup you actually enjoy carrying, plus a phone that can handle low light—too much gear slows you down and makes you a target. Essentials that matter: a small power bank, two memory cards, a microfiber cloth, a compact rain cover or zip bag, and a crossbody strap you can keep in front. Set up auto cloud backup on your phone, and each night copy your best shots to the cloud or a tiny SSD. If something breaks, know the nearest camera shop or big electronics store near your hotel.
4) Use Solo-Safe Photo Habits (Without Losing the Vibe)
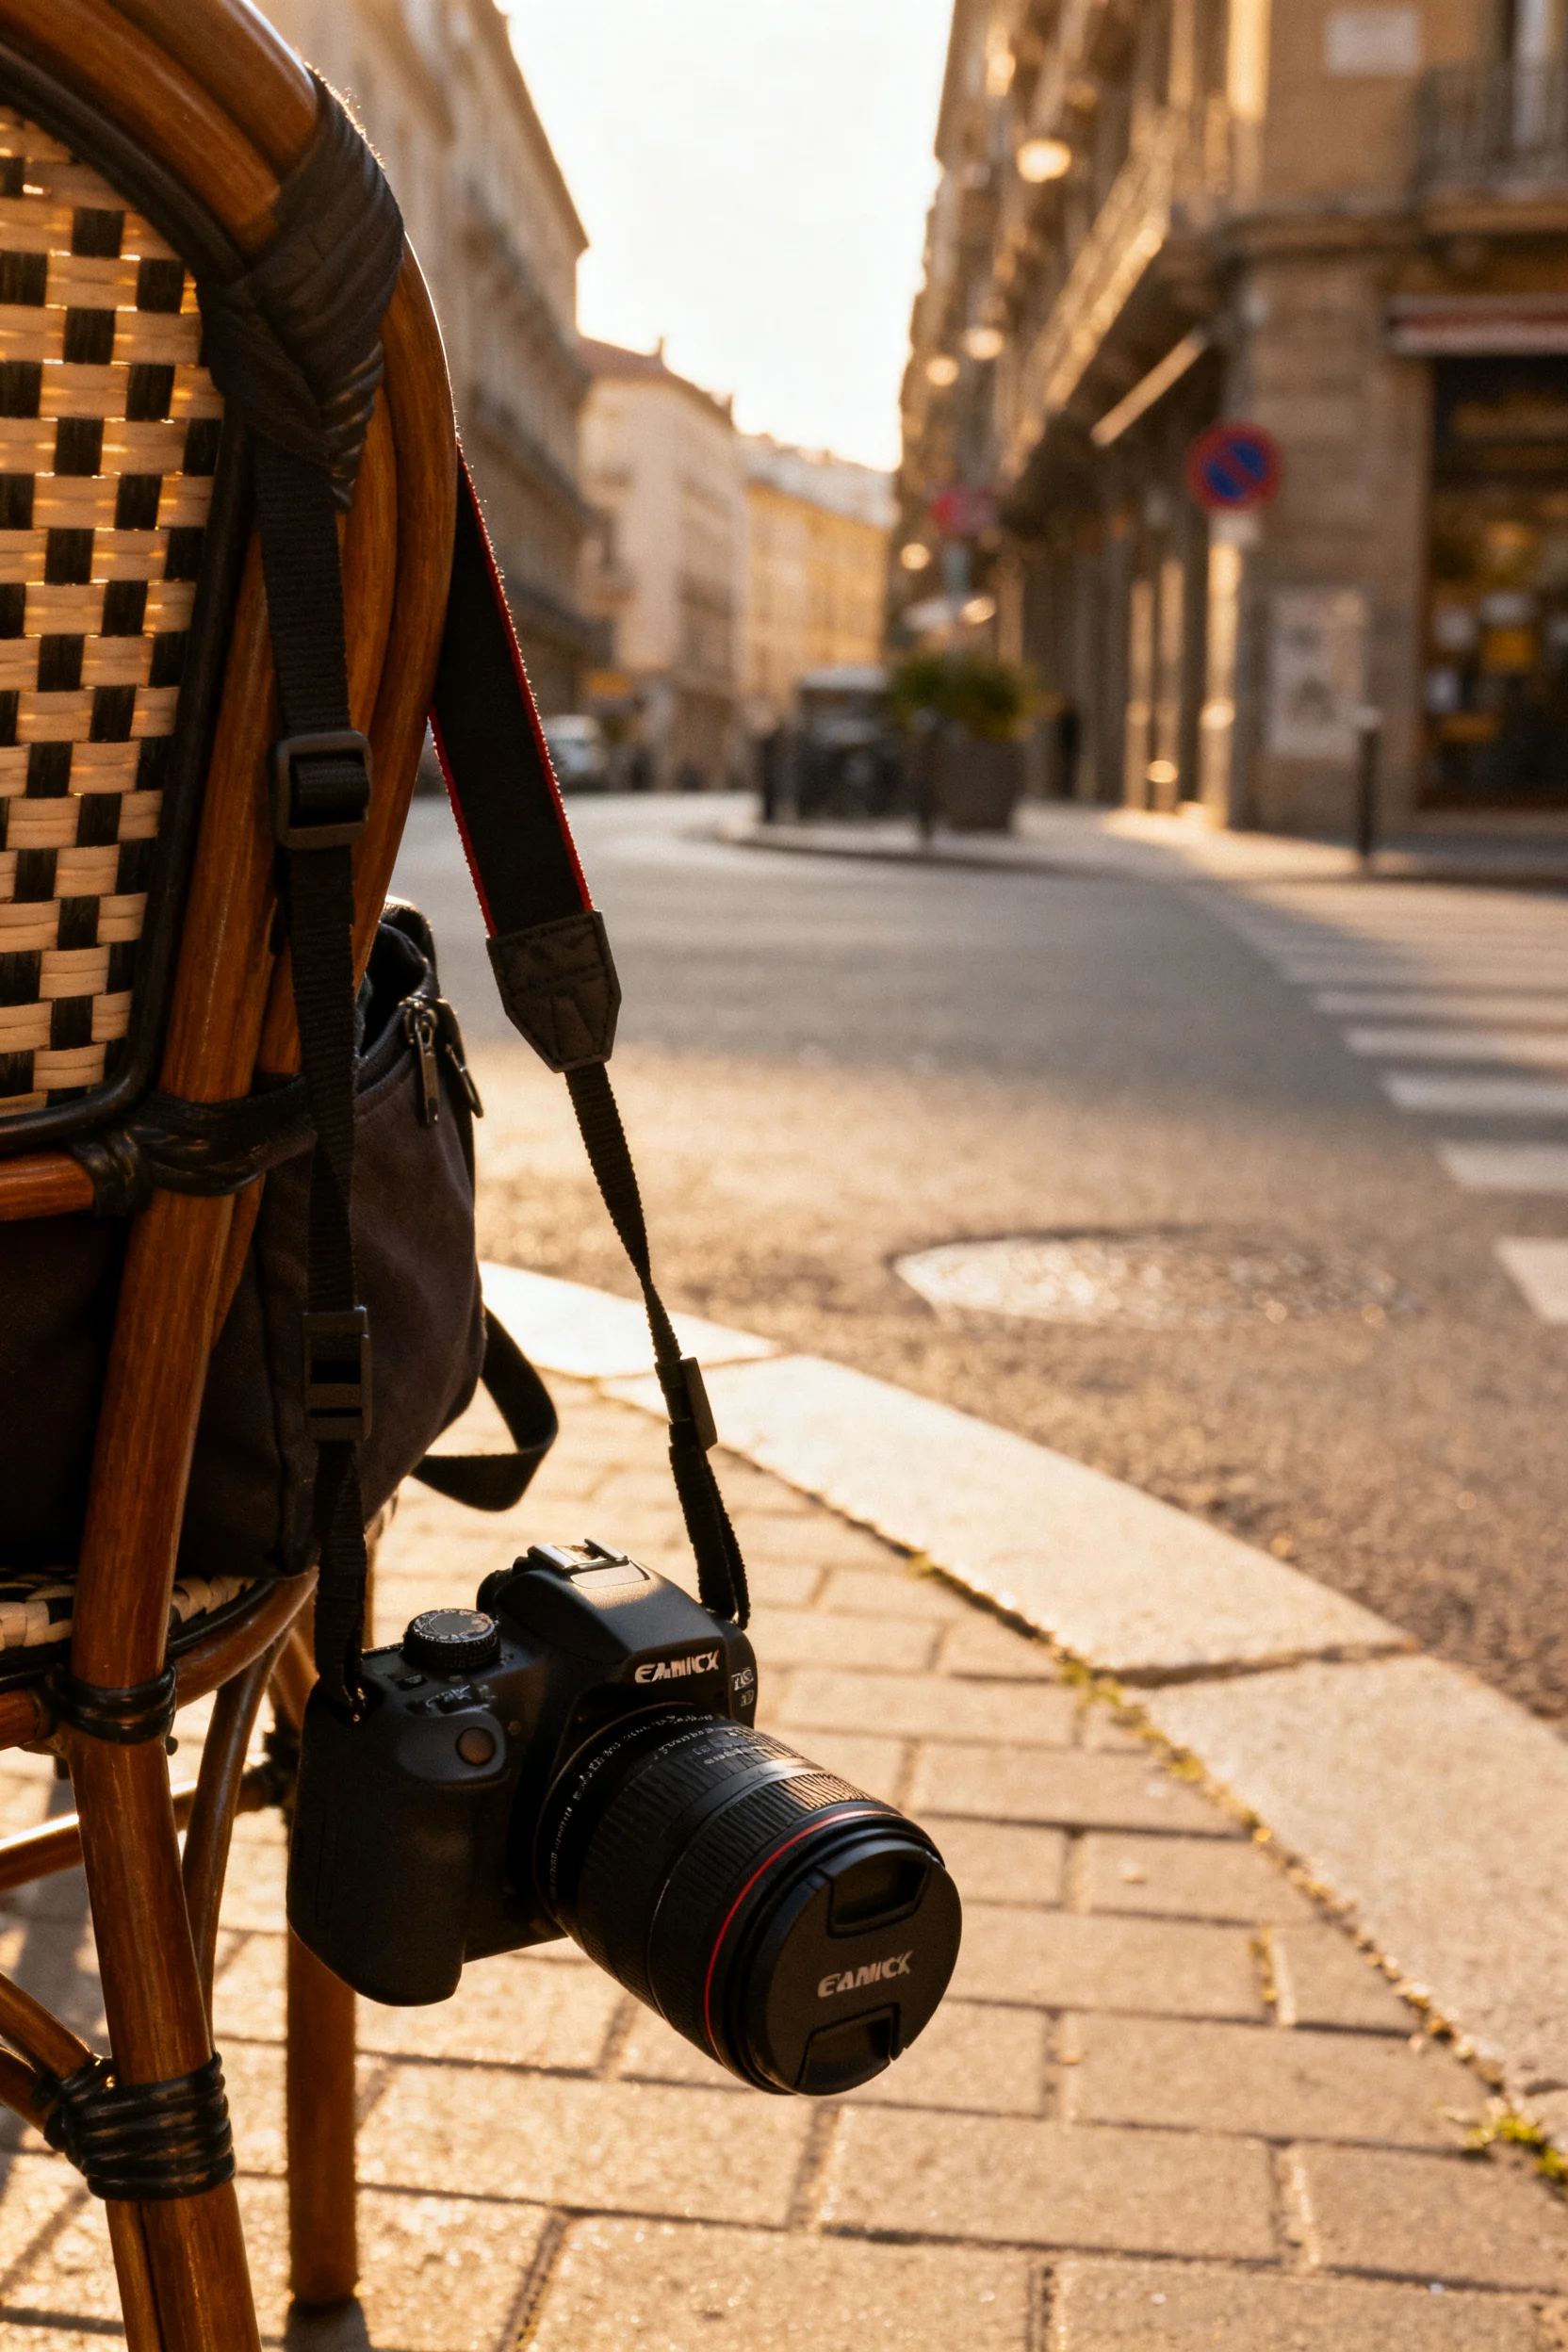
When you stop to shoot, step slightly to the side (not in the middle of the sidewalk) and keep one strap point on your body—especially in crowded areas. Avoid changing lenses on busy streets; do it inside a cafe or your hotel lobby to keep dust and attention off your gear. Share your general shooting plan with someone (even “sunrise at the river, breakfast after”), and trust your instincts if a location feels isolated. For night shots, prioritize well-lit plazas, waterfront promenades, and busy food streets, and take a ride-share back rather than walking far with gear.
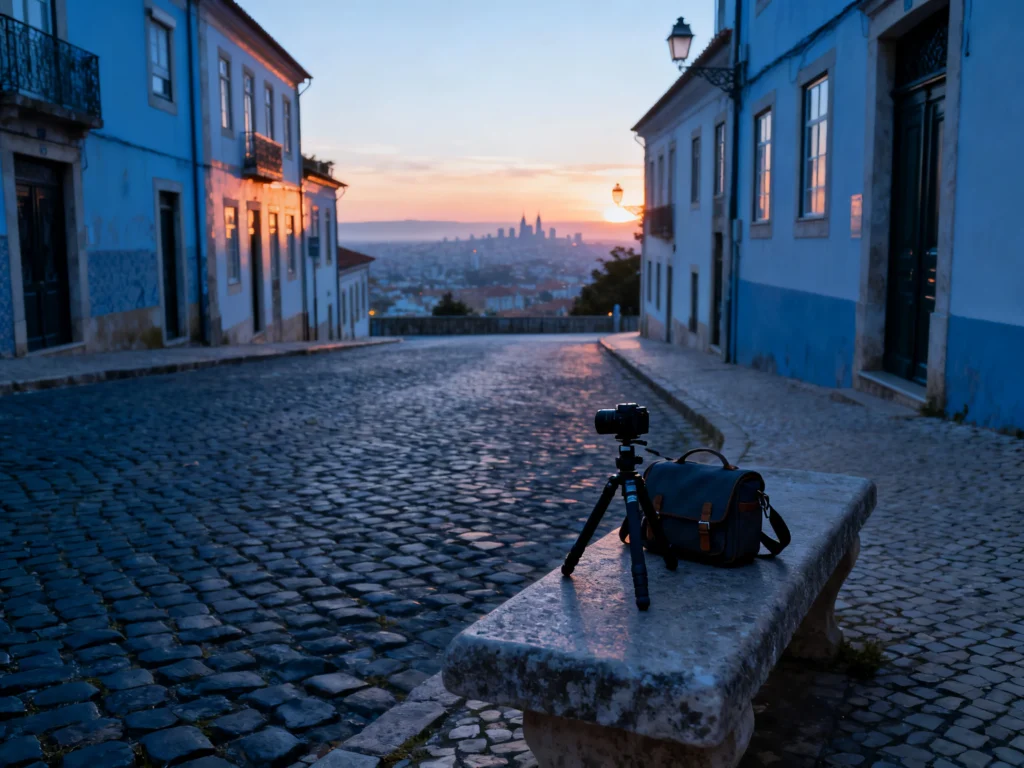
5) Get Photos of You Without Awkwardness
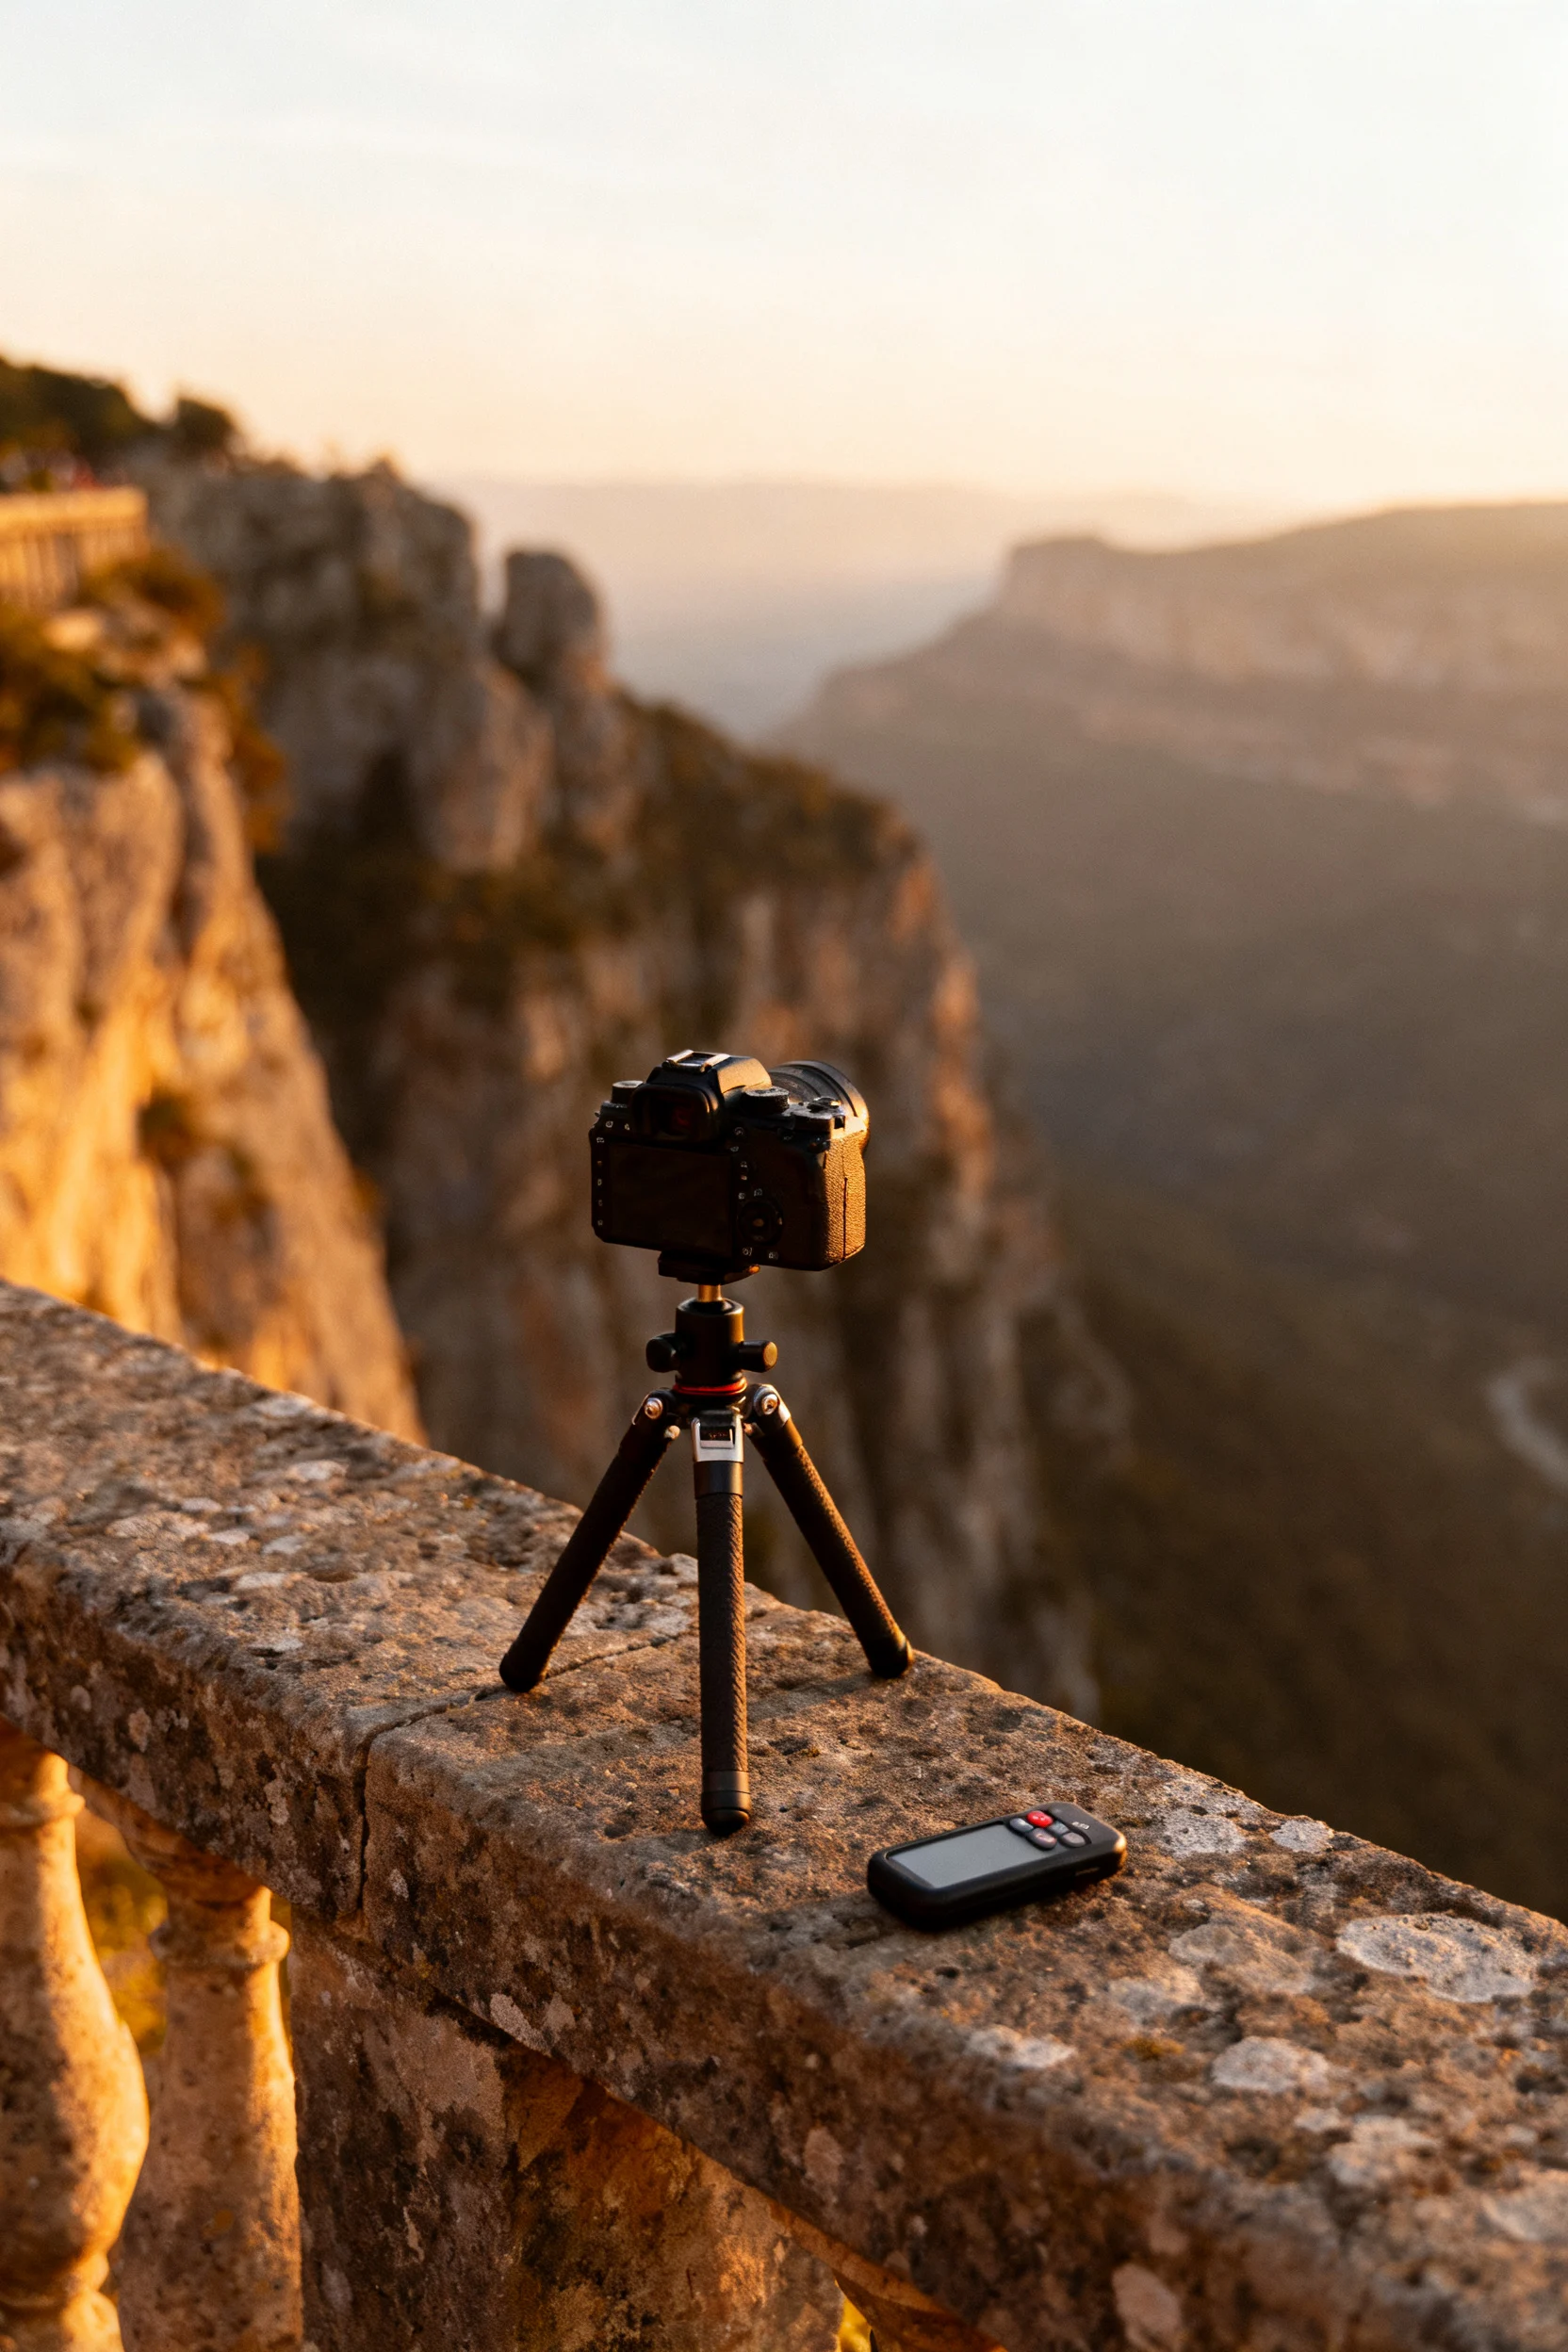
Pack a tiny tripod or a clamp mount for railings, and use a 10-second timer or a phone remote so you’re not sprinting back and forth. If you’d rather ask a stranger, pick another tourist with a camera, hand them your phone with the photo already framed, and ask for two quick versions: wide and close. For elevated viewpoints, arrive early, set up once, and shoot a short burst so you’re not lingering with your equipment out. If you want guaranteed results, book a 30–60 minute “vacation photographer” session in a scenic neighborhood—low stress, high payoff.
FAQ
How do I stay safe taking photos alone in a new city?
Plan your shoots around daylight and busy areas, keep your camera strap secured, and avoid flashing expensive gear on empty streets. Use ride-shares at night, and save isolated viewpoints for times when other people are around. Always keep a charged phone and an offline map.
Is sunrise really worth it for travel photography?
Yes—sunrise gives you soft light, fewer crowds, and easier compositions at popular landmarks. If you’re not a morning person, aim for the last 45 minutes before sunset instead, then grab blue-hour shots near your accommodation so you’re not commuting late.
What’s the best camera setup for solo travel?
The best setup is the one you’ll carry all day: a phone plus one small camera with a versatile lens (like a 24–70mm equivalent) is plenty for most trips. Skip heavy extras unless you have a specific goal (like wildlife or serious astro).
How do I avoid losing my photos while traveling?
Use two layers of backup: cloud (phone or laptop) plus a physical option like a small SSD or a second card. Each night, back up your favorites and don’t keep all your cards in one place—split them between your day bag and your luggage.
Where should I go first in a new destination for great photos?
Start with one “anchor area” that’s scenic and easy to navigate—old town, a waterfront, or a central market district. Do a quick scouting walk in daylight, save a few pins for sunrise/sunset, and return when the light is best.