
Yosemite is basically a masterclass in landscape photography: massive granite, waterfall drama, and that golden Sierra light that makes even a quick phone shot look curated. If it’s your first time shooting here, a little planning goes a long way—parking, timing, and seasonal conditions can make or break your images.
Below are five iconic, can’t-miss landscapes with practical tips on when to go, what to bring, and how to keep your day running smooth.
Top 5
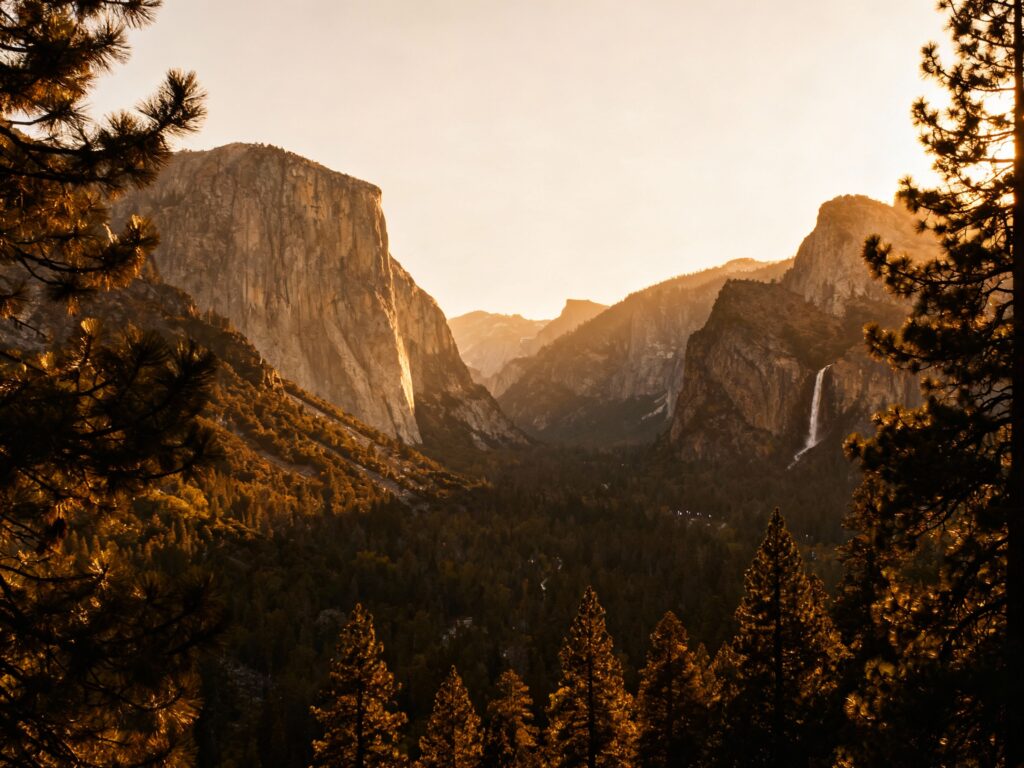
1) Tunnel View (El Capitan + Bridalveil Fall + Half Dome)
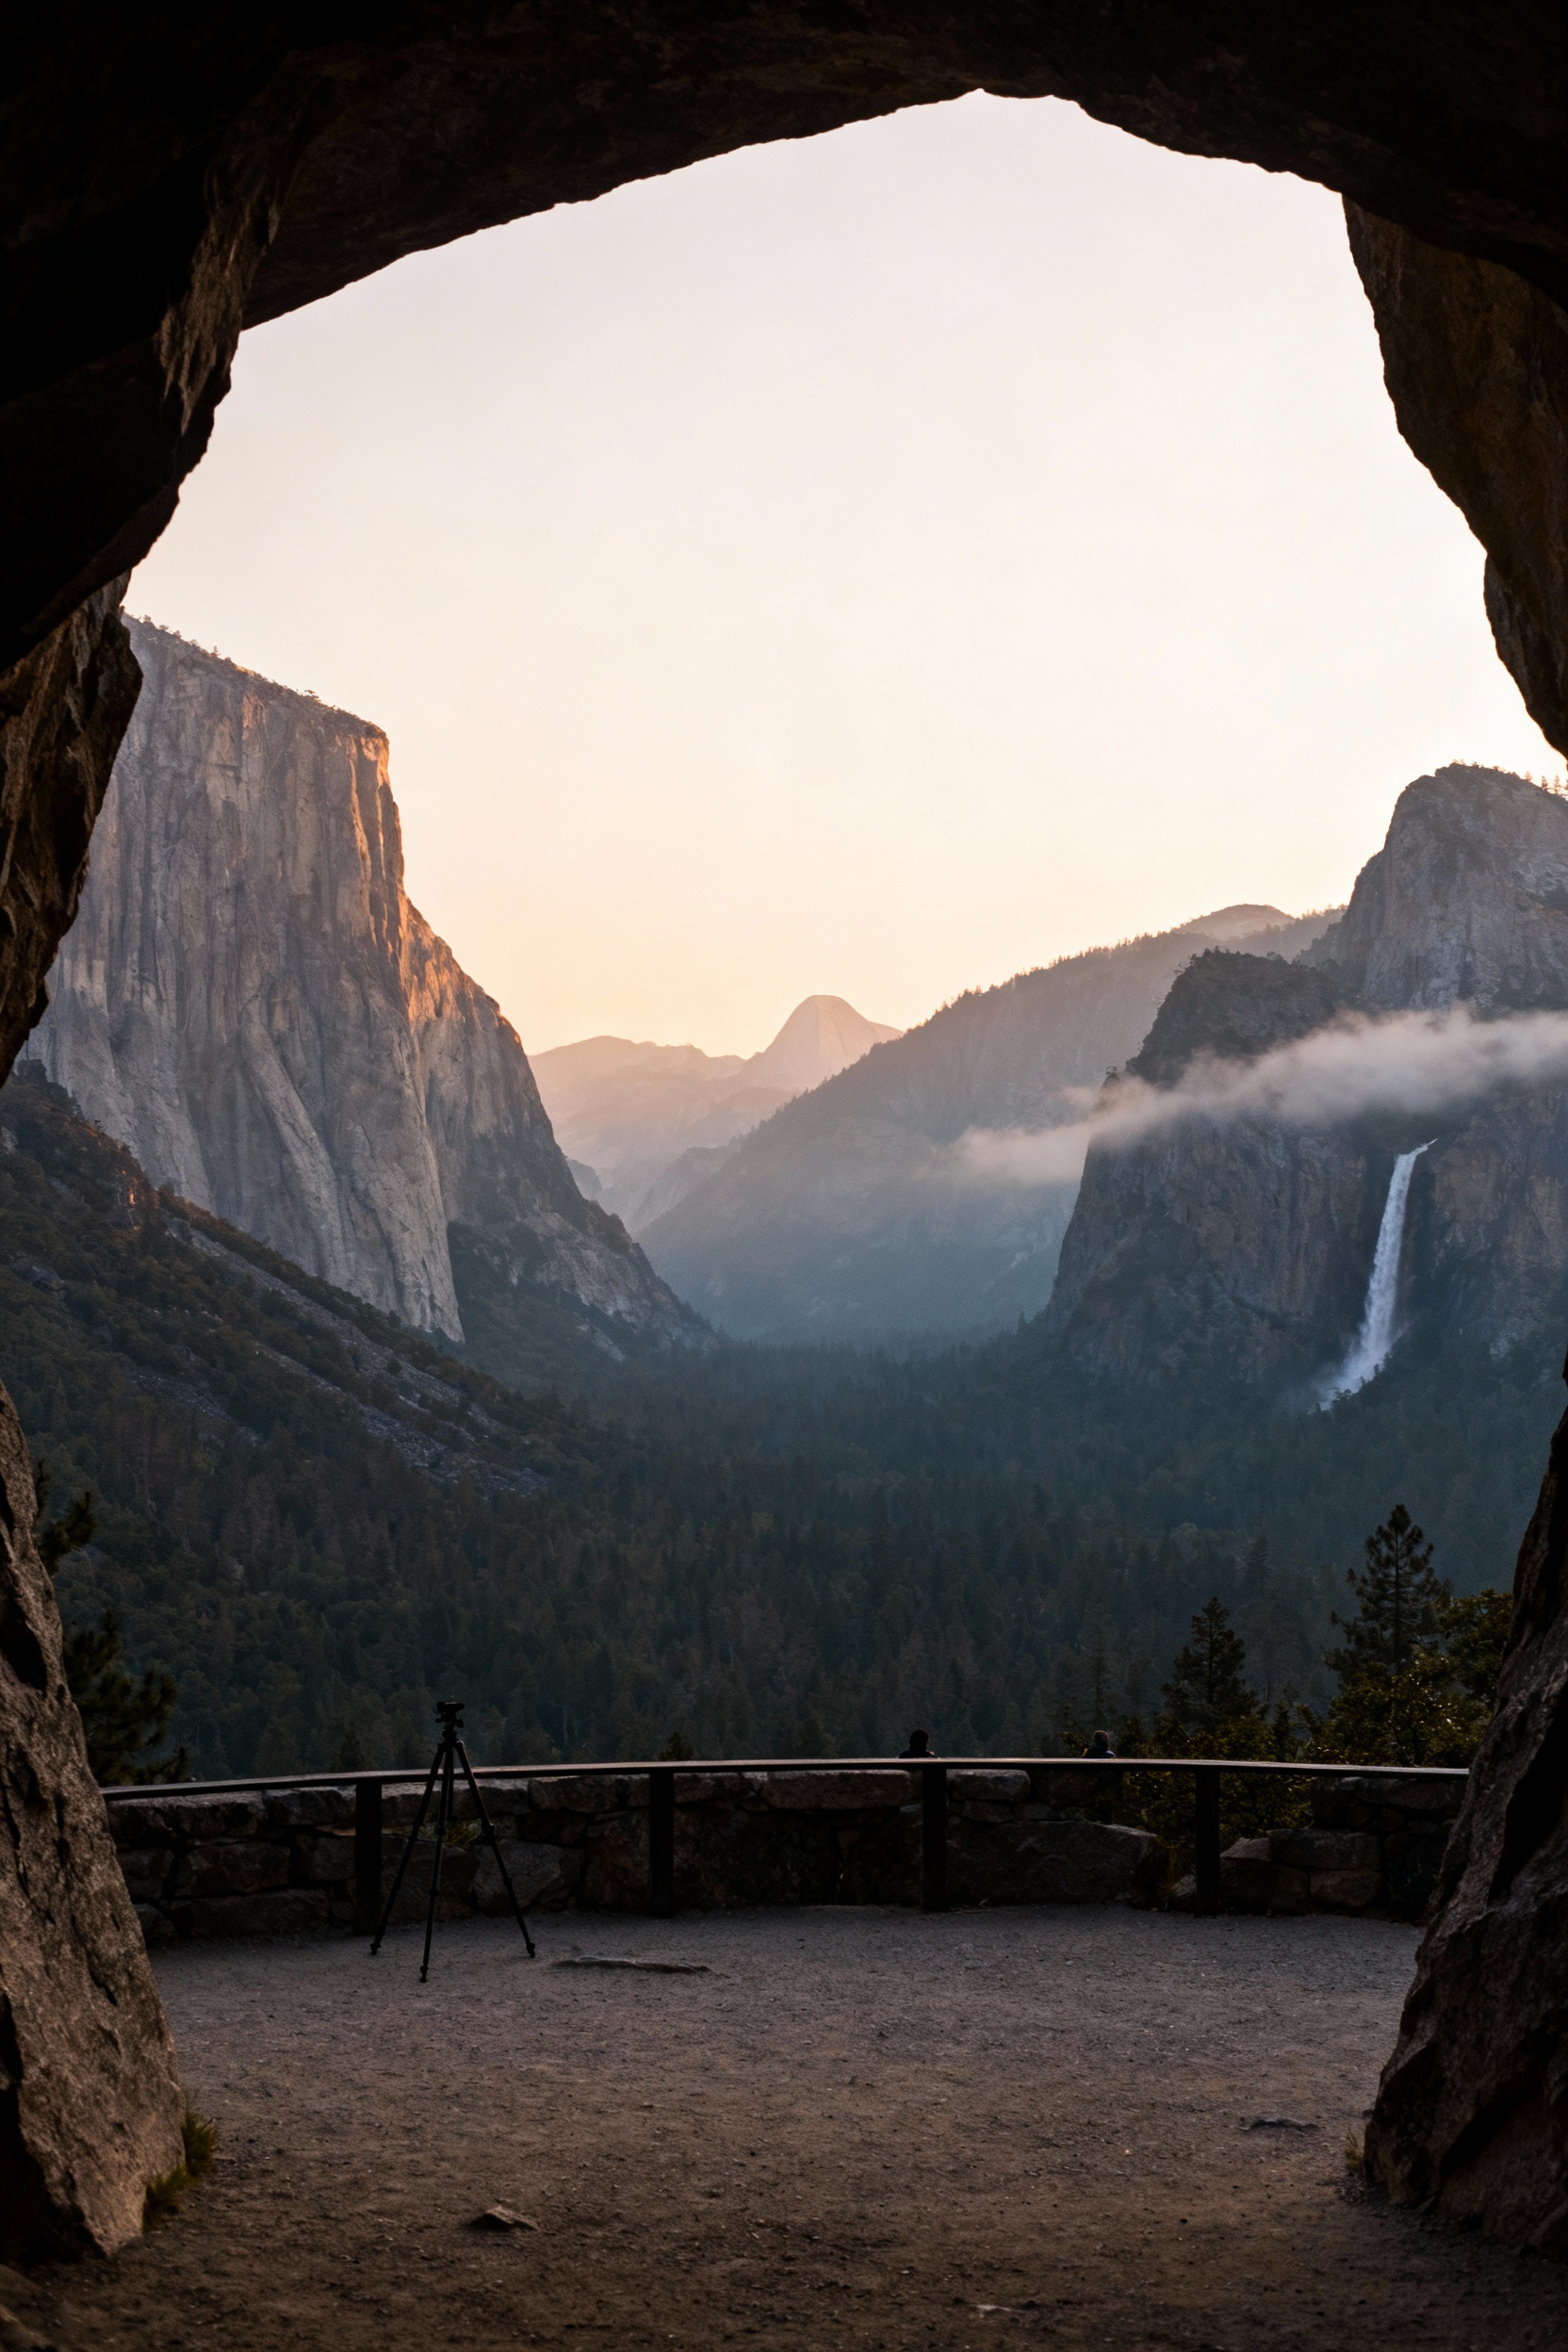
This is the classic Yosemite postcard, and it’s popular for a reason—everything lines up in one epic frame. Arrive at sunrise for softer light and fewer people; by mid-morning, tour buses roll in and the viewpoint gets crowded. Bring a wide-angle lens (or use your phone’s 0.5x) and a small tripod if you want clean low-light shots. In winter, pack traction (microspikes) because the pullout area can be icy.
2) Yosemite Valley View (Merced River Reflection Spot)
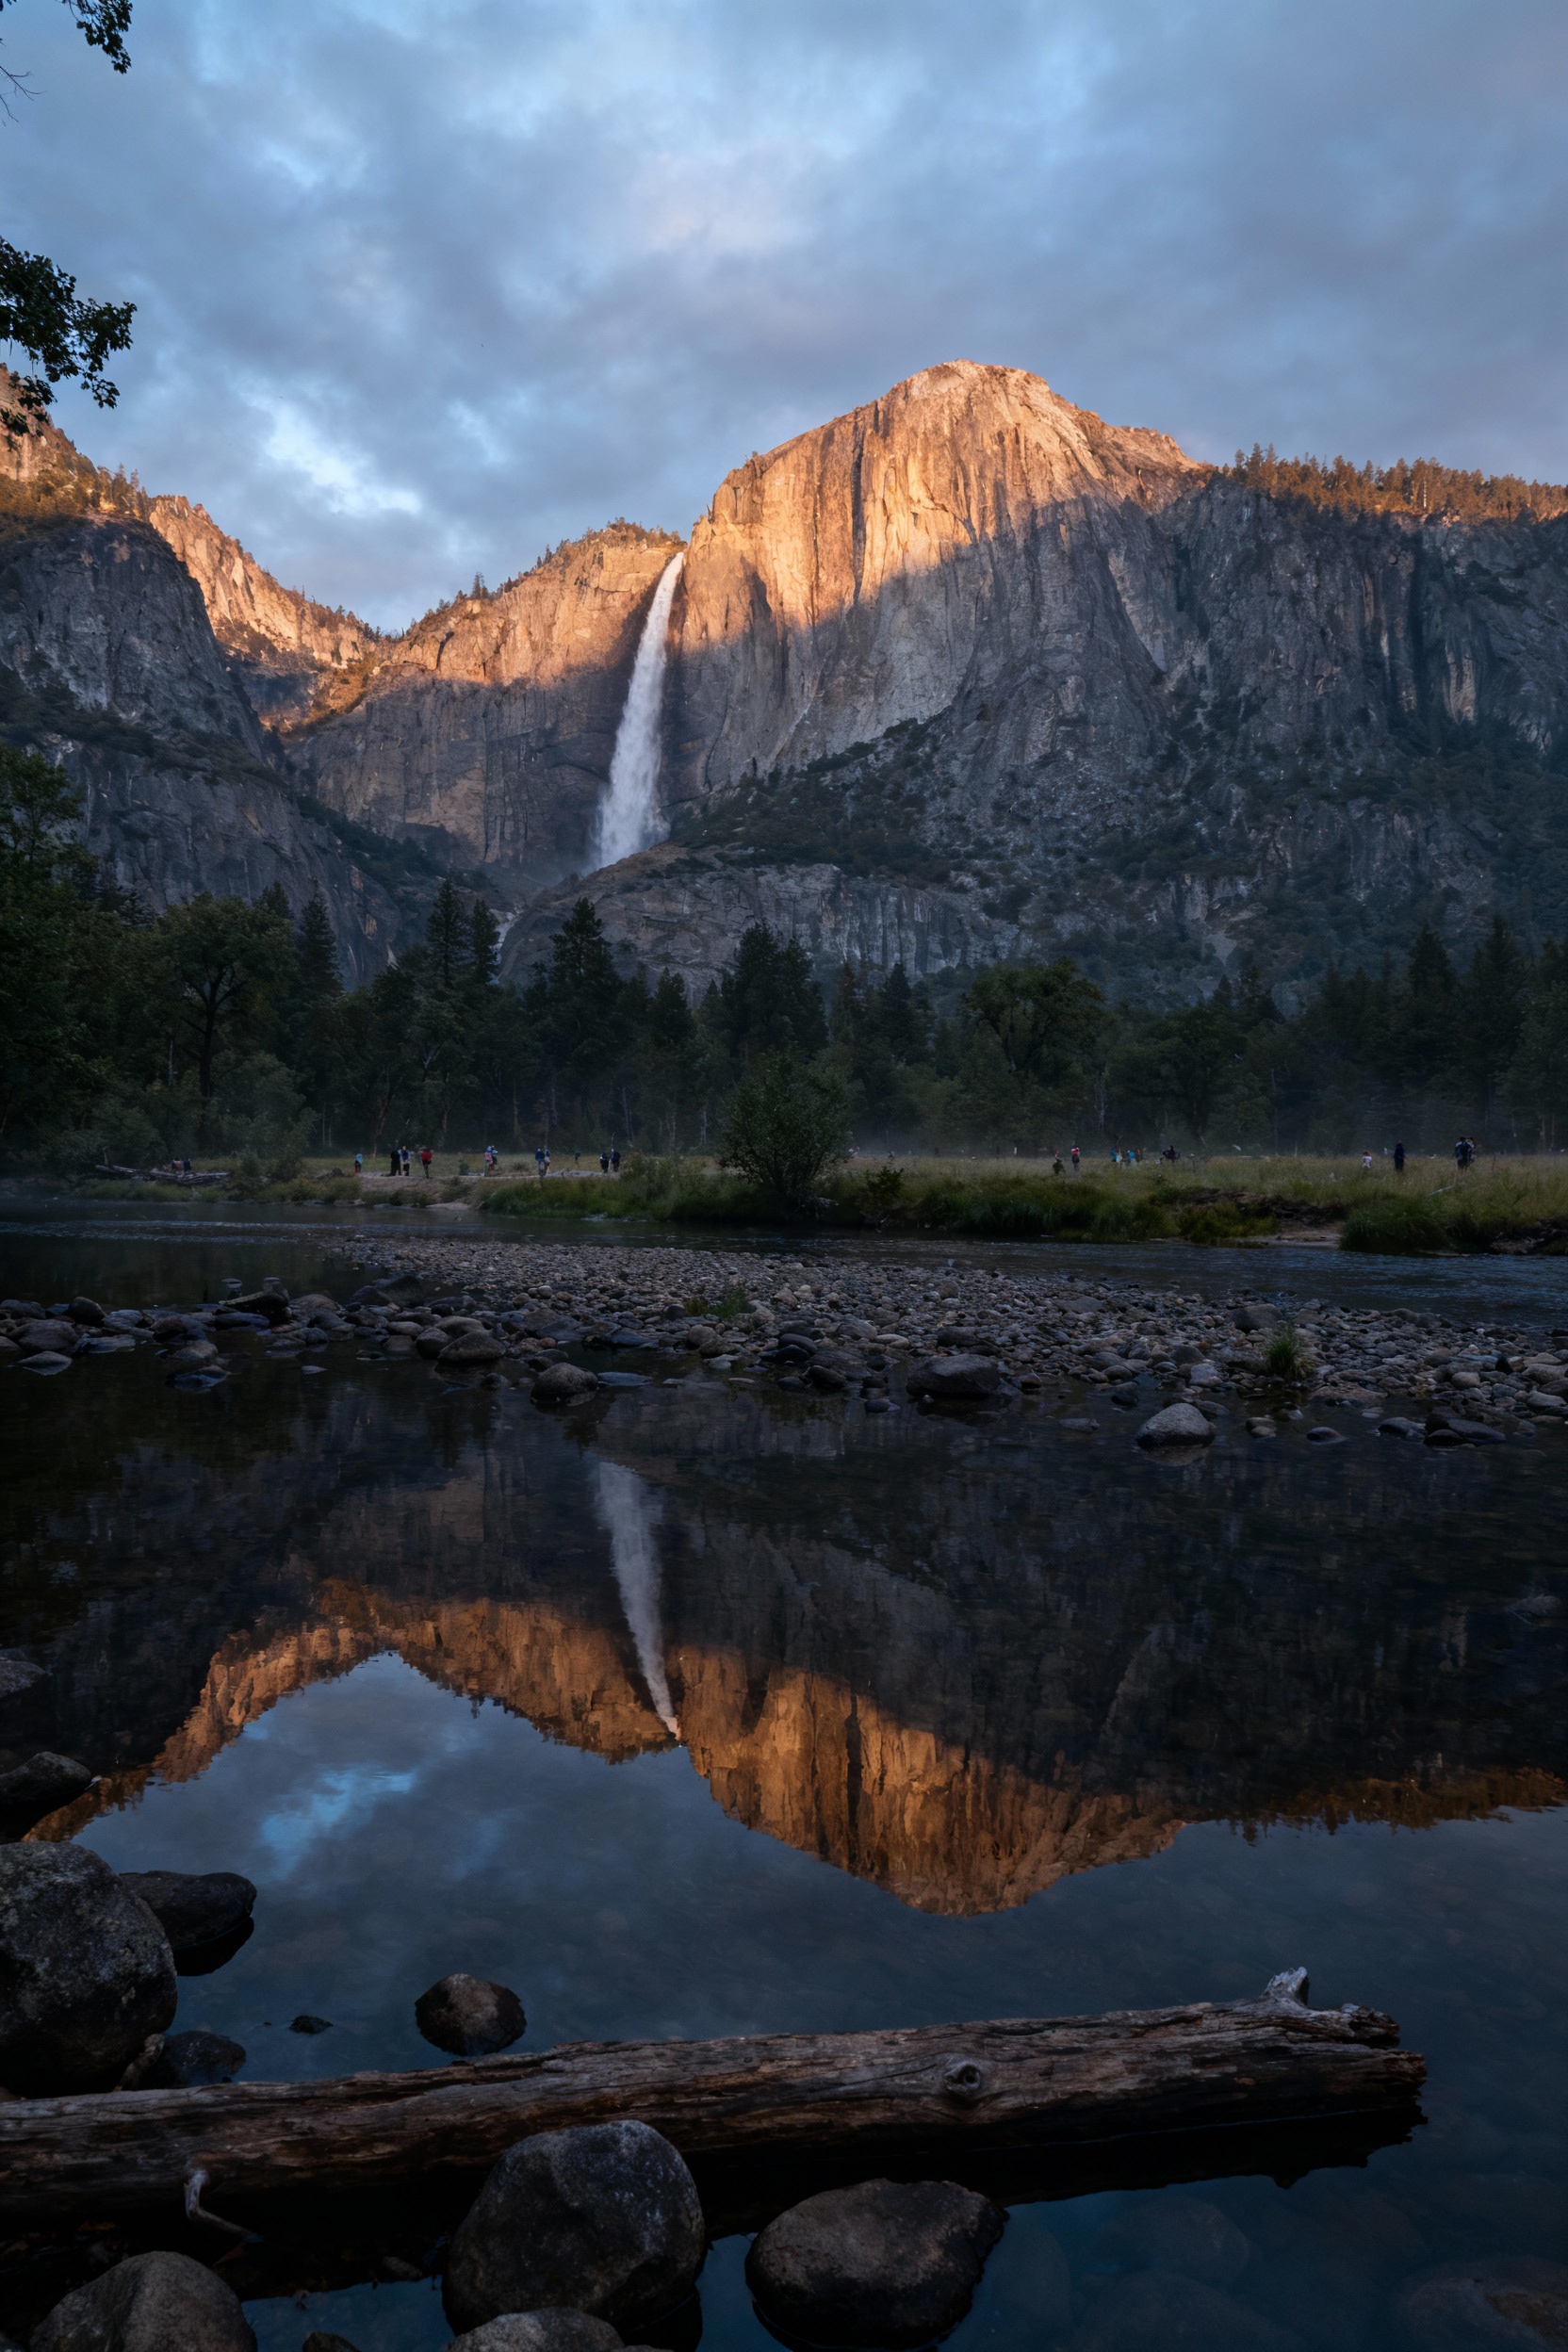
For reflections of El Capitan and Bridalveil Fall, Valley View is your go-to—especially at sunrise or just after a storm when the air is crisp. Park along Northside Drive and walk a short path to the riverbank; get low to emphasize mirror-like water. A polarizing filter helps control glare, but don’t overdo it if you want strong reflections. Pack bug spray in warmer months because the river area can get swarmed near dusk.
3) Glacier Point (Half Dome + High Sierra Overlook)

Glacier Point delivers the “how is this real?” perspective: Half Dome feels close enough to touch, and the whole valley drops away beneath you. If the road is open, aim for late afternoon into sunset for warmer tones, then linger for blue hour if you have a tripod and a jacket (it gets windy and cold fast). If you’re hiking up (Four Mile Trail), start early, carry plenty of water, and plan a shuttle/ride back down to save your knees. Bring a medium zoom (around 24–70mm or 24–105mm) to frame Half Dome cleanly without losing the scale.
4) Sentinel Dome (360° Panorama + Half Dome Profile)

Sentinel Dome is a relatively short hike with a huge payoff: sweeping panoramas and one of the best Half Dome profiles for photos. Go near sunset for warm light on the granite, but start with enough time to hike back before it’s fully dark. A headlamp is non-negotiable if you’re staying late, and a lightweight tripod is perfect for stitched panoramas. If you’re visiting in peak season, start early because trailhead parking fills up quickly.
5) Taft Point (Granite Fissures + Valley Drop-Off)
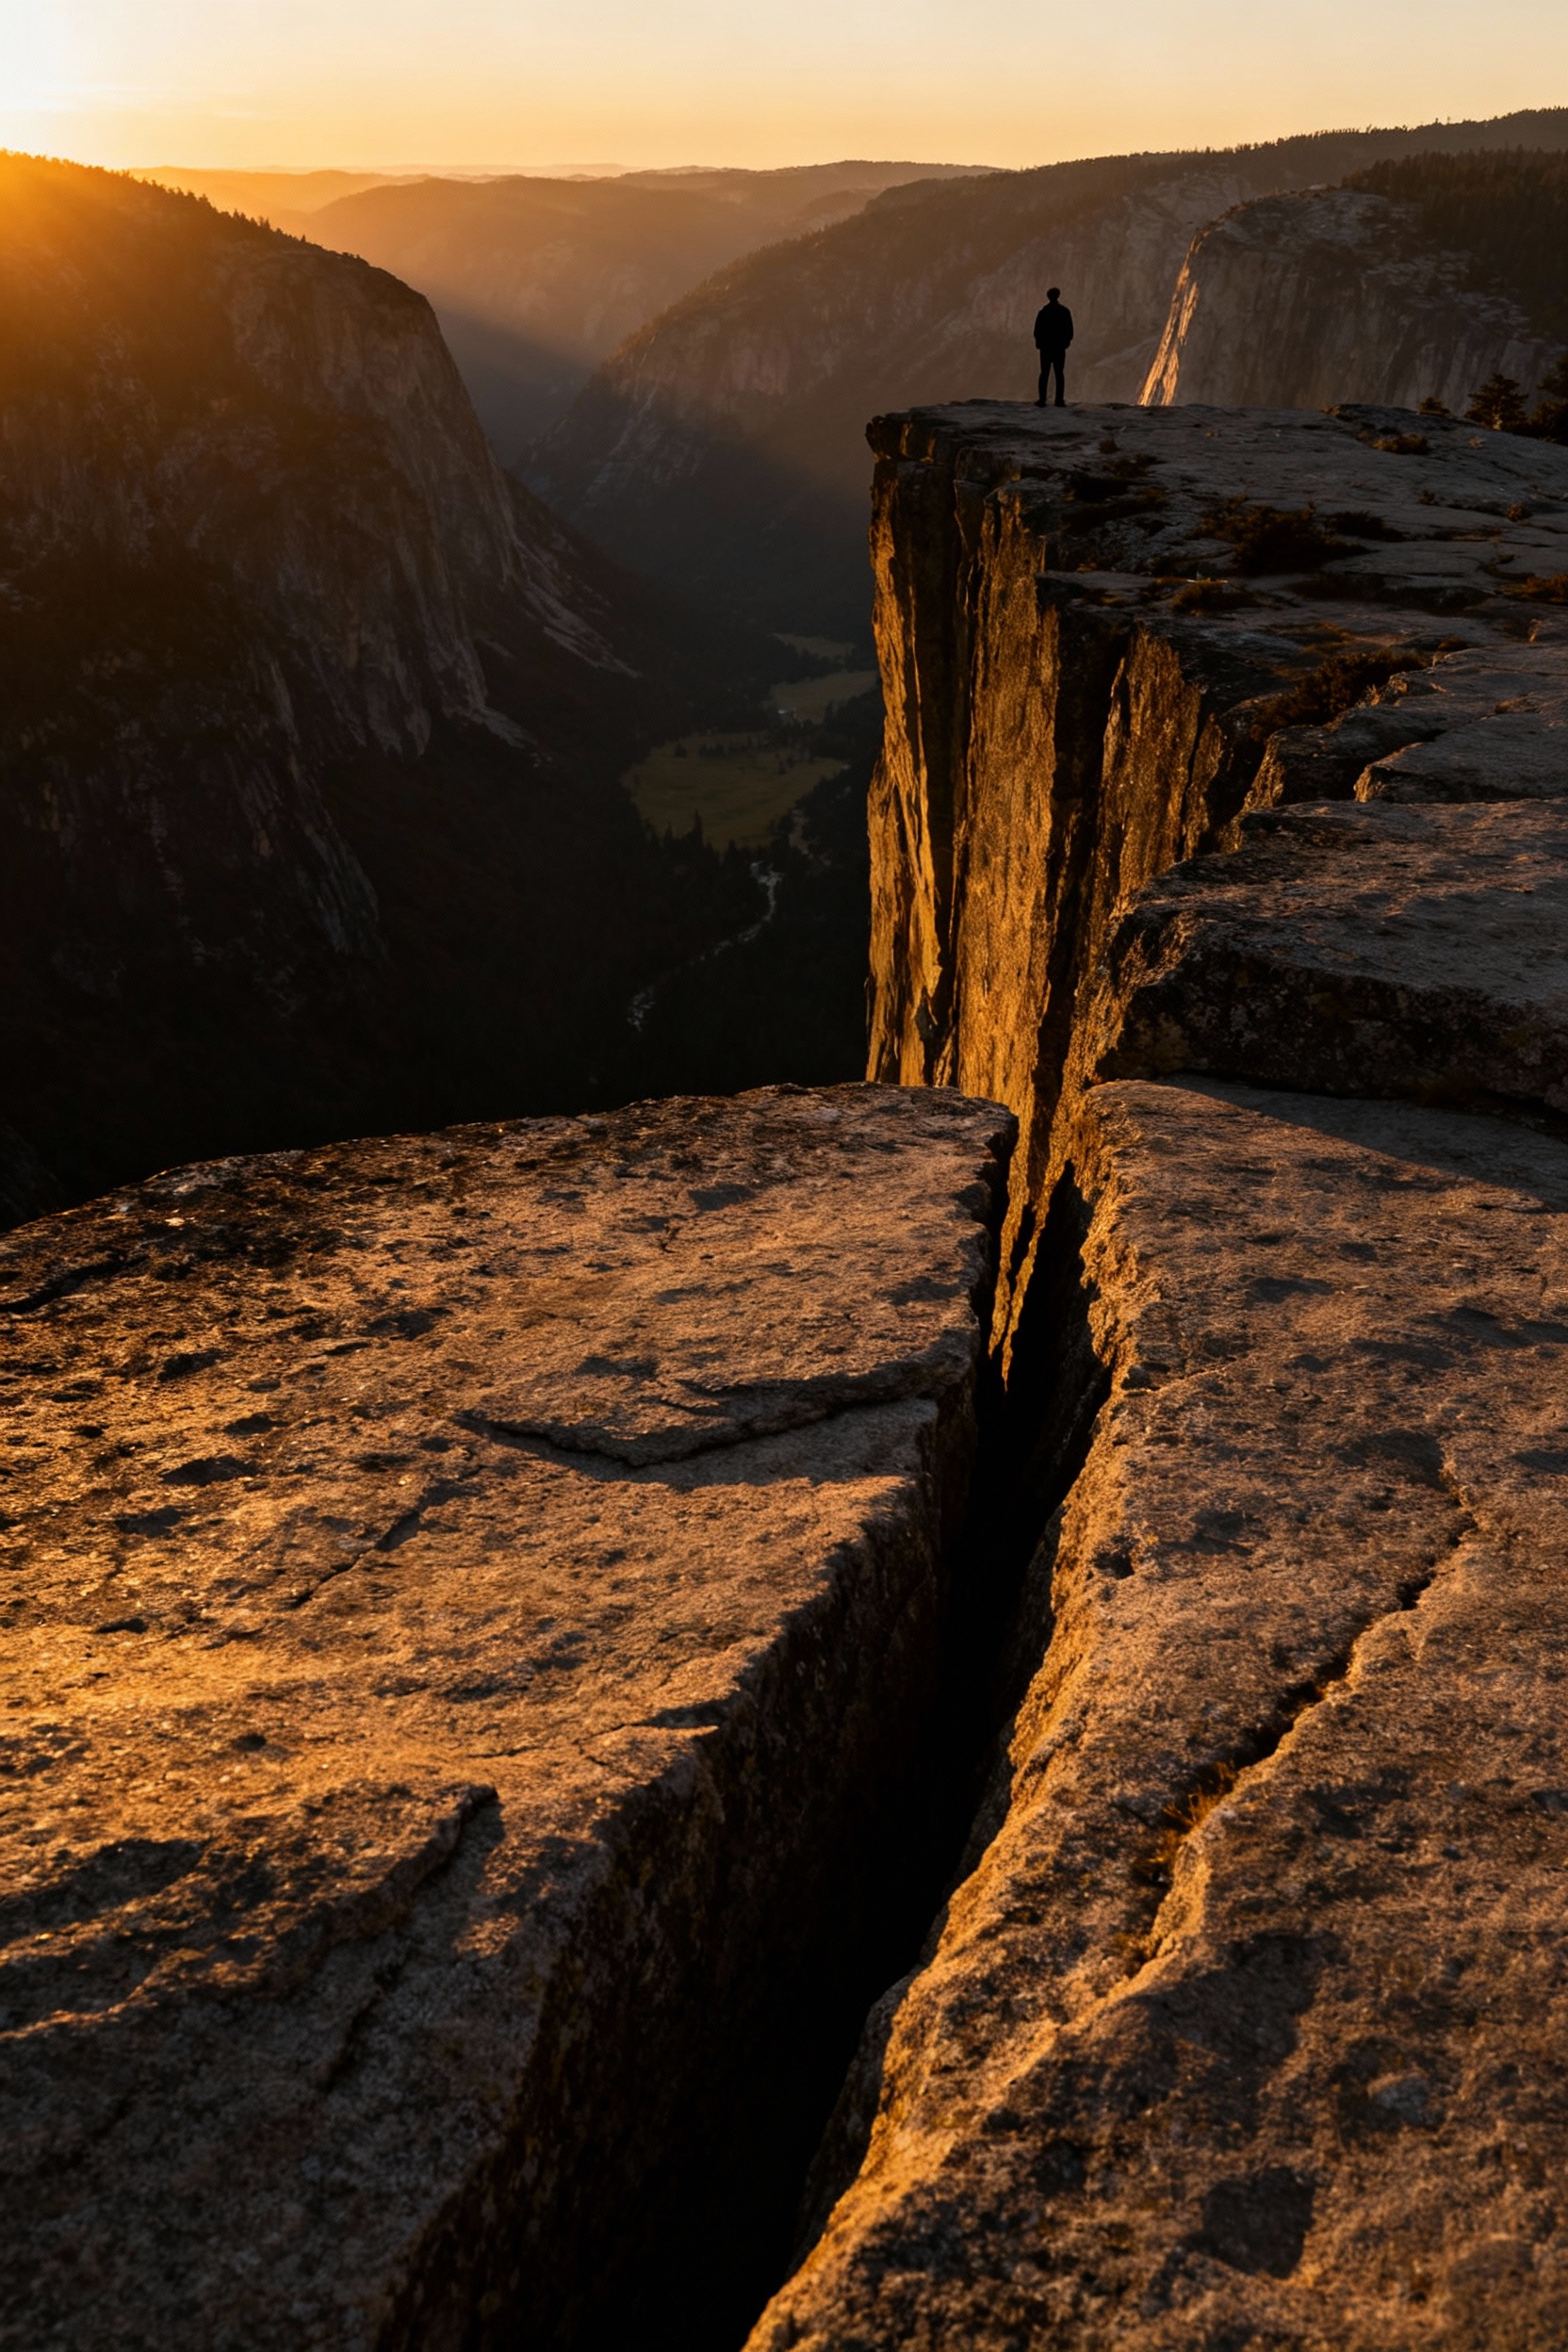
Taft Point is iconic for its dramatic edges and crack-like granite fissures—amazing for wide shots and moody silhouettes at sunset. Stay a safe distance from the rim (wind gusts and loose gravel are real), and use a longer lens to compress the cliff edge without stepping close. The trail is fairly easy, but it’s exposed—pack water, a wind layer, and a snack so you’re not rushing the light. If you want fewer people in your frame, go on a weekday and avoid holiday weekends.
FAQ
What time of day is best for Yosemite landscape photography?
Sunrise and the last two hours before sunset are the sweet spots for soft light and fewer crowds. Midday can still work if you focus on details (granite textures, river patterns) or shoot waterfalls in open shade. Plan your “iconic viewpoints” for early/late, and use midday for hikes, picnic breaks, or scouting compositions.
Do I need a reservation to enter Yosemite?
Yosemite sometimes requires peak-season entry reservations or has special traffic management depending on the year and time period. Check the official National Park Service Yosemite website before you go, and book as soon as the window opens if reservations are required. Even without an entry reservation, lodging and campsites sell out fast, so lock those in early.
When are the waterfalls best for photos?
Waterfalls usually peak in spring (often April to June) when snowmelt is strong; by late summer, some falls can slow to a trickle. For the cleanest waterfall shots, try overcast days or shaded times to reduce harsh contrast. A small microfiber cloth helps if mist hits your lens.
What gear should first-timers pack for Yosemite photography?
Bring a wide-angle option for big views, a standard zoom for flexible framing, and a tripod if you want sunrise/sunset or panoramas. Pack layers (valley mornings can be cold), plenty of water, snacks, sunscreen, and a headlamp if you’ll be out after dark. A power bank is also clutch—service can be spotty and you don’t want a dead phone mid-day.
How do I avoid crowds at the iconic viewpoints?
Go early (like, truly early), prioritize weekdays, and avoid holiday weekends if you can. For Tunnel View and Glacier Point, sunrise is your best friend; for Taft Point and Sentinel Dome, consider an early morning hike instead of sunset. If parking is full, don’t circle forever—switch to a nearby stop, then come back later when turnover improves.