
Big Sur is basically a highlight reel in real life: cliffside roads, moody fog, redwoods, and waves that look like they’re performing for your camera. If you’re visiting for the first time, the trick is knowing where to stop (and when) so you’re not just pulling over randomly on Highway 1.
These five spots are iconic for a reason, but I’m sharing the practical details—best light, where to park, what to pack, and how to keep it safe and smooth.
Top 5
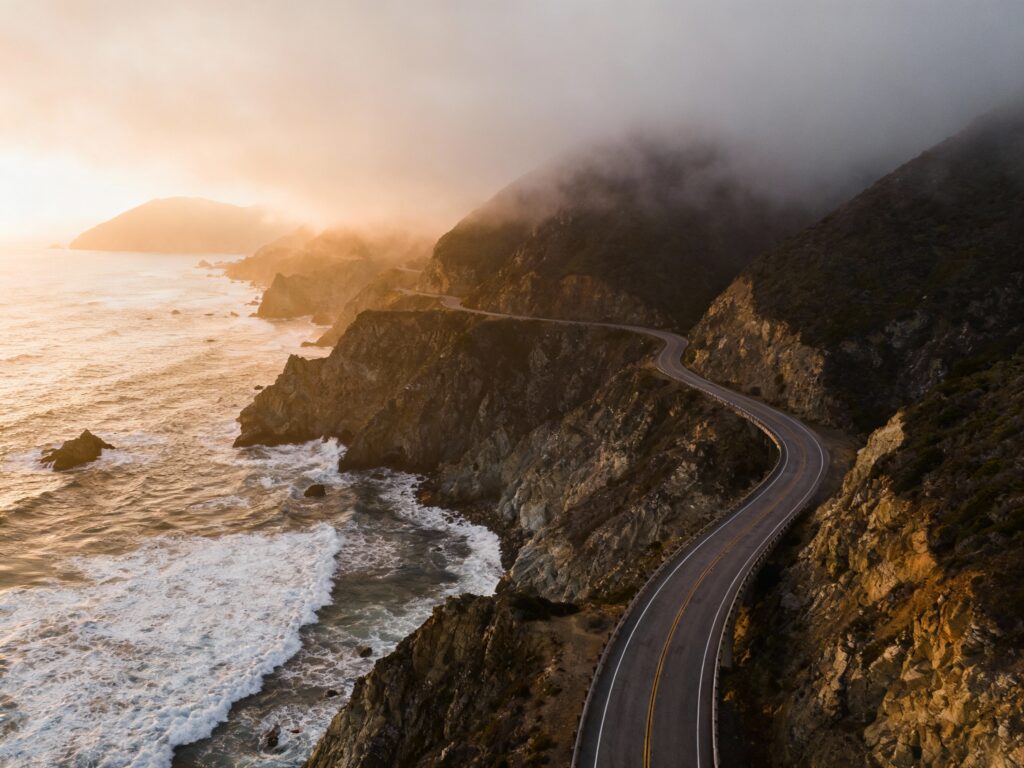
1) Bixby Creek Bridge (Castle Rock Viewpoint)

For the classic Big Sur shot, head to Castle Rock Viewpoint (the paved pullout just north of the bridge) and arrive early—sunrise through mid-morning is the calmest for traffic and the cleanest light. Use a wide lens (or your phone’s 0.5x) to capture the bridge curve with the coastline behind it. Don’t stand in the roadway or on the narrow shoulders; shoot from the viewpoint and keep an eye on passing cars when walking near the lot.
2) McWay Falls at Julia Pfeiffer Burns State Park
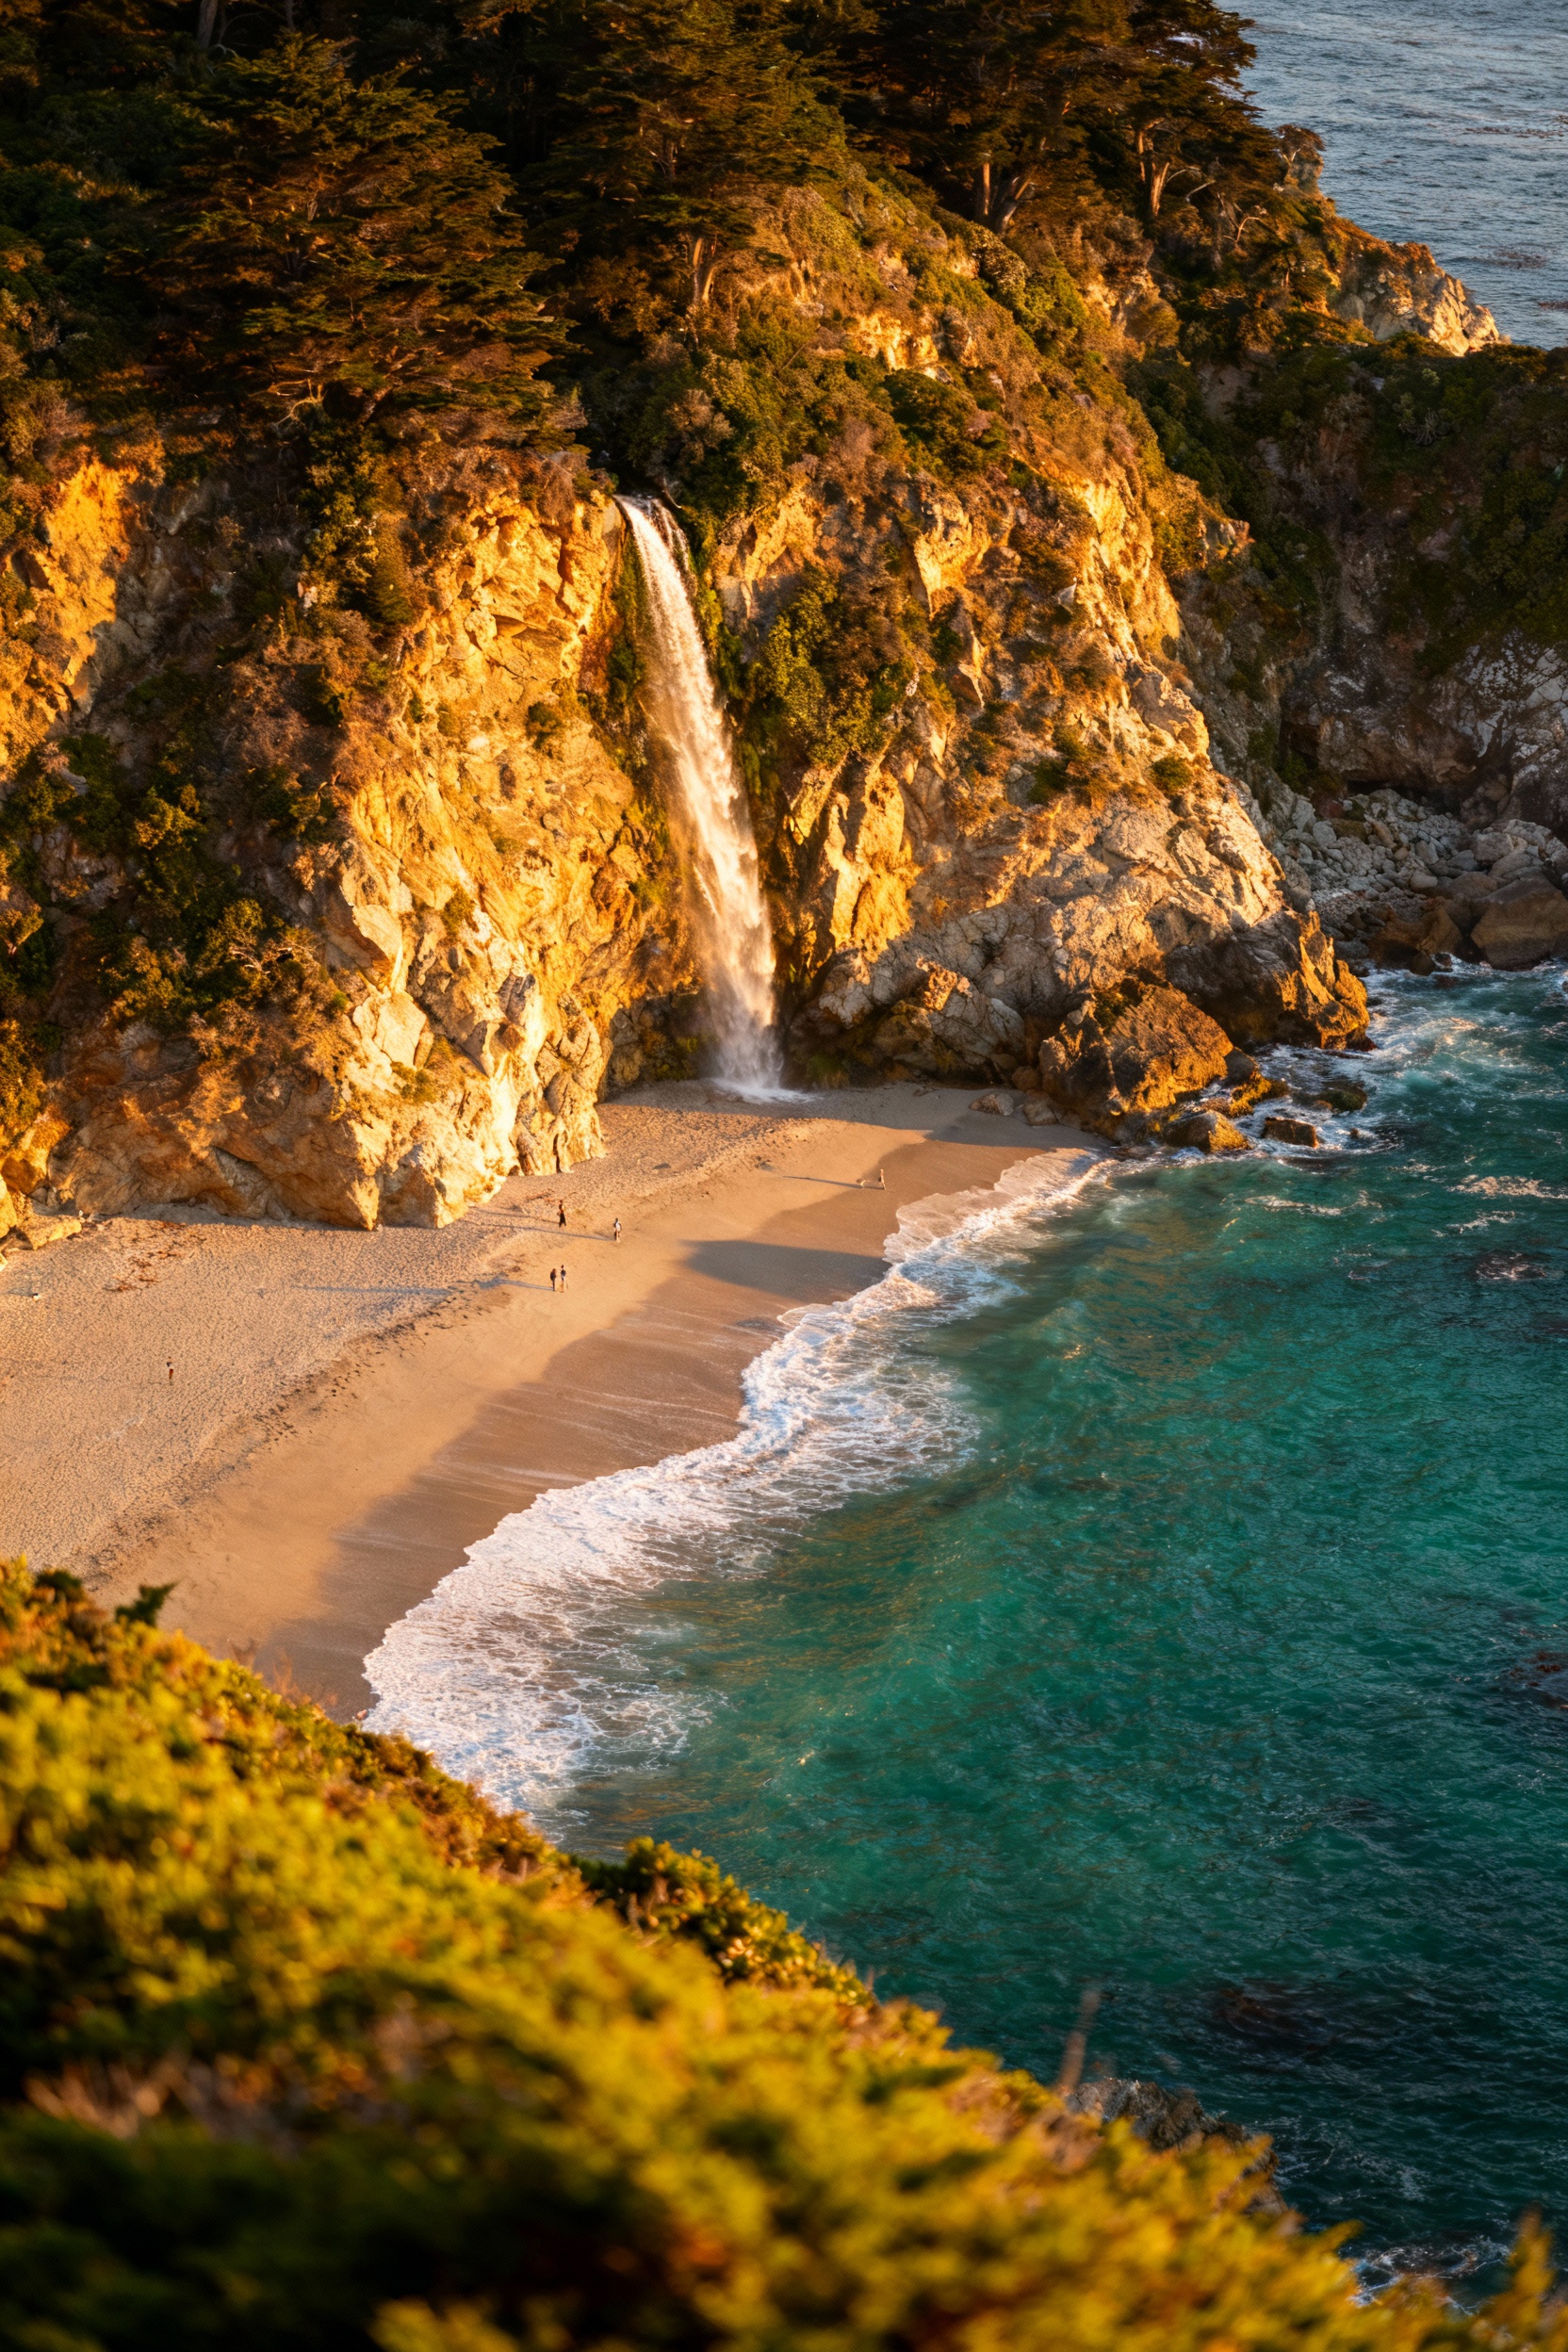
This is the waterfall that drops onto the beach—yes, it’s real, and yes, it looks even better at golden hour. Park in the day-use lot and take the short McWay Falls Overlook Trail; it’s quick, paved in sections, and super first-timer friendly. Bring a polarizing filter if you have one (it helps cut glare on the ocean), and plan for crowds by arriving close to opening or later in the afternoon.
3) Pfeiffer Beach (Keyhole Rock)
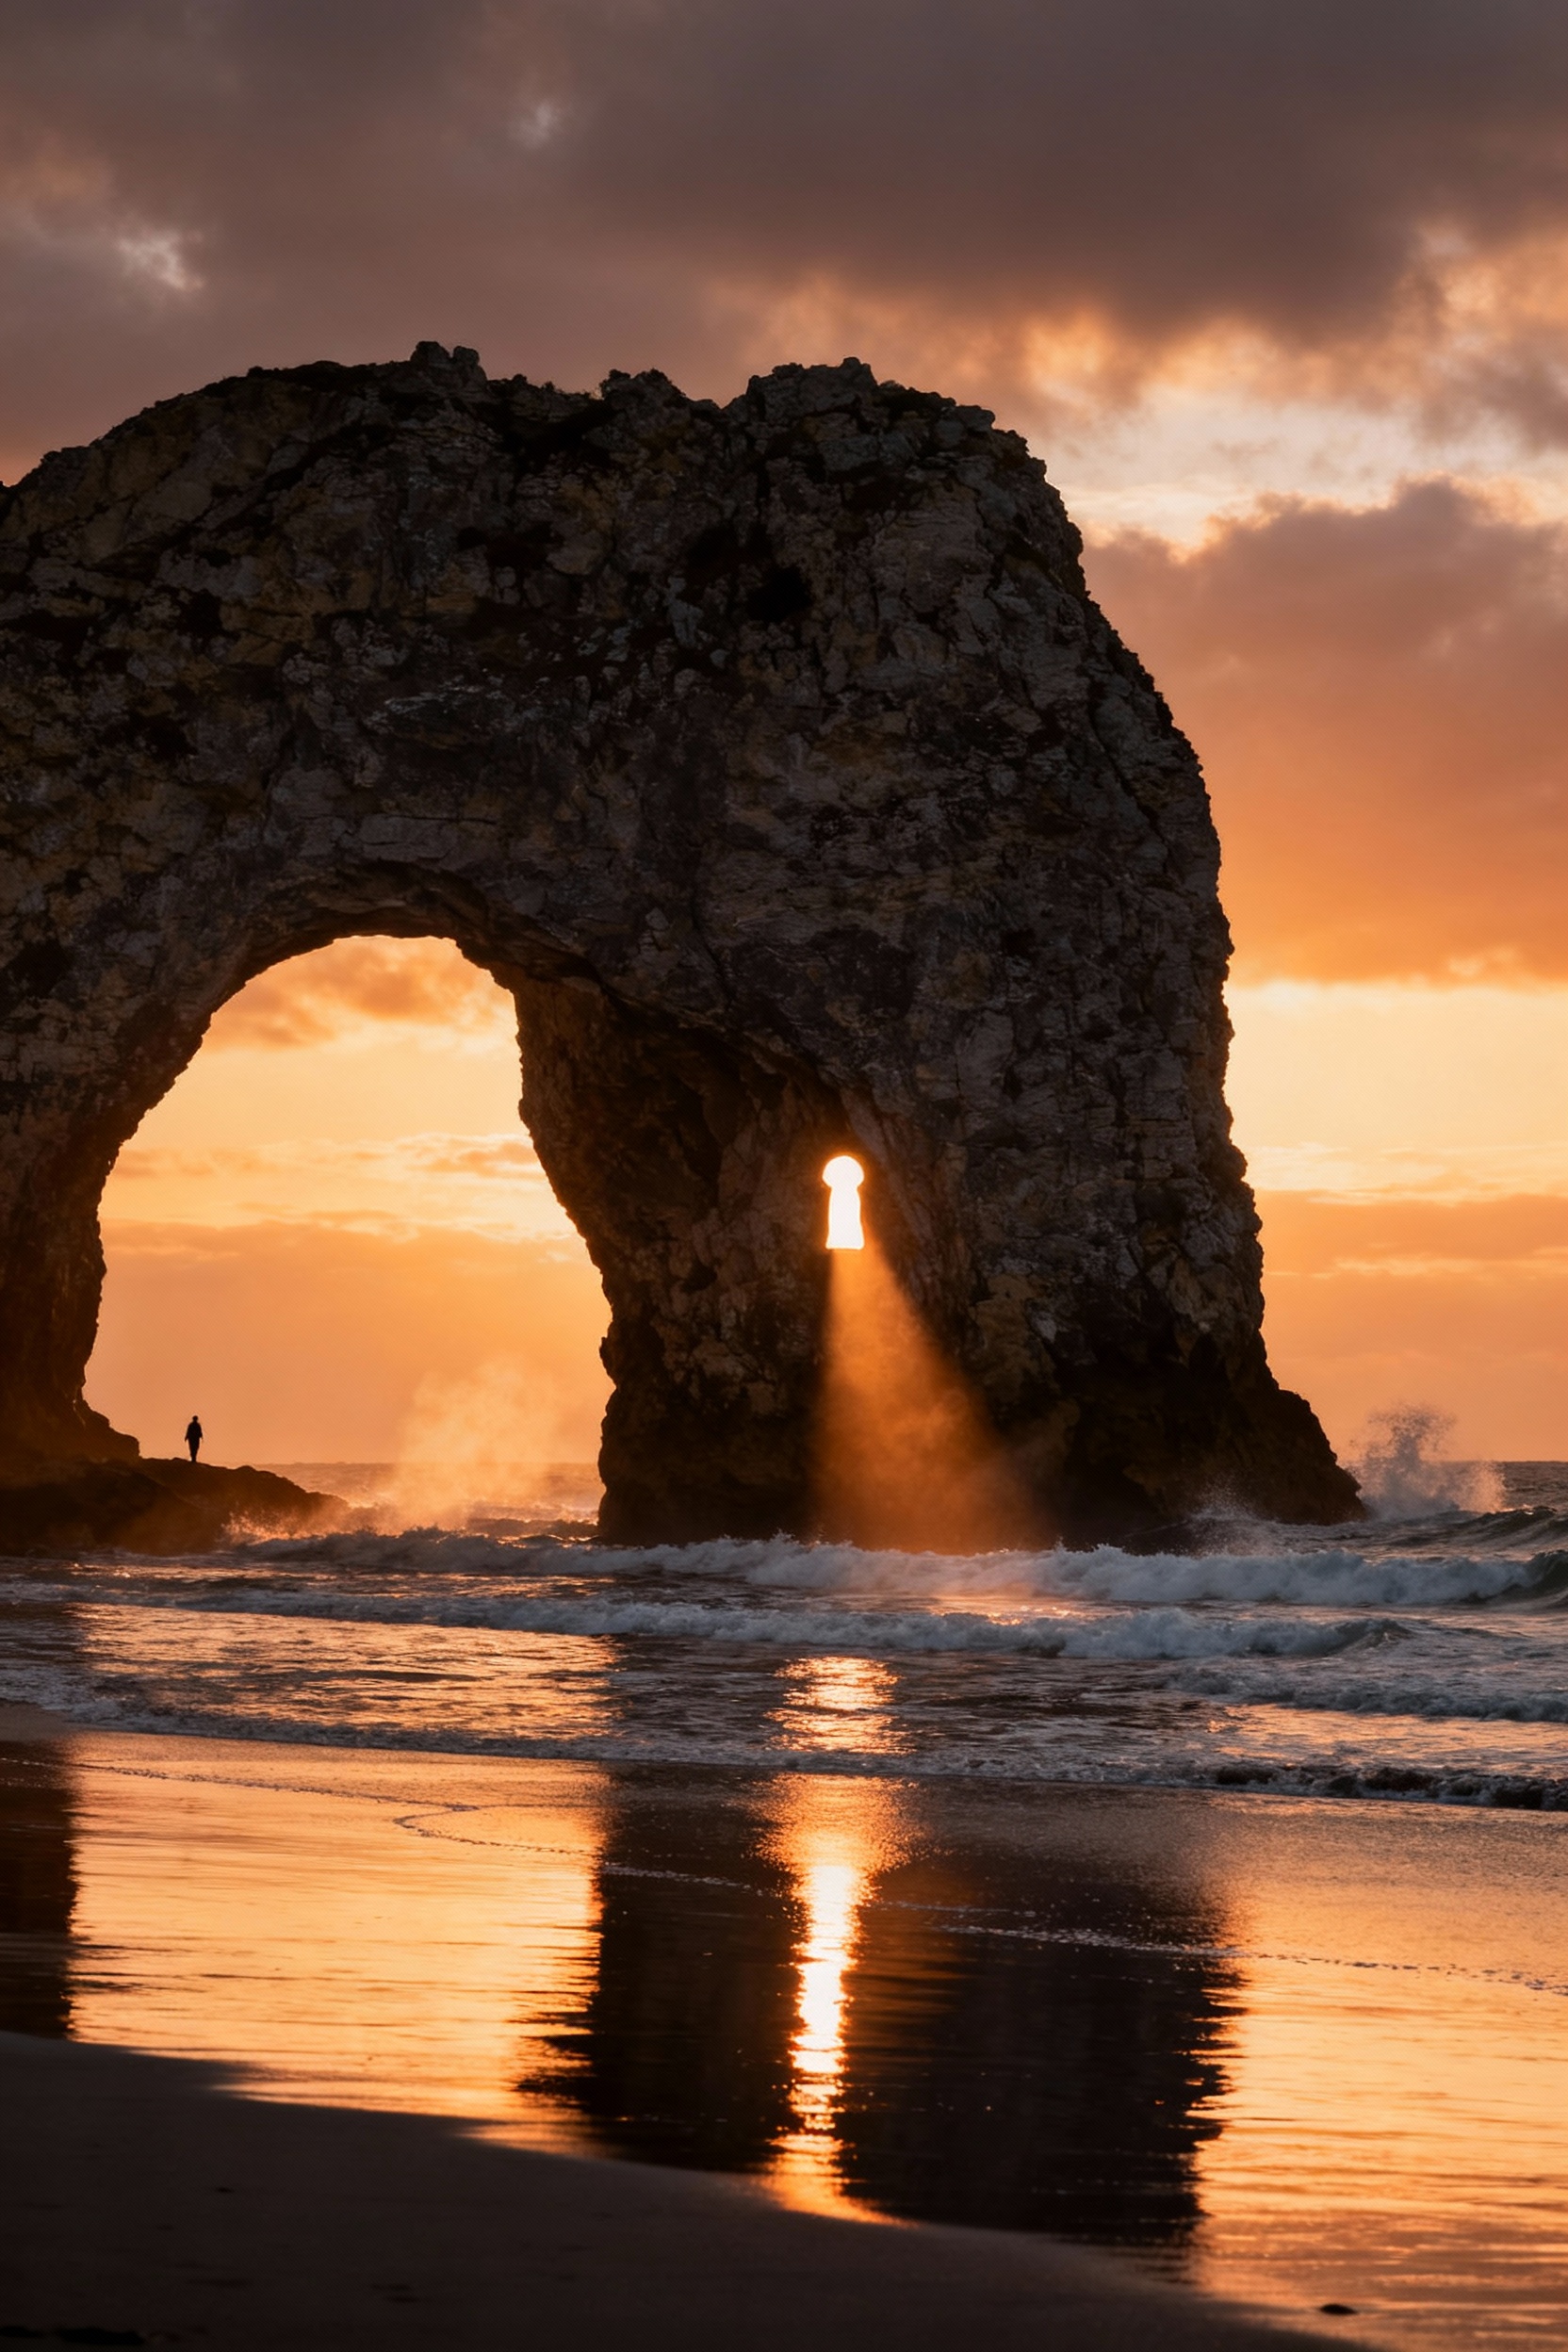
Pfeiffer Beach is famous for Keyhole Rock and the little “keyhole” window that can glow when the sun hits it—late afternoon into sunset is prime. The road in (Sycamore Canyon Road) is narrow and easy to miss, so download offline maps and go slow. Pack a light jacket (it gets windy), and if you’re shooting sunset, bring a tripod for longer exposures as the light drops fast.
4) Garrapata State Park (Bluffs + Calla Lily Valley)
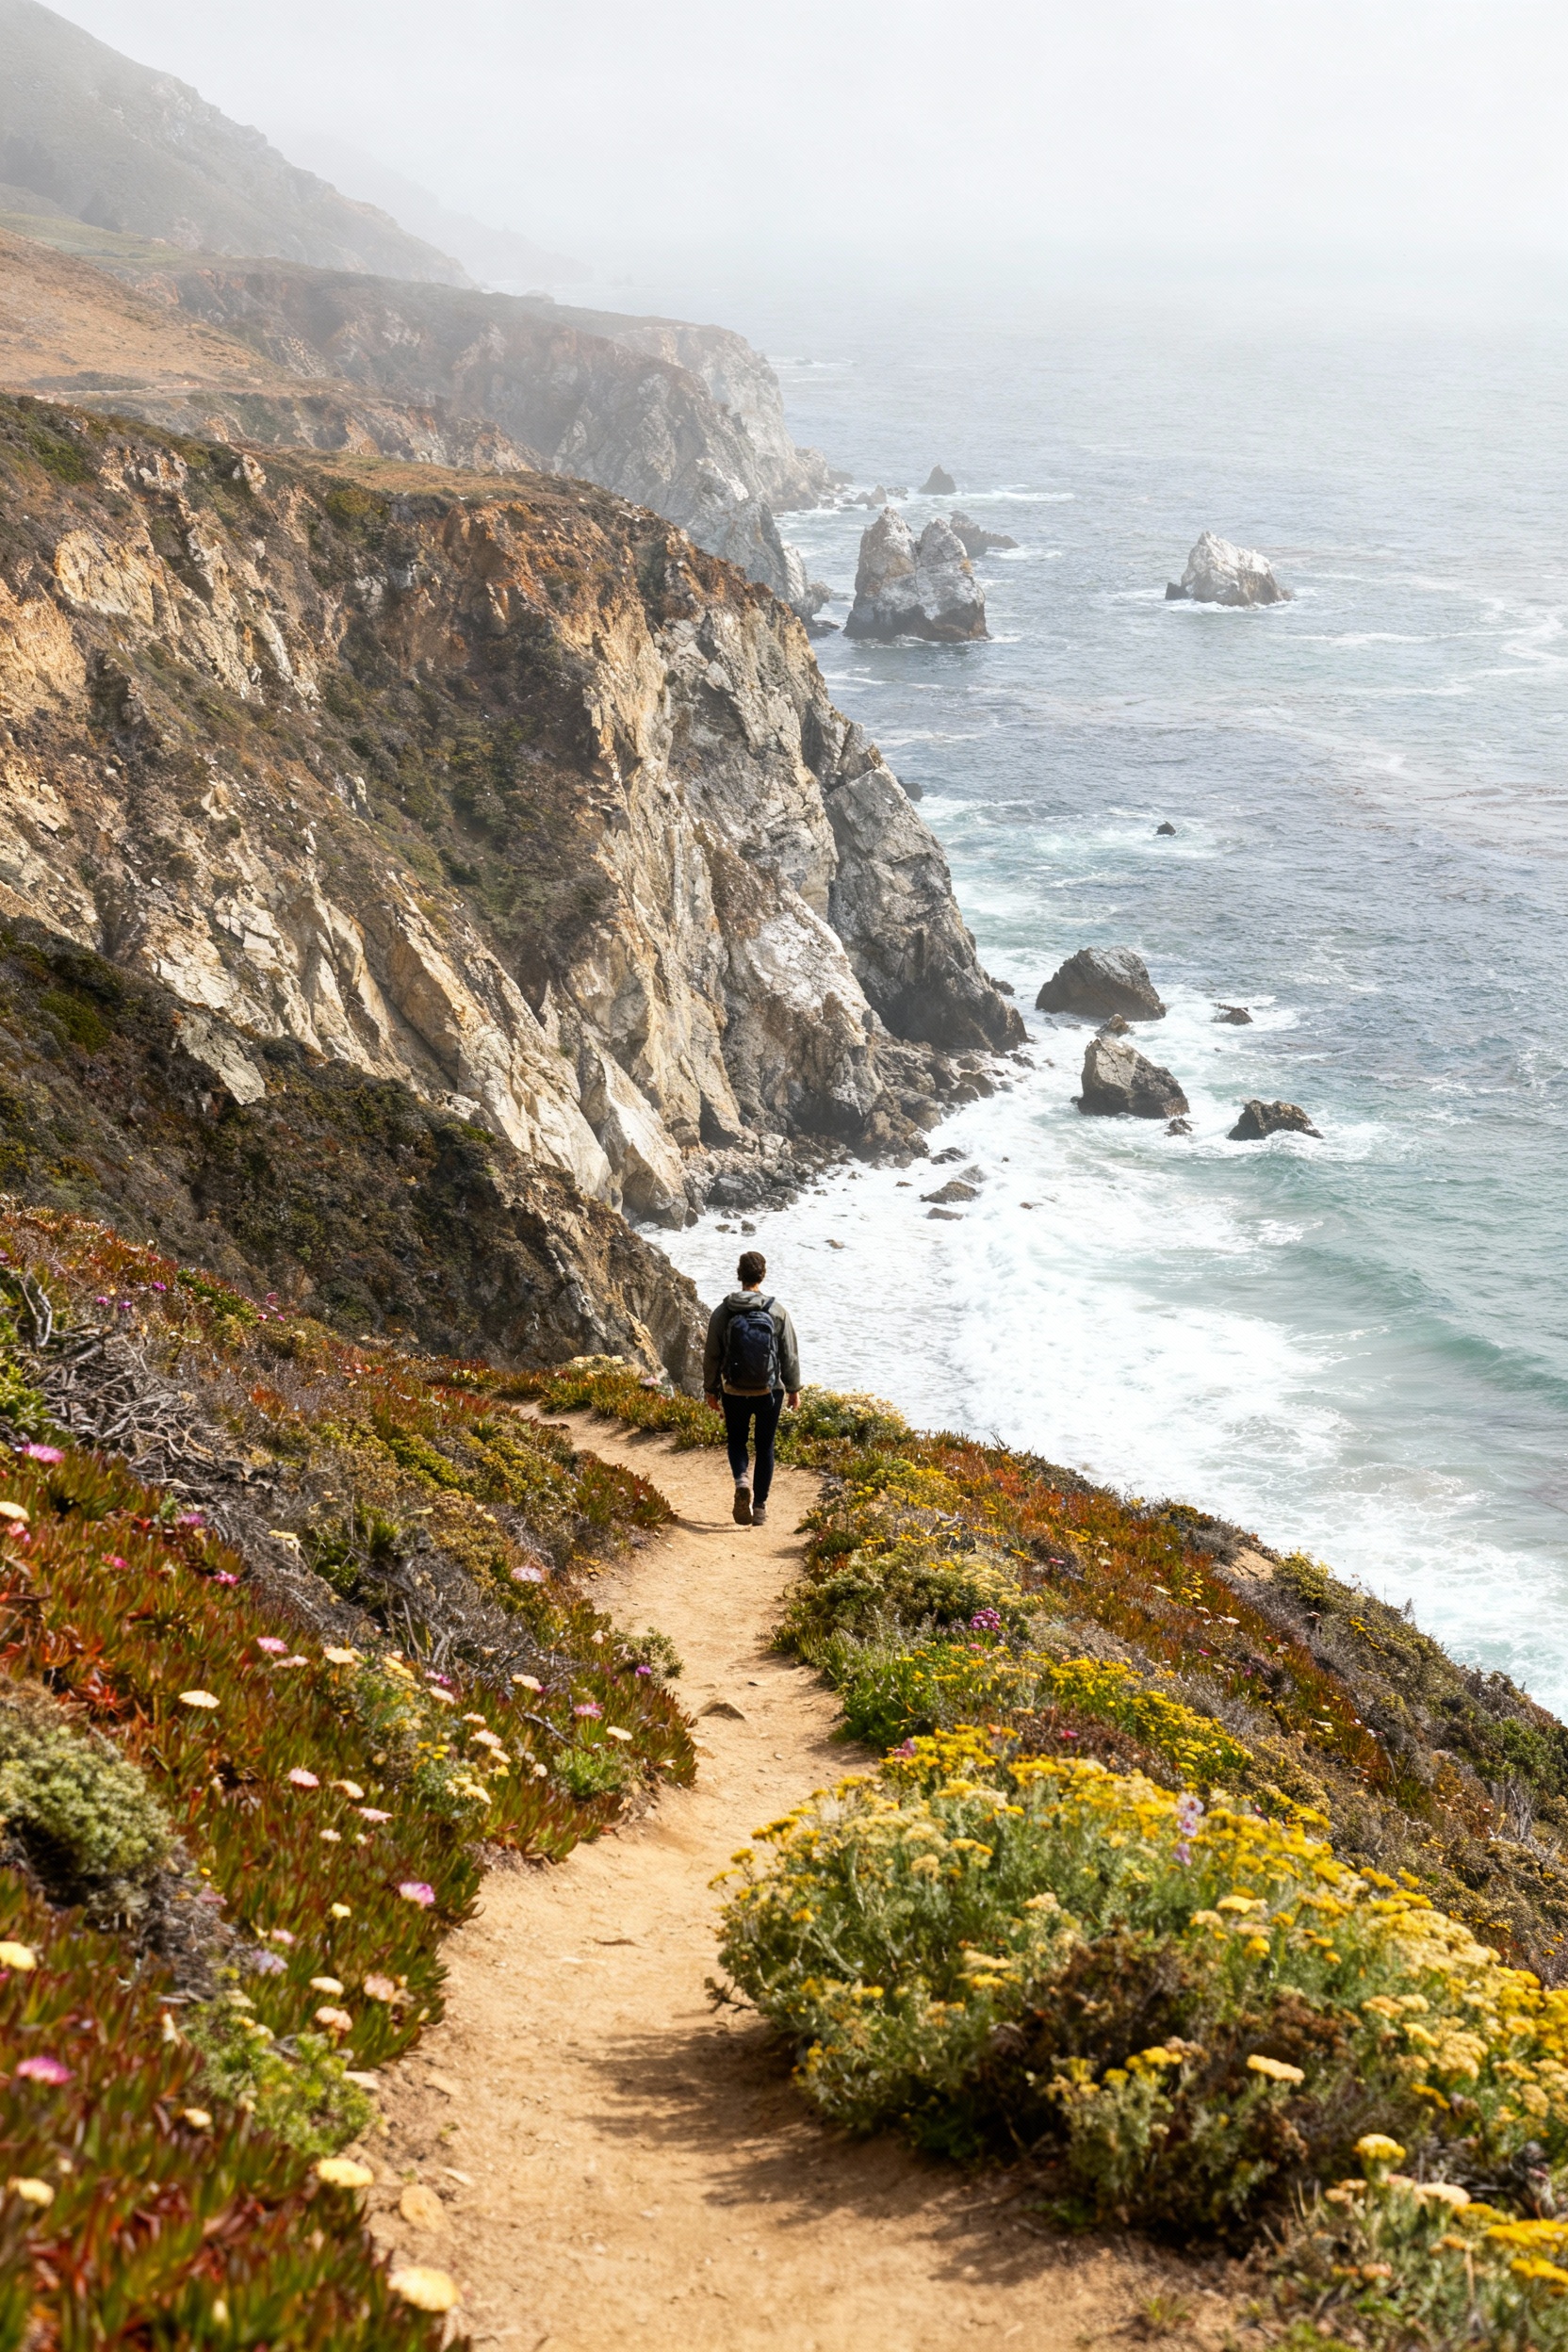
Garrapata is where you go when you want Big Sur vibes without the same level of crowds—think dramatic bluffs, trails with ocean views, and seasonal wildflowers. Pullouts are along Highway 1; look for signed gates/trail access and park fully off the road. For soft, cinematic shots, aim for late afternoon when the cliffs get warm light, and wear shoes with traction because some paths can be sandy or muddy.
5) Point Lobos State Natural Reserve (Cypress Grove + China Cove)
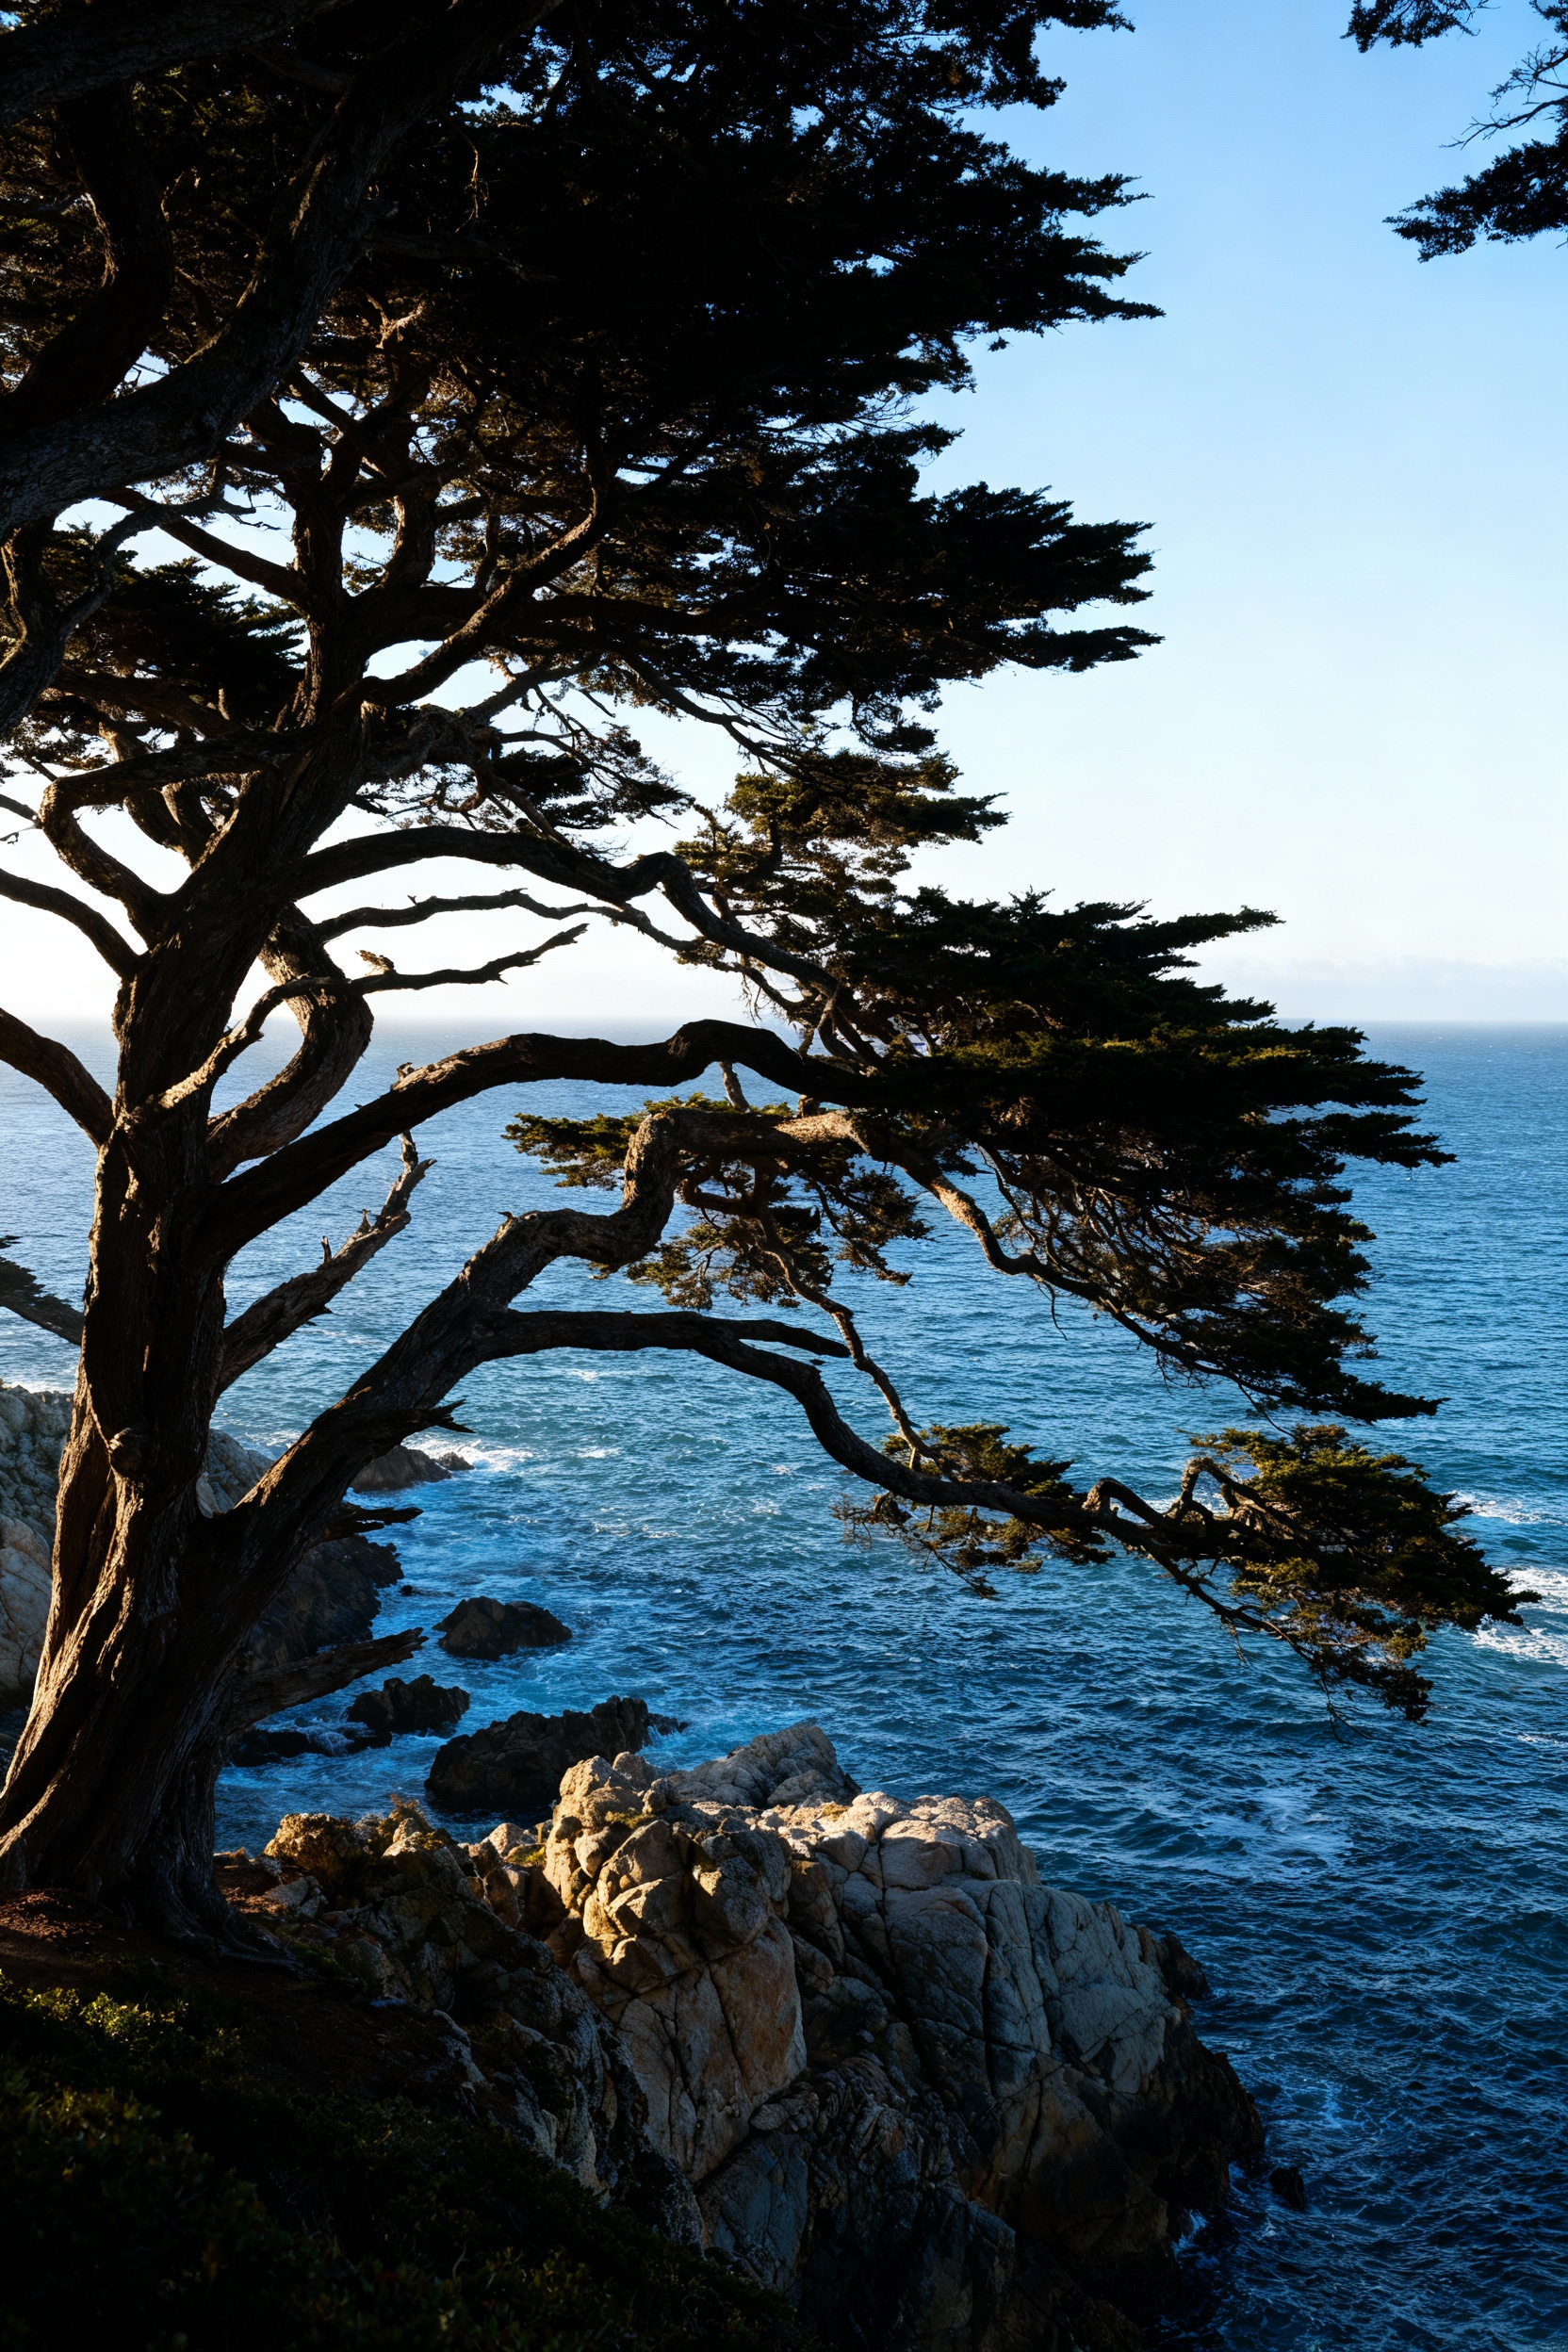
Just north of Big Sur in Carmel, Point Lobos is a photography cheat code: twisted cypress trees, turquoise coves, and easy trails that deliver big payoffs. Get there early—parking fills quickly—and consider walking in if the lot is full (it’s manageable and saves time). Bring a telephoto or use portrait mode for wildlife and details, and keep your lens cloth handy because sea spray is real.
FAQ
Do I need reservations to visit Big Sur photography spots?
Most viewpoints and state parks are first-come, first-served, but parking lots can fill fast on weekends and holidays. Point Lobos is the one that feels “reservation-level” busy—arrive early or plan to walk in. Always check the California State Parks site for temporary closures, trail conditions, and current fees before you go.
What time of day is best for photographing Big Sur?
Golden hour is gorgeous, but mornings often have calmer winds, fewer people, and cleaner light—especially at Bixby Creek Bridge. Sunset is amazing at Pfeiffer Beach and coastal bluffs, but expect more traffic and limited parking. Fog can roll in anytime, so stay flexible and treat it like a mood upgrade, not a problem.
What should I pack for a Big Sur photo day?
Bring layers (it can be sunny and chilly in the same hour), water, snacks, and a fully charged phone because service is spotty. A tripod is clutch for sunsets and wave blur, and a polarizing filter helps with ocean glare. Also pack a lens cloth, sunscreen, and shoes you can comfortably walk in on dirt trails.
Is it safe to pull over on Highway 1 for photos?
Only stop in designated pullouts or parking areas and make sure your car is fully off the road—Big Sur shoulders can be narrow and unpredictable. Avoid stepping into traffic, and be extra cautious near blind curves. If a spot feels sketchy, skip it and keep driving; there’s always another viewpoint.
How many days do I need to photograph these locations?
You can hit all five in a long day if you start early, but two days is way more enjoyable (and gives you better light options). A simple plan is north-to-south on Day 1 (Point Lobos, Bixby, Garrapata), then focus on the big sunset spots Day 2 (McWay Falls late afternoon, Pfeiffer Beach at sunset). Build in time for traffic, parking, and spontaneous stops—you’ll want it.