

Yosemite is basically a highlight reel in real life: granite cliffs, giant waterfalls, and viewpoints that make your camera roll look curated with zero effort. If you’re a first-timer, the hardest part isn’t finding something pretty—it’s choosing where to spend your limited golden hours.
Here are the five photo spots that deliver every time, plus simple tips on when to go, how to get there, and what to bring so you can focus on the shots (and the vibes).
Top 5
1) Tunnel View
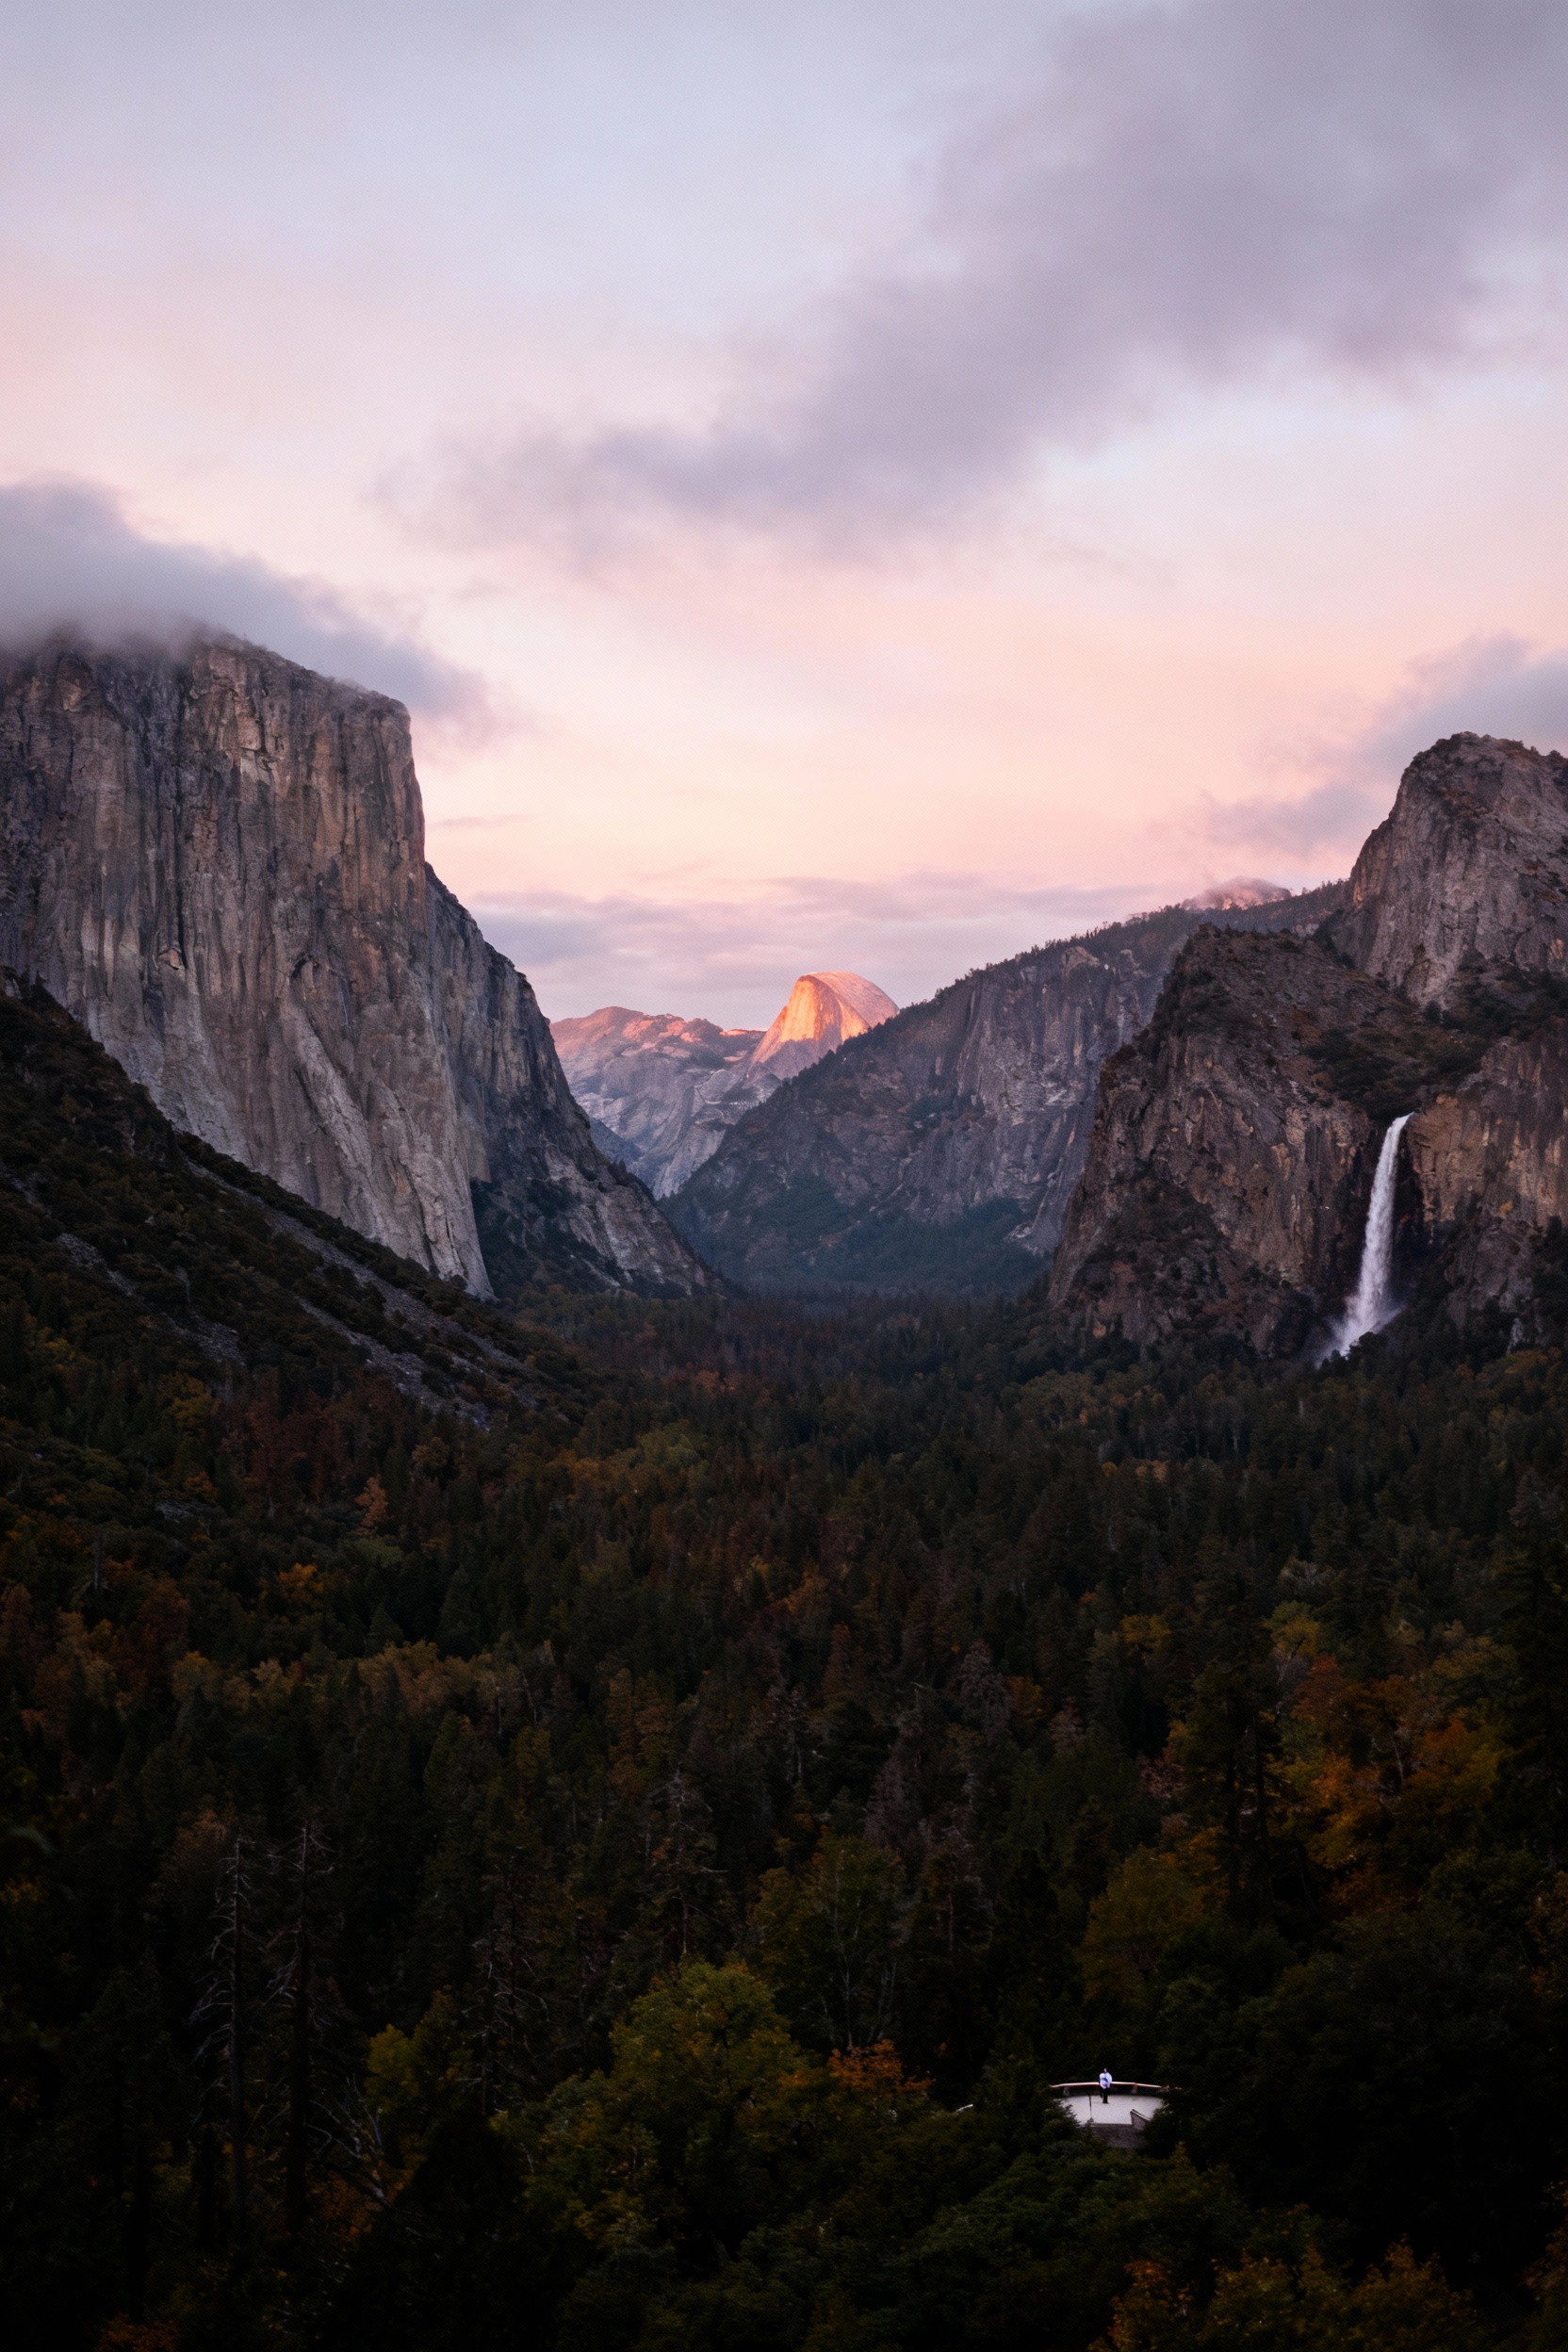
This is the classic Yosemite postcard view: El Capitan on the left, Bridalveil Fall on the right, and Half Dome in the distance. Go at sunrise for softer light and fewer people, or right after a storm when the valley looks extra dramatic. Parking fills fast—arrive early, and keep a wide-angle lens or your phone’s 0.5x ready for the full scene. Bring a layer even in summer because mornings here can feel surprisingly chilly.
2) Glacier Point

Glacier Point gives you that “how is this real” overlook of Half Dome and the whole valley, and it’s one of the easiest big-payoff viewpoints. Plan for sunset if the road is open, but show up 60–90 minutes early to claim a spot and watch the light change. If you’re visiting when Glacier Point Road is closed, consider the longer hike alternative only if you’re prepared (water, headlamp, and a realistic turnaround time). Pack a small tripod if you want crisp twilight shots without cranking your ISO.
3) Valley View (Gates of the Valley)
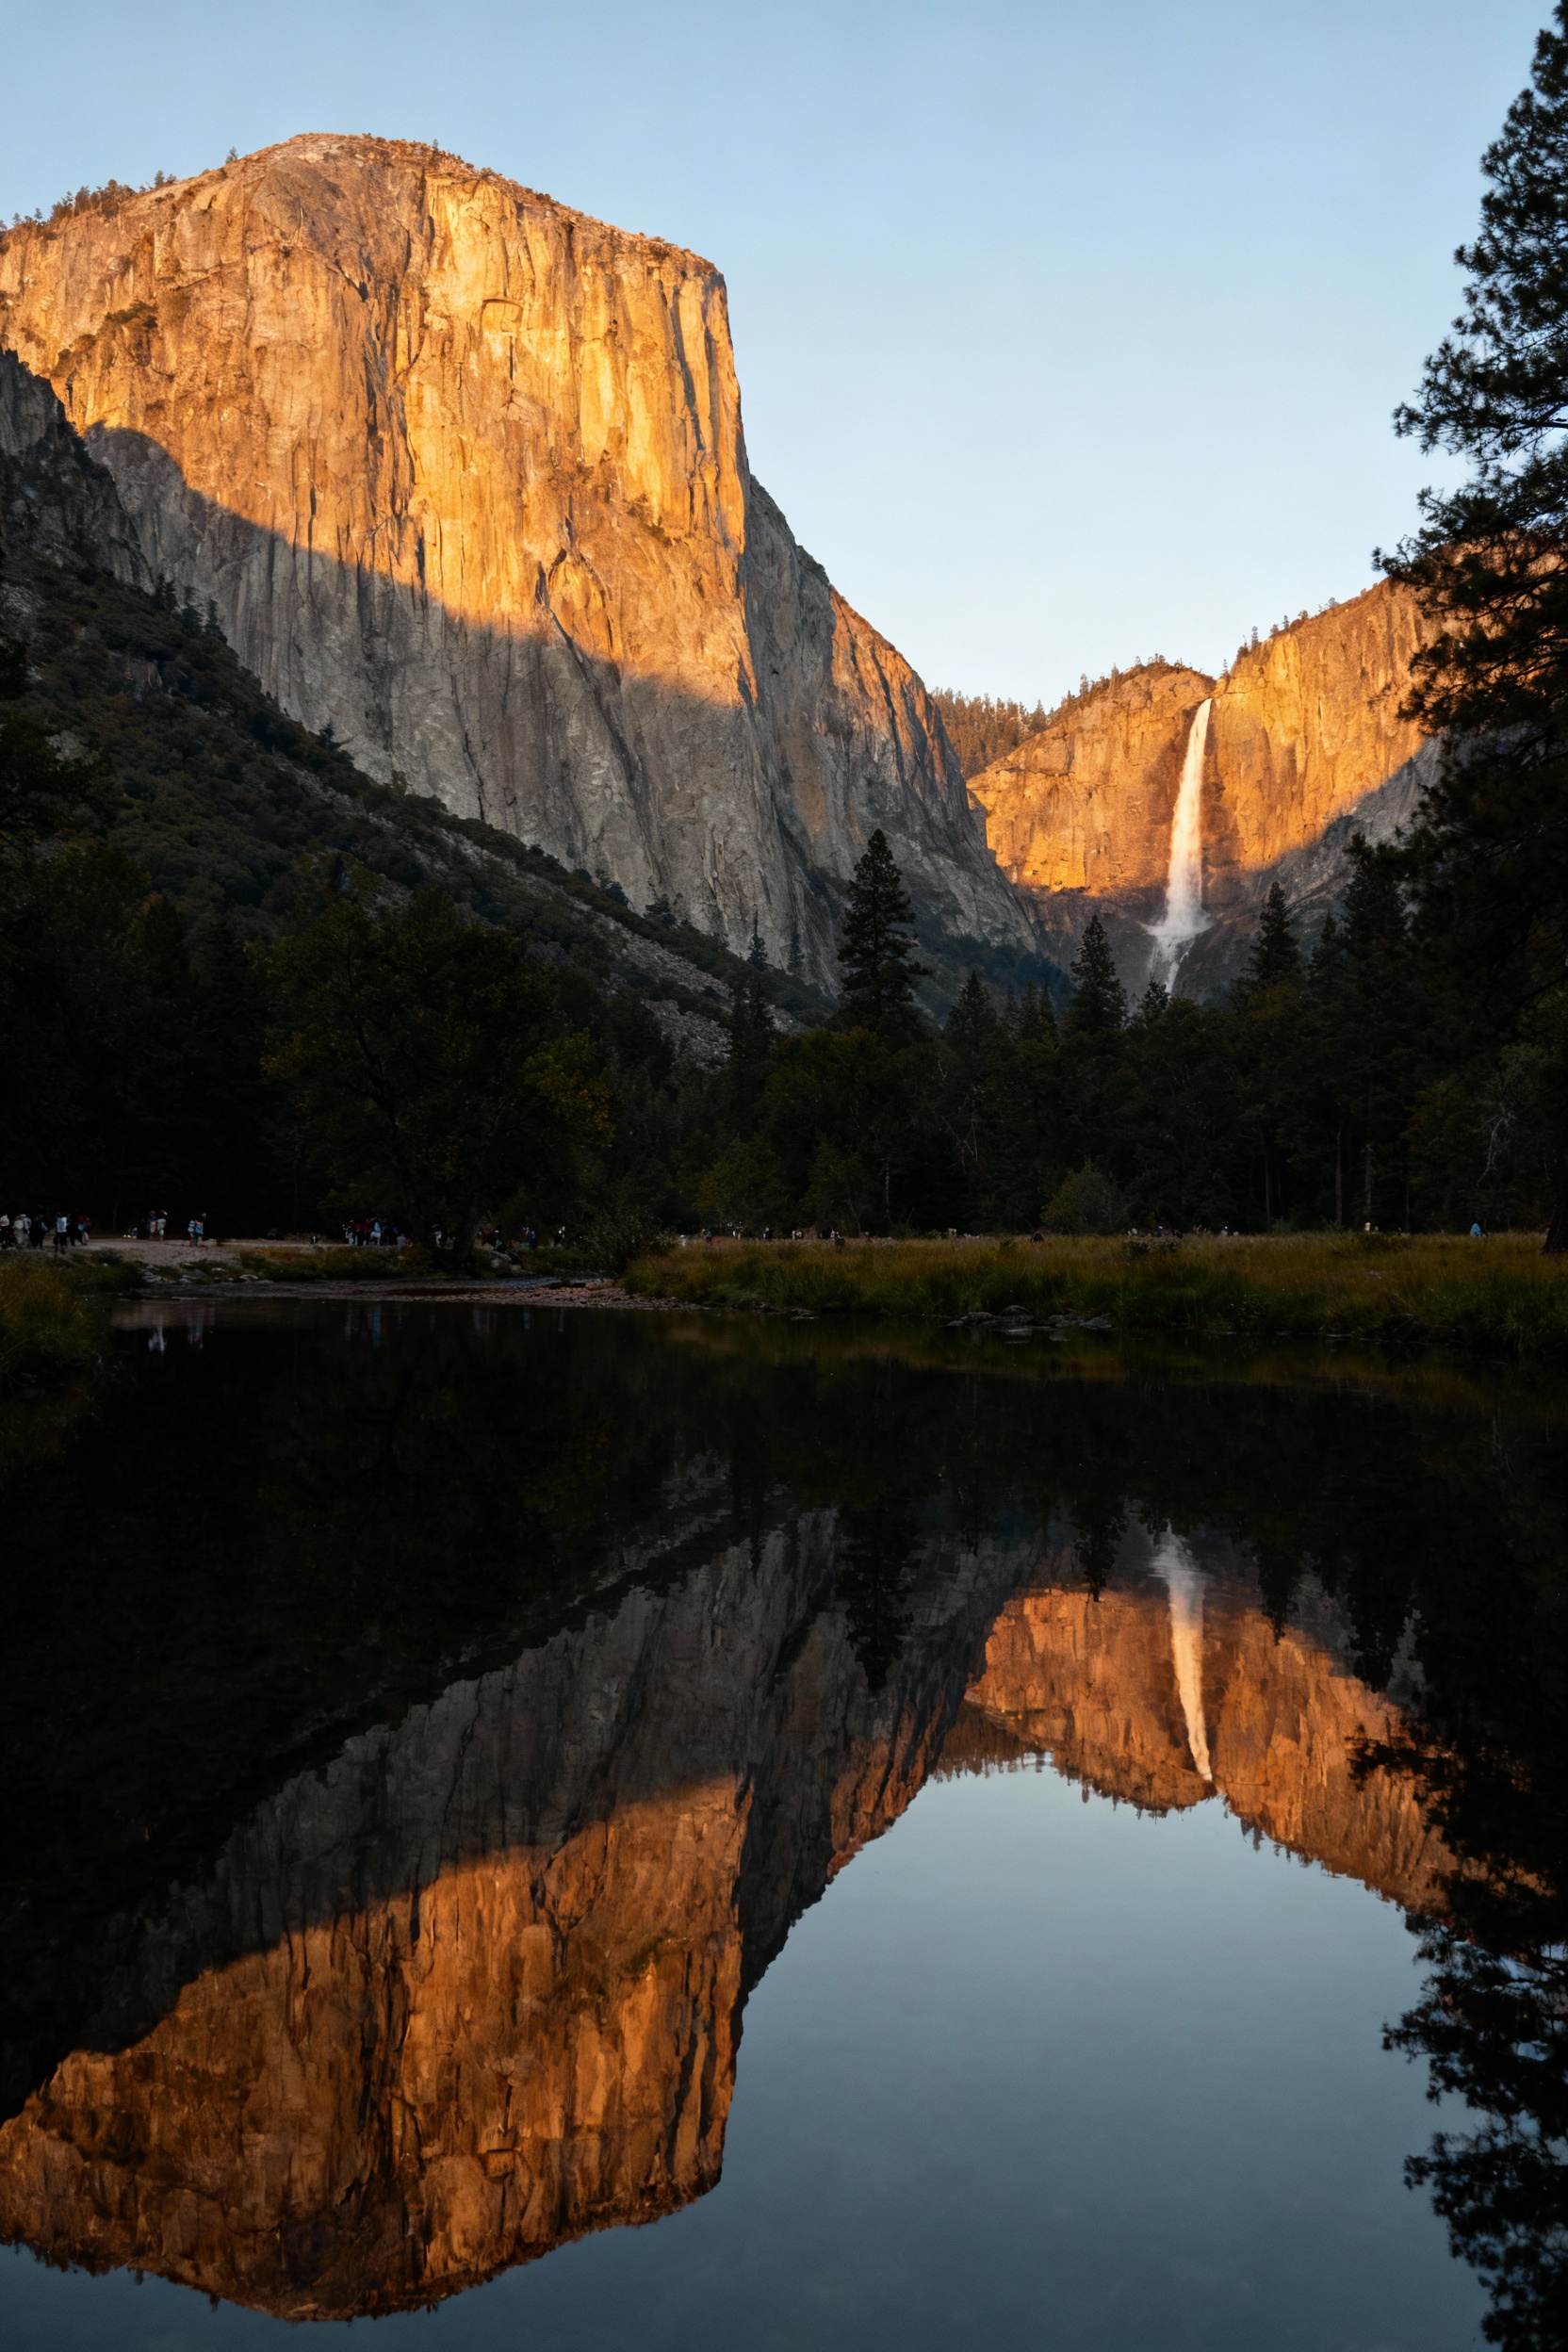
For a calm, reflective shot of El Capitan and Bridalveil Fall, Valley View is the move—especially when the Merced River is glassy. Aim for late afternoon or sunset when the light hits the granite and the river can mirror the scene. It’s a quick stop with limited parking, so have it on your route and be ready to pull in when a spot opens. Bug spray is clutch near the river, and a polarizing filter can help control glare on the water.
4) Cook’s Meadow Loop
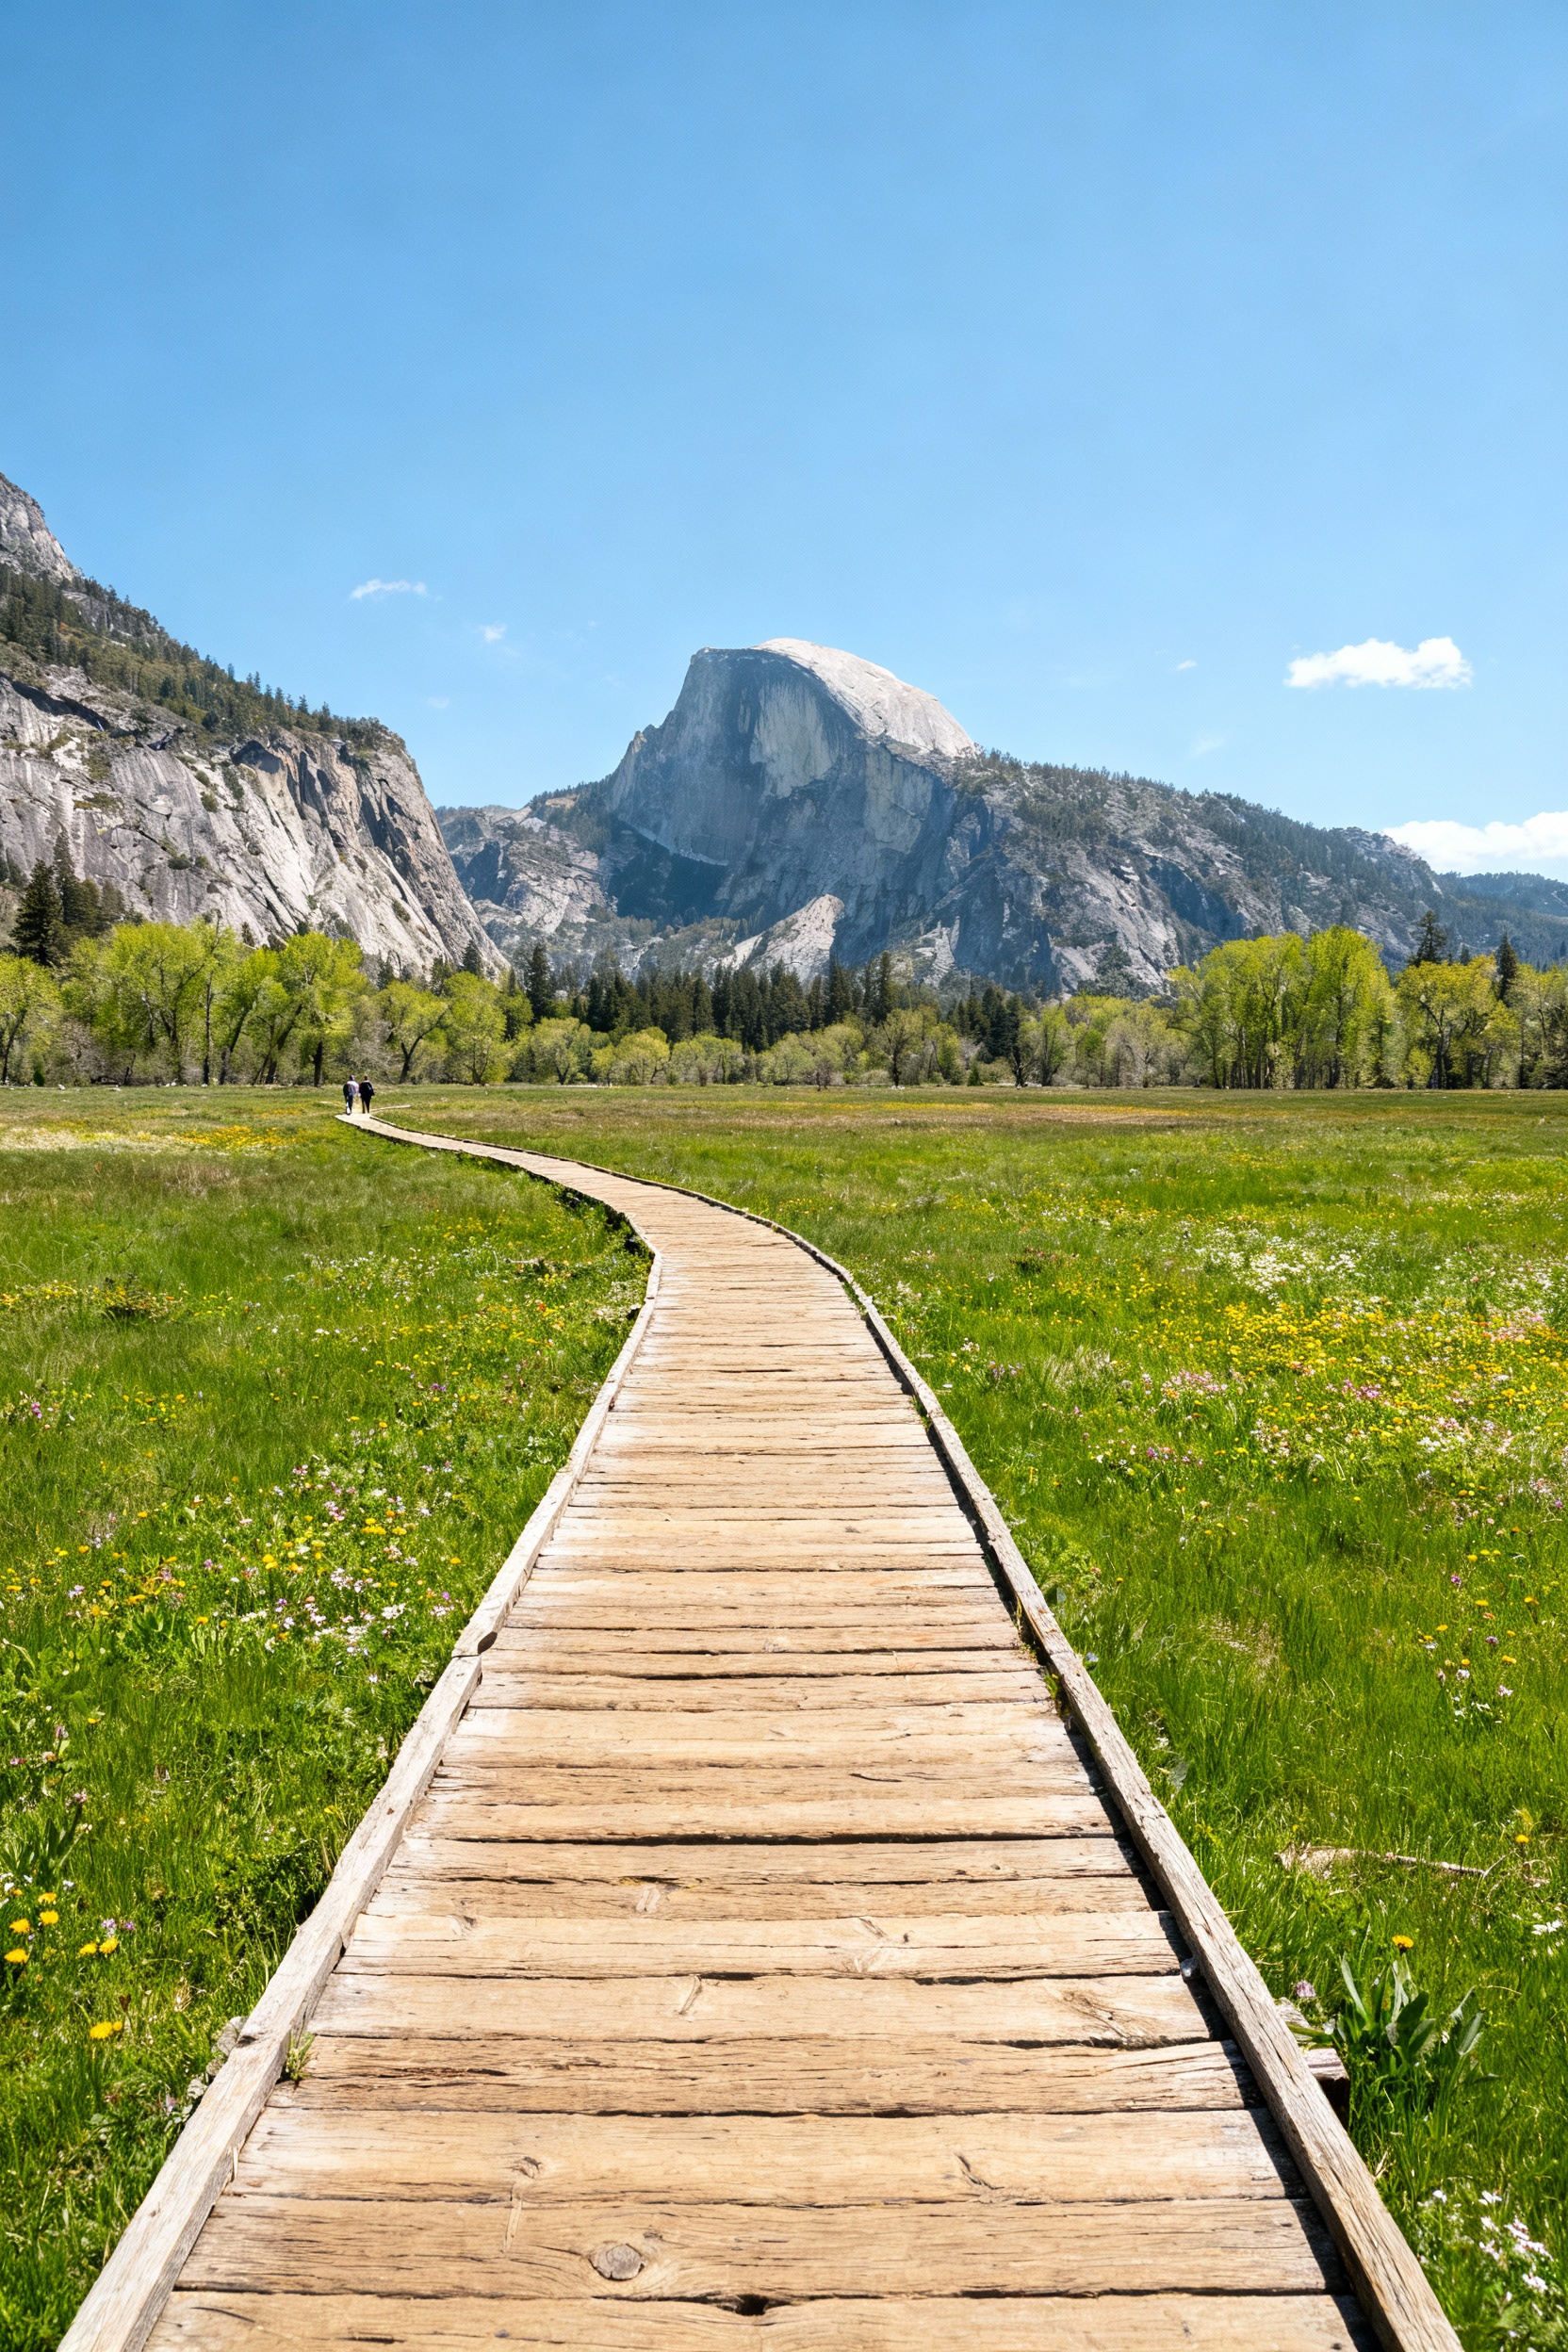
If you want iconic valley views without a steep hike, Cook’s Meadow is your low-effort, high-reward photo walk. The boardwalk and loop trails give you wide open sightlines toward Half Dome and Yosemite Falls, and spring/early summer brings the best green meadows and waterfall flow. Go early morning for fewer crowds and clean compositions, and keep an eye out for deer (but give them space). Wear comfortable walking shoes—this is the kind of spot where you’ll “just do one more loop” and accidentally rack up miles.
5) Yosemite Falls (Lower Falls Trail)
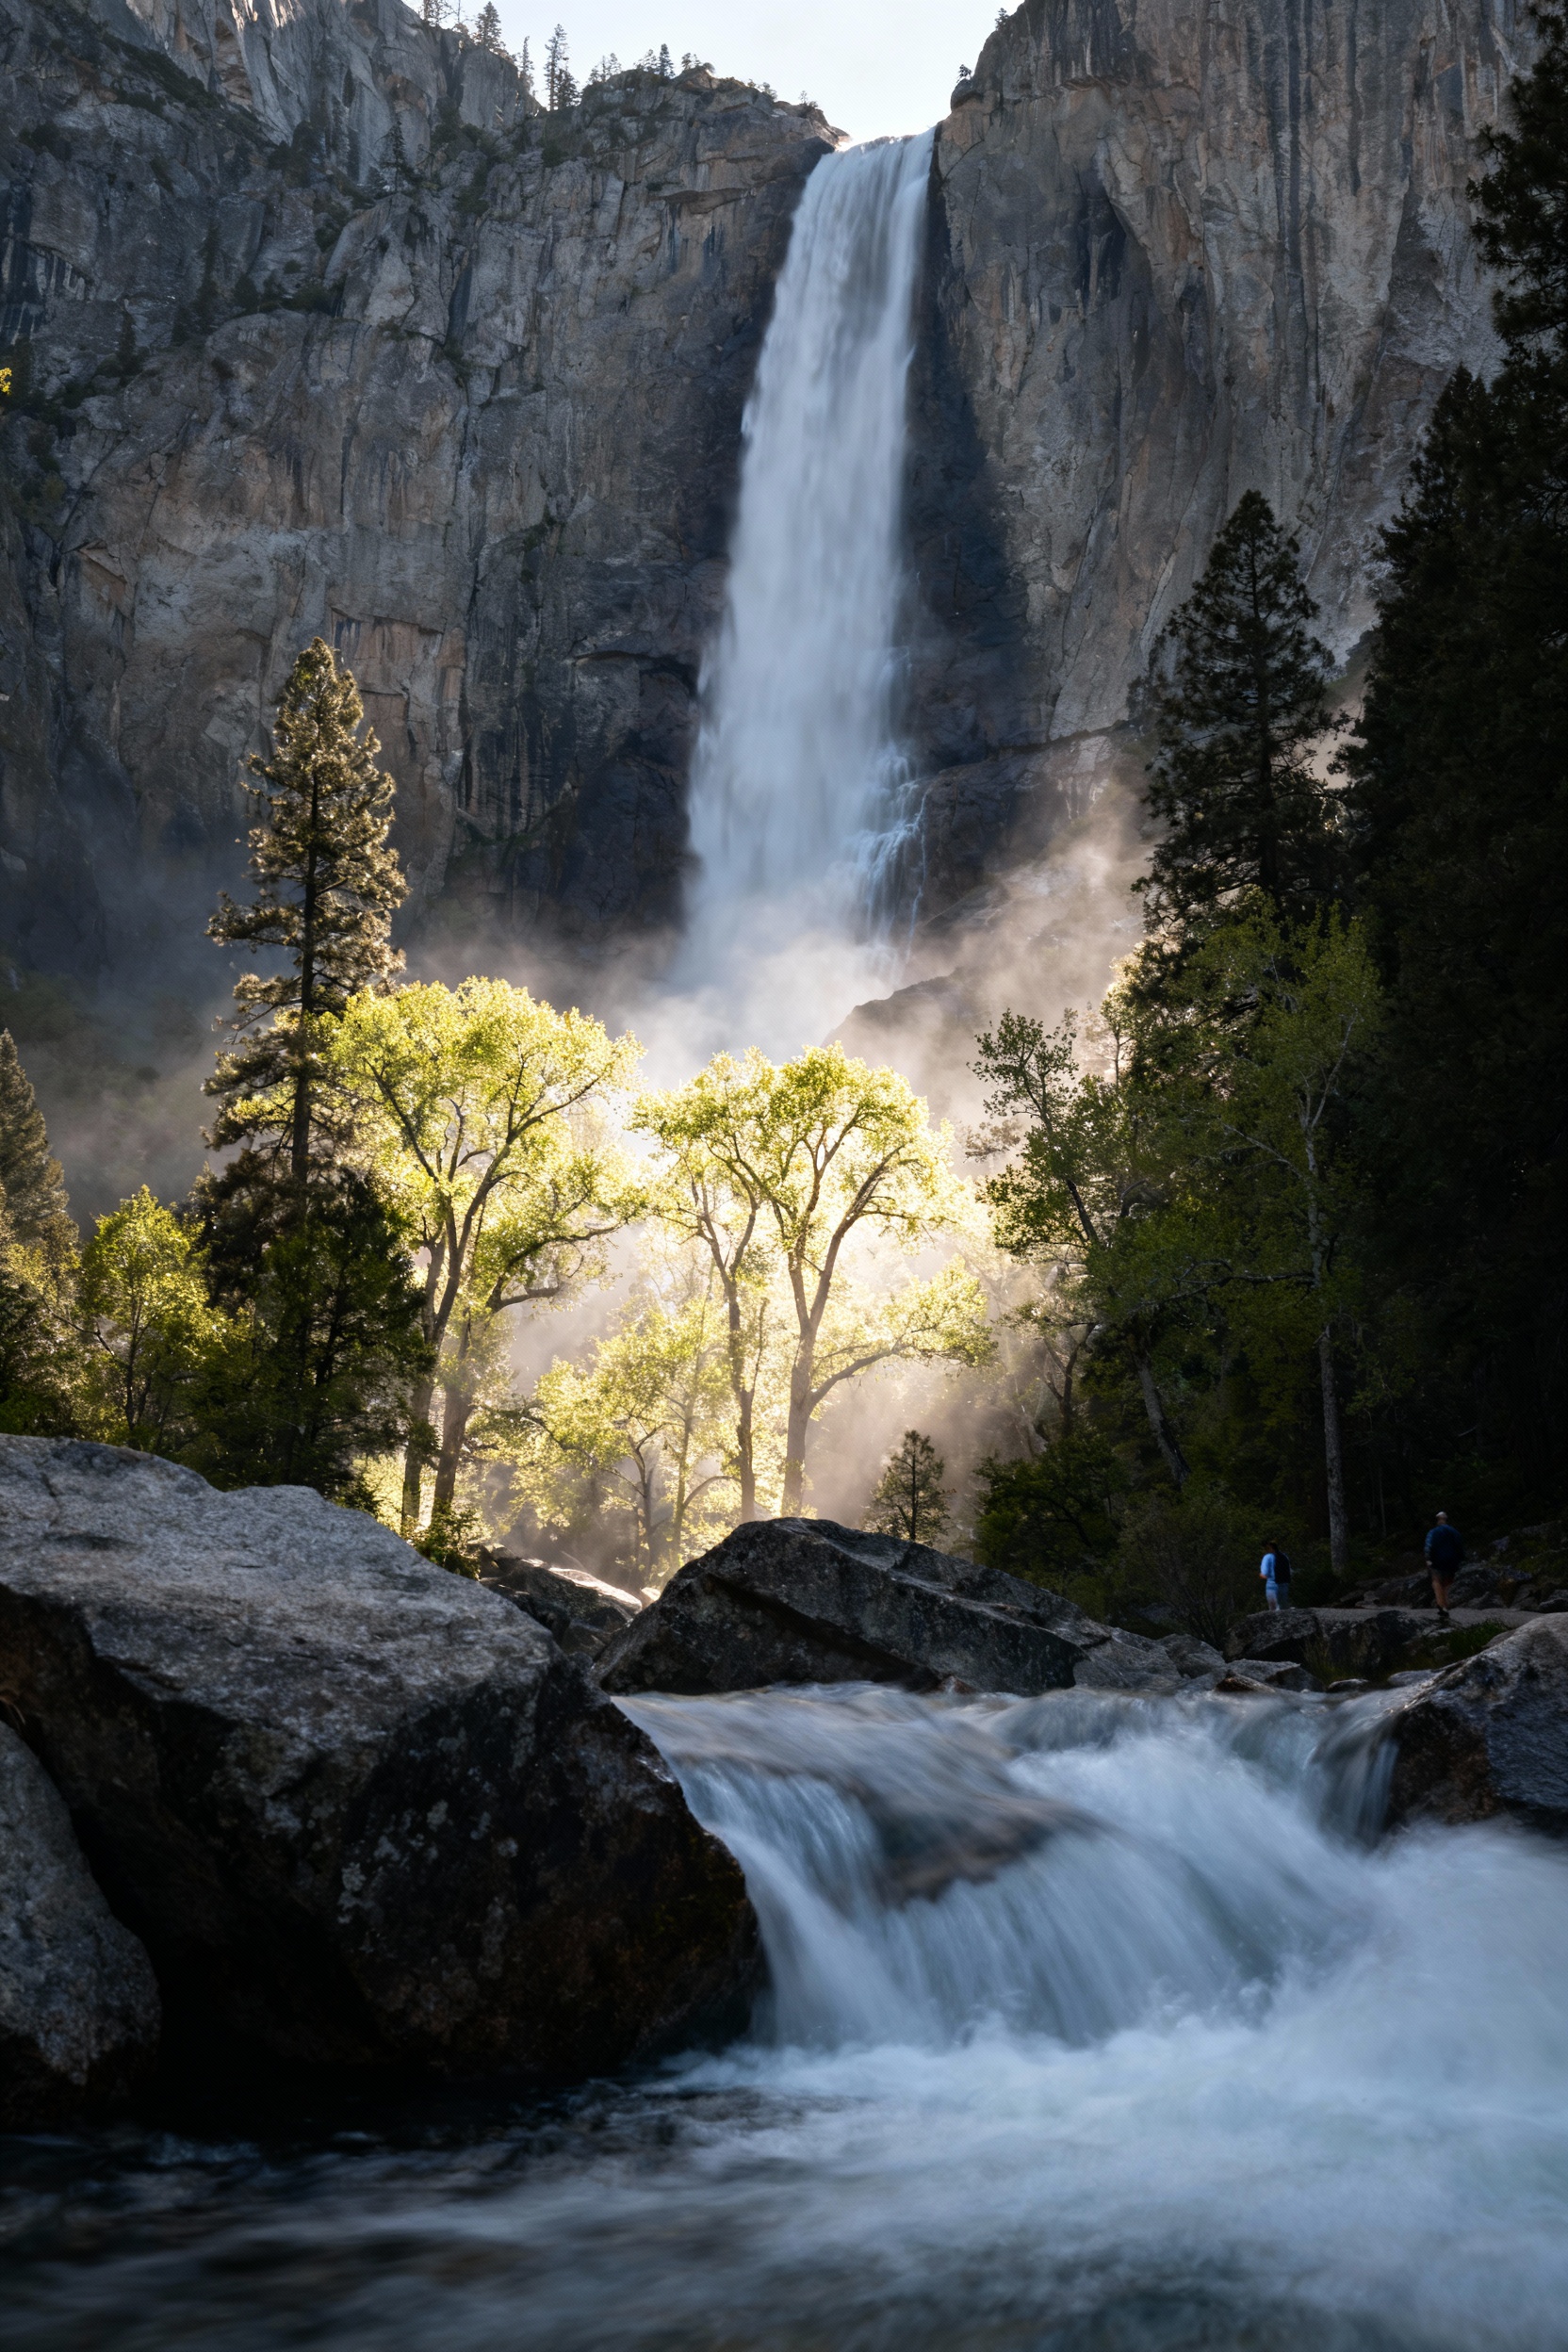
Yosemite Falls is a must, and the Lower Falls Trail is the first-timer-friendly way to get close without committing to a major climb. For peak flow, visit in late spring; by late summer, the falls can slow way down depending on snowpack. Midday light can be harsh, so try morning or late afternoon, and bring a microfiber cloth because mist can leave your lens spotted. If you’re shooting with a phone, tap to expose for the bright water so the scene doesn’t blow out.
FAQ
Do I need a reservation to enter Yosemite?
It depends on the season and day. Yosemite sometimes requires timed-entry reservations during peak periods, while other times you can enter with just the park entrance fee. Check the official National Park Service Yosemite website before you go, and book as soon as your dates are locked.
What’s the best time of day for photos in Yosemite?
Sunrise and sunset are the sweet spots for softer light and fewer people. Tunnel View is great at sunrise, while Valley View often shines in late afternoon. If you’re shooting midday, focus on waterfalls and shaded areas, and consider black-and-white edits for high-contrast scenes.
Where should first-timers stay for easy access to photo spots?
If you can, stay inside Yosemite Valley for the easiest sunrise starts and minimal driving. If lodging is booked (it often is), look at El Portal, Yosemite West, or Oakhurst for nearby access—just factor in commute time and possible traffic at entrances.
What should I pack for a Yosemite photography day?
Bring water, snacks, sunscreen, a warm layer, and comfortable shoes. For gear, a wide-angle lens (or phone 0.5x), a microfiber cloth, and a small tripod are the basics. In spring near waterfalls, add a light rain jacket or poncho for mist.
What’s one common mistake people make at Yosemite viewpoints?
They underestimate how early parking fills up and how quickly weather can change. Start early, keep a flexible plan, and don’t skip checking road and trail conditions. Also, stay on marked paths—Yosemite’s edges and slick rocks are not the place to chase a “one step closer” shot.