

Want a summer bucket list your kids will actually finish (and remember) without you planning a dozen complicated trips? This guide shows you how to build a travel-inspired summer bucket list for kids using simple “micro-adventures,” kid-friendly culture swaps, and mini day trips—plus exactly how to schedule it, budget it, and keep it fun for first-timers.
Step 1: Pick a “travel theme” and set kid-friendly success rules
What to do: Choose one travel theme for the summer (countries, national parks, oceans, trains, world capitals, etc.) and set 3 simple rules that make the bucket list achievable. Good rules: (1) every activity must feel like travel, (2) most activities must be doable in 2–3 hours, (3) at least one activity per week is outside the house.
Why it matters: A theme turns random ideas into a cohesive plan. The rules prevent the two most common summer problems: overplanning (everyone burns out) or underplanning (the list never happens). Kids also stay more engaged when they can “collect” experiences under one storyline.
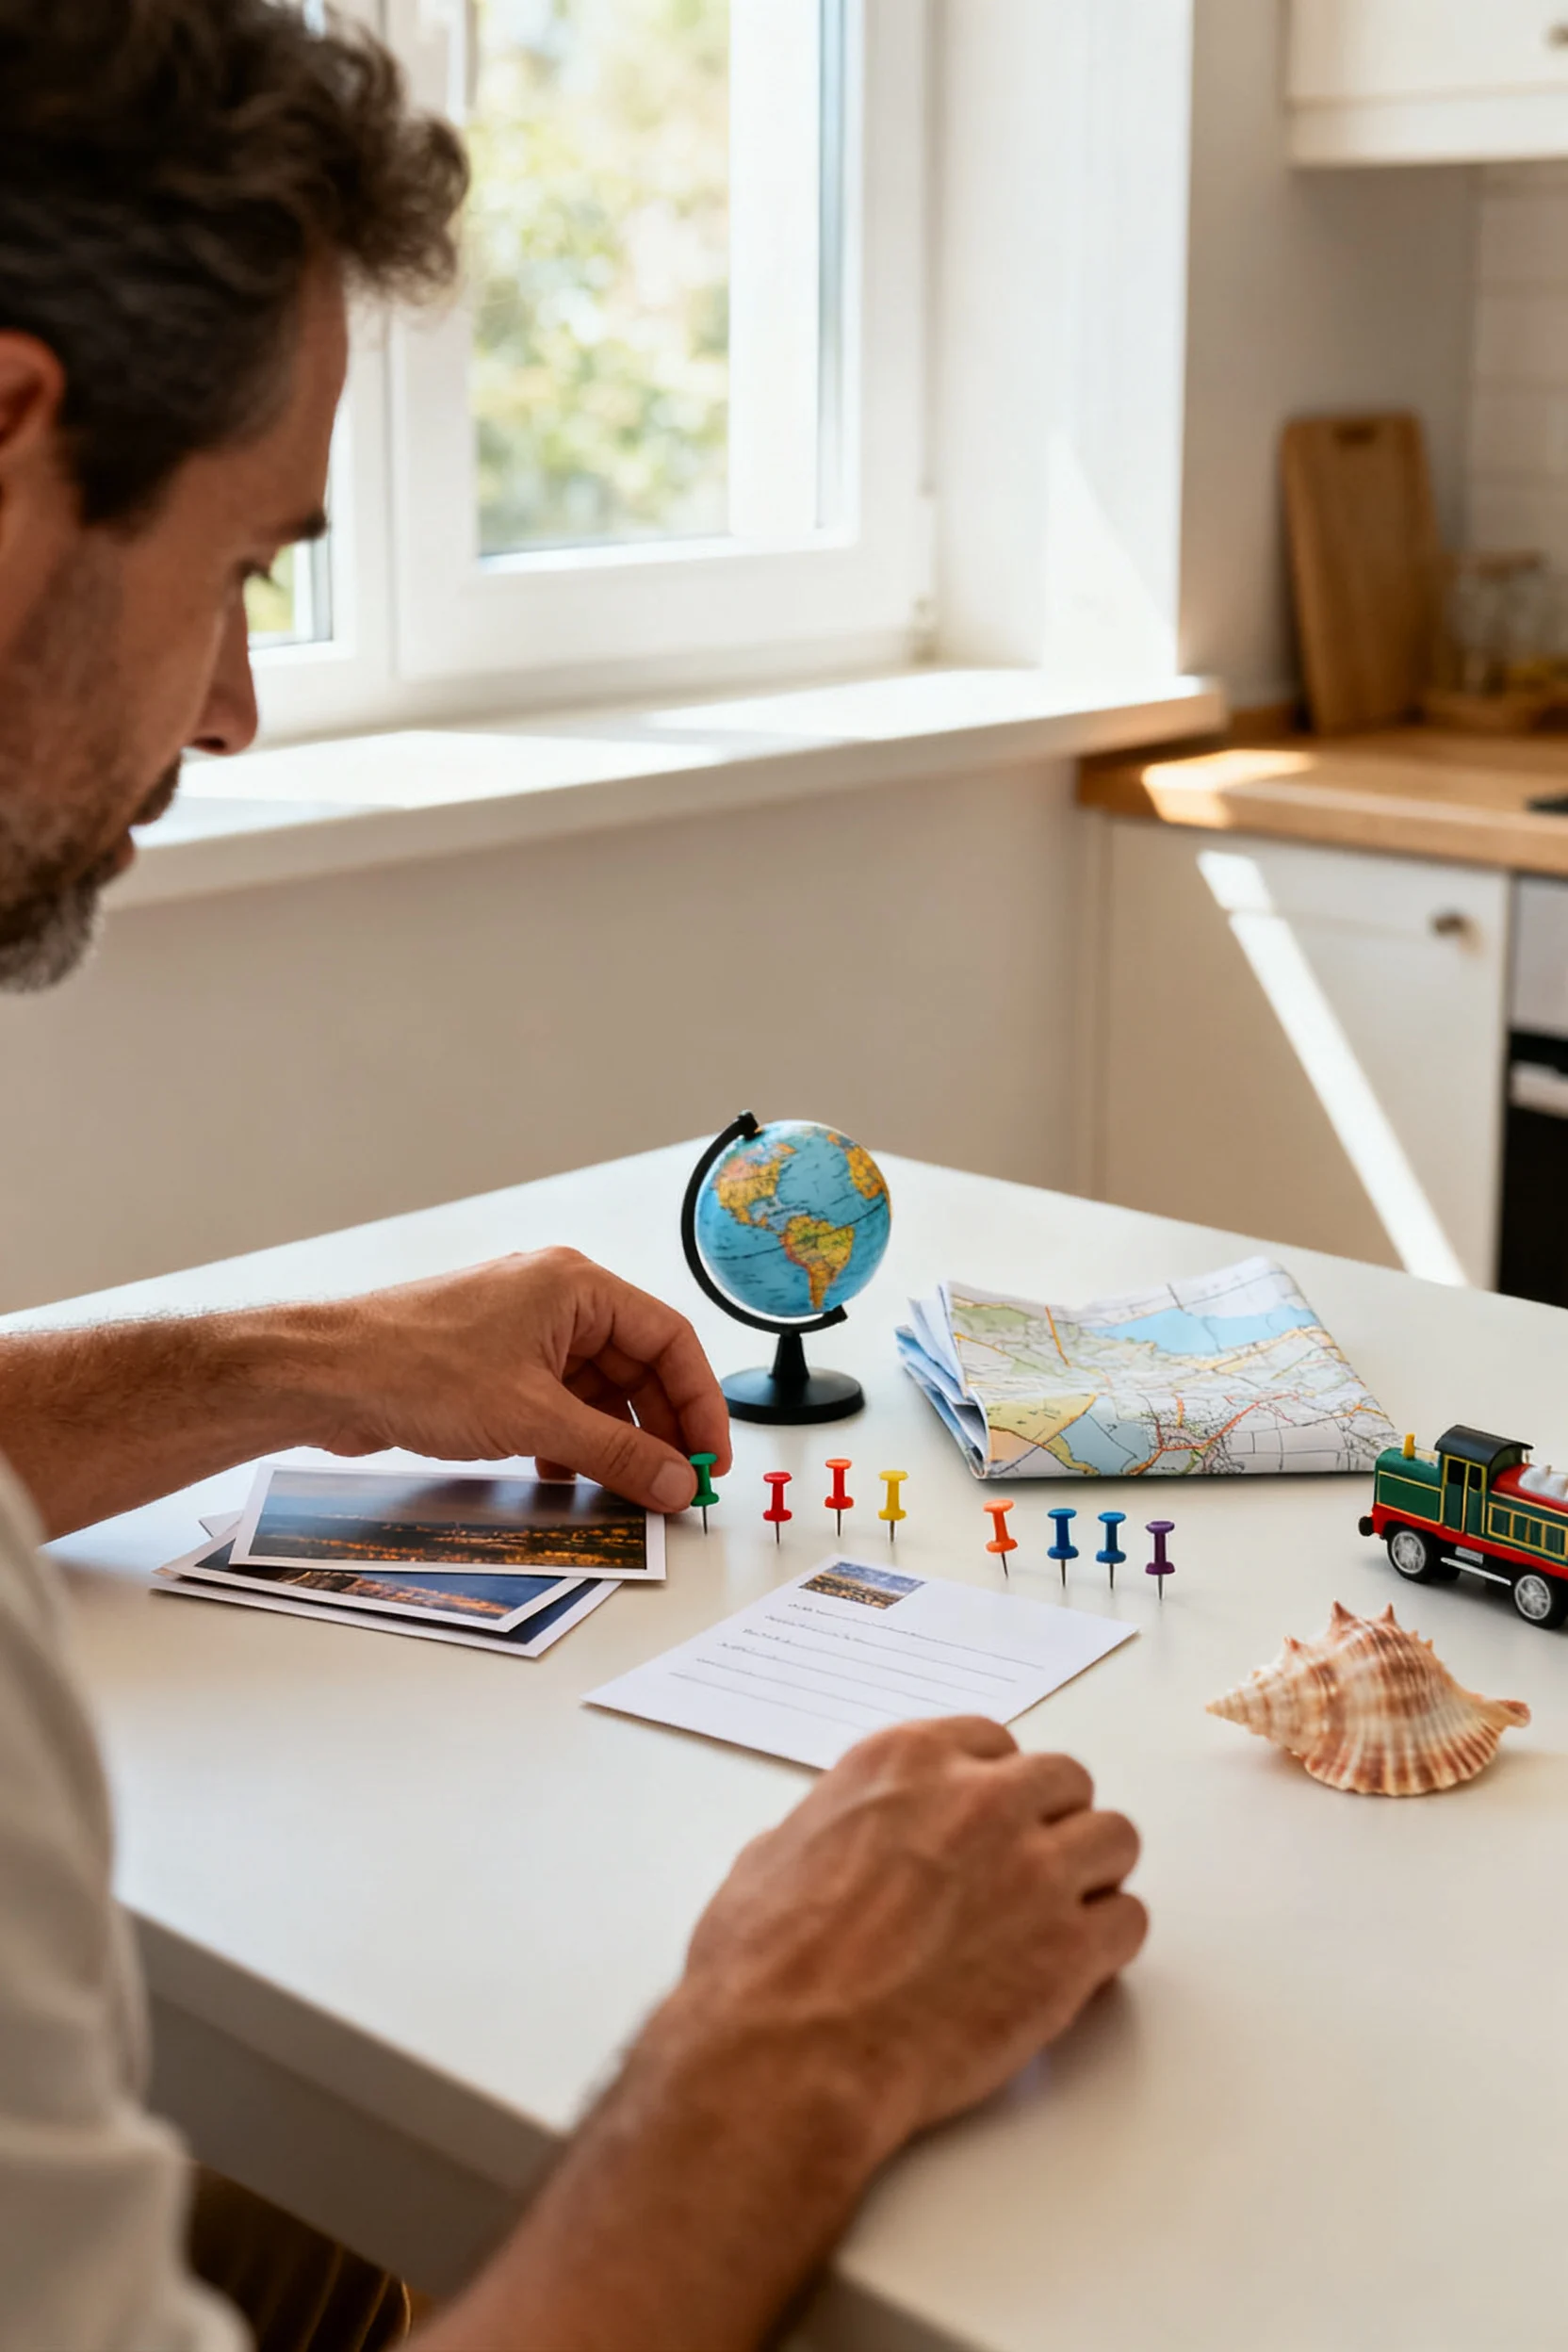
Specific example: Theme: “Around the World in 8 Weeks.” Rules: one “country day” each week, one local outing each week, and one simple food/craft activity each week. Your first week could be Japan: make onigiri with store-bought rice, visit a local botanical garden like it’s a Kyoto stroll, and learn a few phrases.
Mistake to avoid: Don’t make the theme too broad without limits (like “travel everywhere”). Kids do better with a clear target and a finish line.
Step 2: Map your bucket list into 3 tiers (free/cheap, day trip, overnight)
What to do: Brainstorm 15–25 travel-inspired activities, then sort them into three tiers:
- Tier A (Free/Cheap): library programs, international snack taste-test, “passport” craft, neighborhood photo scavenger hunt, park picnic “in a new country.”
- Tier B (Half-day/Day trip): beach day, state park hike, children’s museum, cultural festival, ferry ride, farm visit, train ride to the next town.
- Tier C (Overnight): one simple night away: camping, budget hotel with a pool, a nearby city with a walkable center.
Choose a balanced final list: about 60–70% Tier A, 25–35% Tier B, and 1–2 Tier C items for the whole summer.
Why it matters: Tiering protects your budget and energy while still giving kids the “real trip” moments they crave. It also makes it easier to pivot if weather, illness, or schedules change.
Specific example: If your kids want “Paris,” your Tier A could be a French bakery taste test and a sidewalk “cafe” lunch at home. Tier B could be a day trip to an art museum or botanical garden. Tier C could be an overnight in a nearby city with a riverwalk and a crepe spot.
Mistake to avoid: Don’t stack your list with only big outings. Too many drive-heavy days lead to cranky kids and an unfinished bucket list.
Step 3: Turn activities into a simple summer route (calendar + distances + backups)
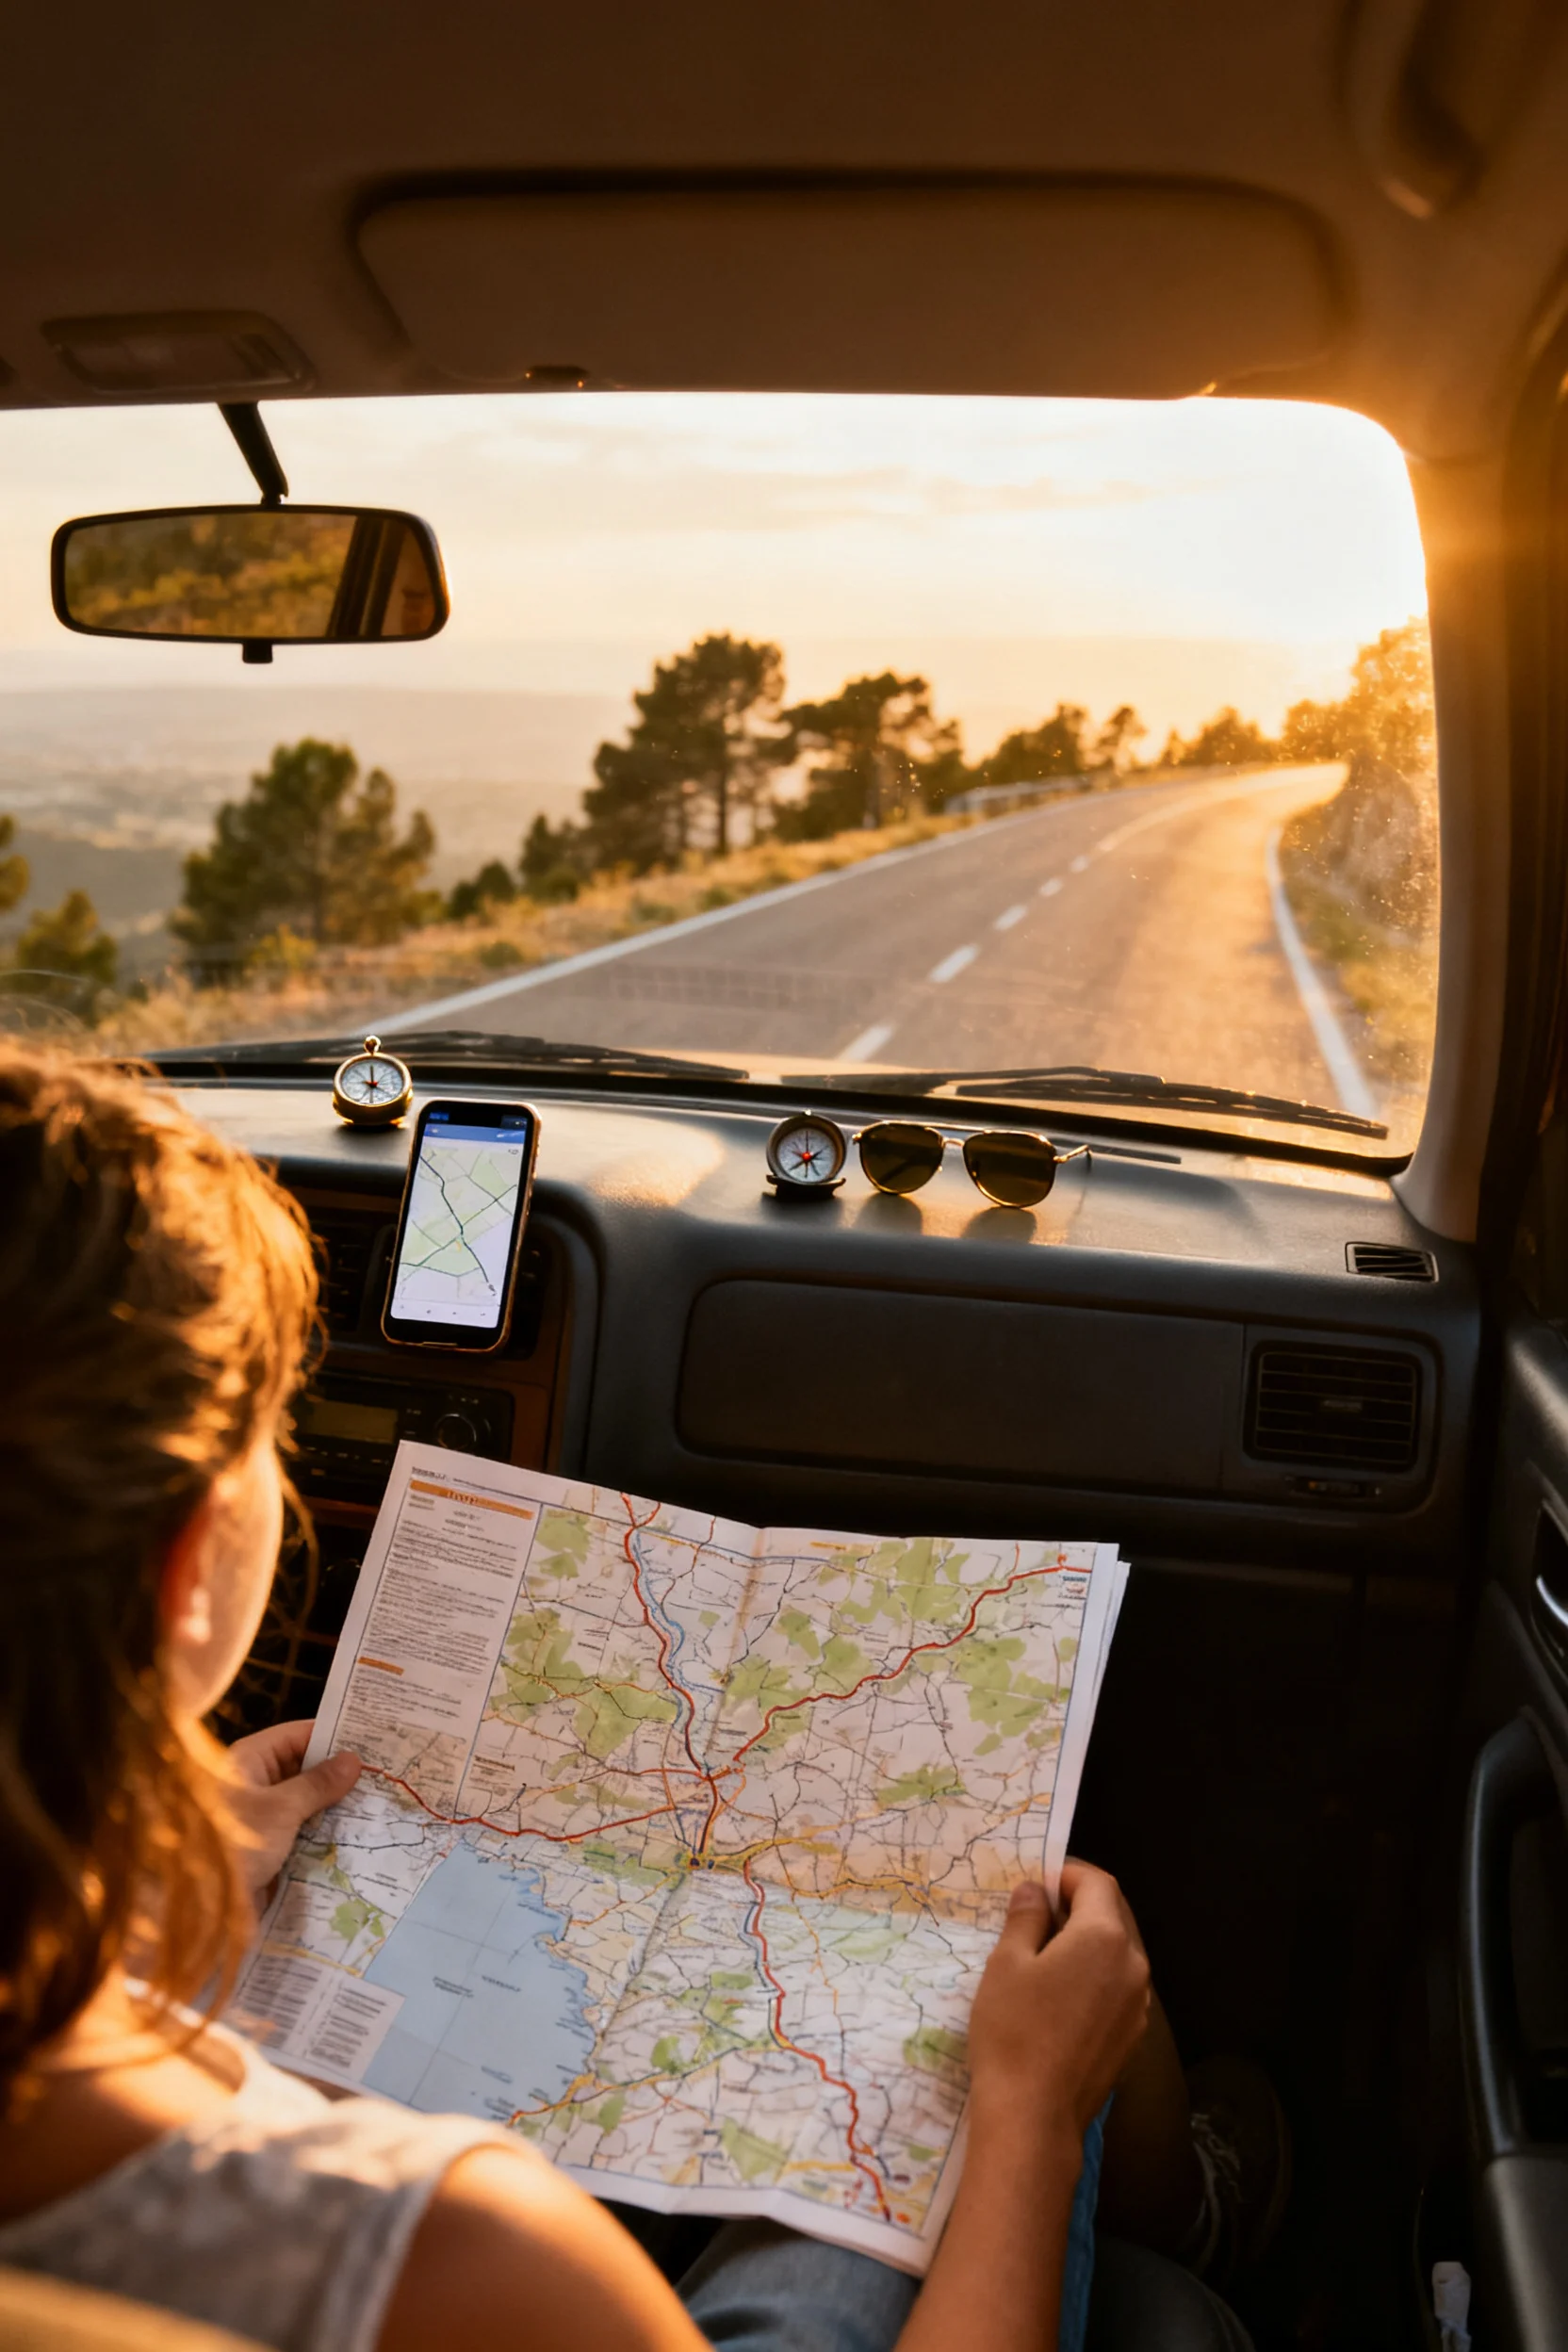
What to do: Build a lightweight schedule that looks like trip planning—just smaller. Pick one “anchor day” each week (usually a morning) for your main outing, then add one flexible at-home activity and one optional bonus. For each outing, note: drive time, arrival time, parking plan, and a weather backup.
Why it matters: Families underestimate how much logistics affect fun. A little routing—grouping activities by area and choosing realistic start times—reduces waiting, hunger meltdowns, and last-minute cancellations.
Specific example: Week plan: Saturday is your anchor day. You choose a “Coastal Explorer” day trip: leave at 9:00 a.m., beach 10:30 a.m.–1:00 p.m., picnic lunch, ice cream stop, home by 4:30 p.m. Weather backup: aquarium or indoor splash pad. Your at-home add-on: make “postcards” from the beach day using printed photos or drawings.
Mistake to avoid: Don’t schedule full-day outings back-to-back. Leave recovery days (especially after an overnight) so the list stays fun instead of feeling like a chore.
Step 4: Budget and book the “high-impact” items first (without overspending)

What to do: Identify 2–4 high-impact experiences (the ones kids will talk about all year): a train ride, a theme park day, a zoo/aquarium, a boat tour, or one overnight. Set a total summer experience budget, then allocate it by tier. Book anything that sells out (timed-entry museums, campsites, special exhibits) early and plan your cheap/free items around those dates.
Why it matters: The best-value family travel days often require advance planning. Booking early also lets you choose calmer time slots (first entry of the day, weekday mornings) which can be the difference between “amazing” and “too crowded.”
Specific example: Budget: $300 for the summer. You allocate $120 for one overnight (budget hotel + pool), $120 for two day trips (museum + ferry), and $60 for snacks, parking, and supplies. You book the museum’s first-entry tickets for a Tuesday and choose the ferry on a non-holiday weekend morning. Your Tier A activities fill in the gaps for free.
Mistake to avoid: Don’t forget the hidden costs: parking, tolls, locker rentals, and “I’m hungry” snacks. Add a 10–15% buffer line in your budget so you don’t say no all day.
Step 5: Create “travel rituals” that make every outing feel like a trip
What to do: Add 3 repeatable travel rituals that take minimal effort but elevate the experience:
- Kids’ passports: stamp/sticker after each activity (library stamp, sticker sheet, or homemade stamp pad).
- Postcards: buy a postcard on day trips or make one at home; write one sentence and the date.
- Souvenir rules: choose a low-cost, consistent souvenir (pressed penny, patch, magnet, or snack) to avoid constant gift-shop negotiations.
Why it matters: Rituals build anticipation and help kids remember experiences. They also reduce decision fatigue because the “specialness” comes from the routine, not from spending more money.
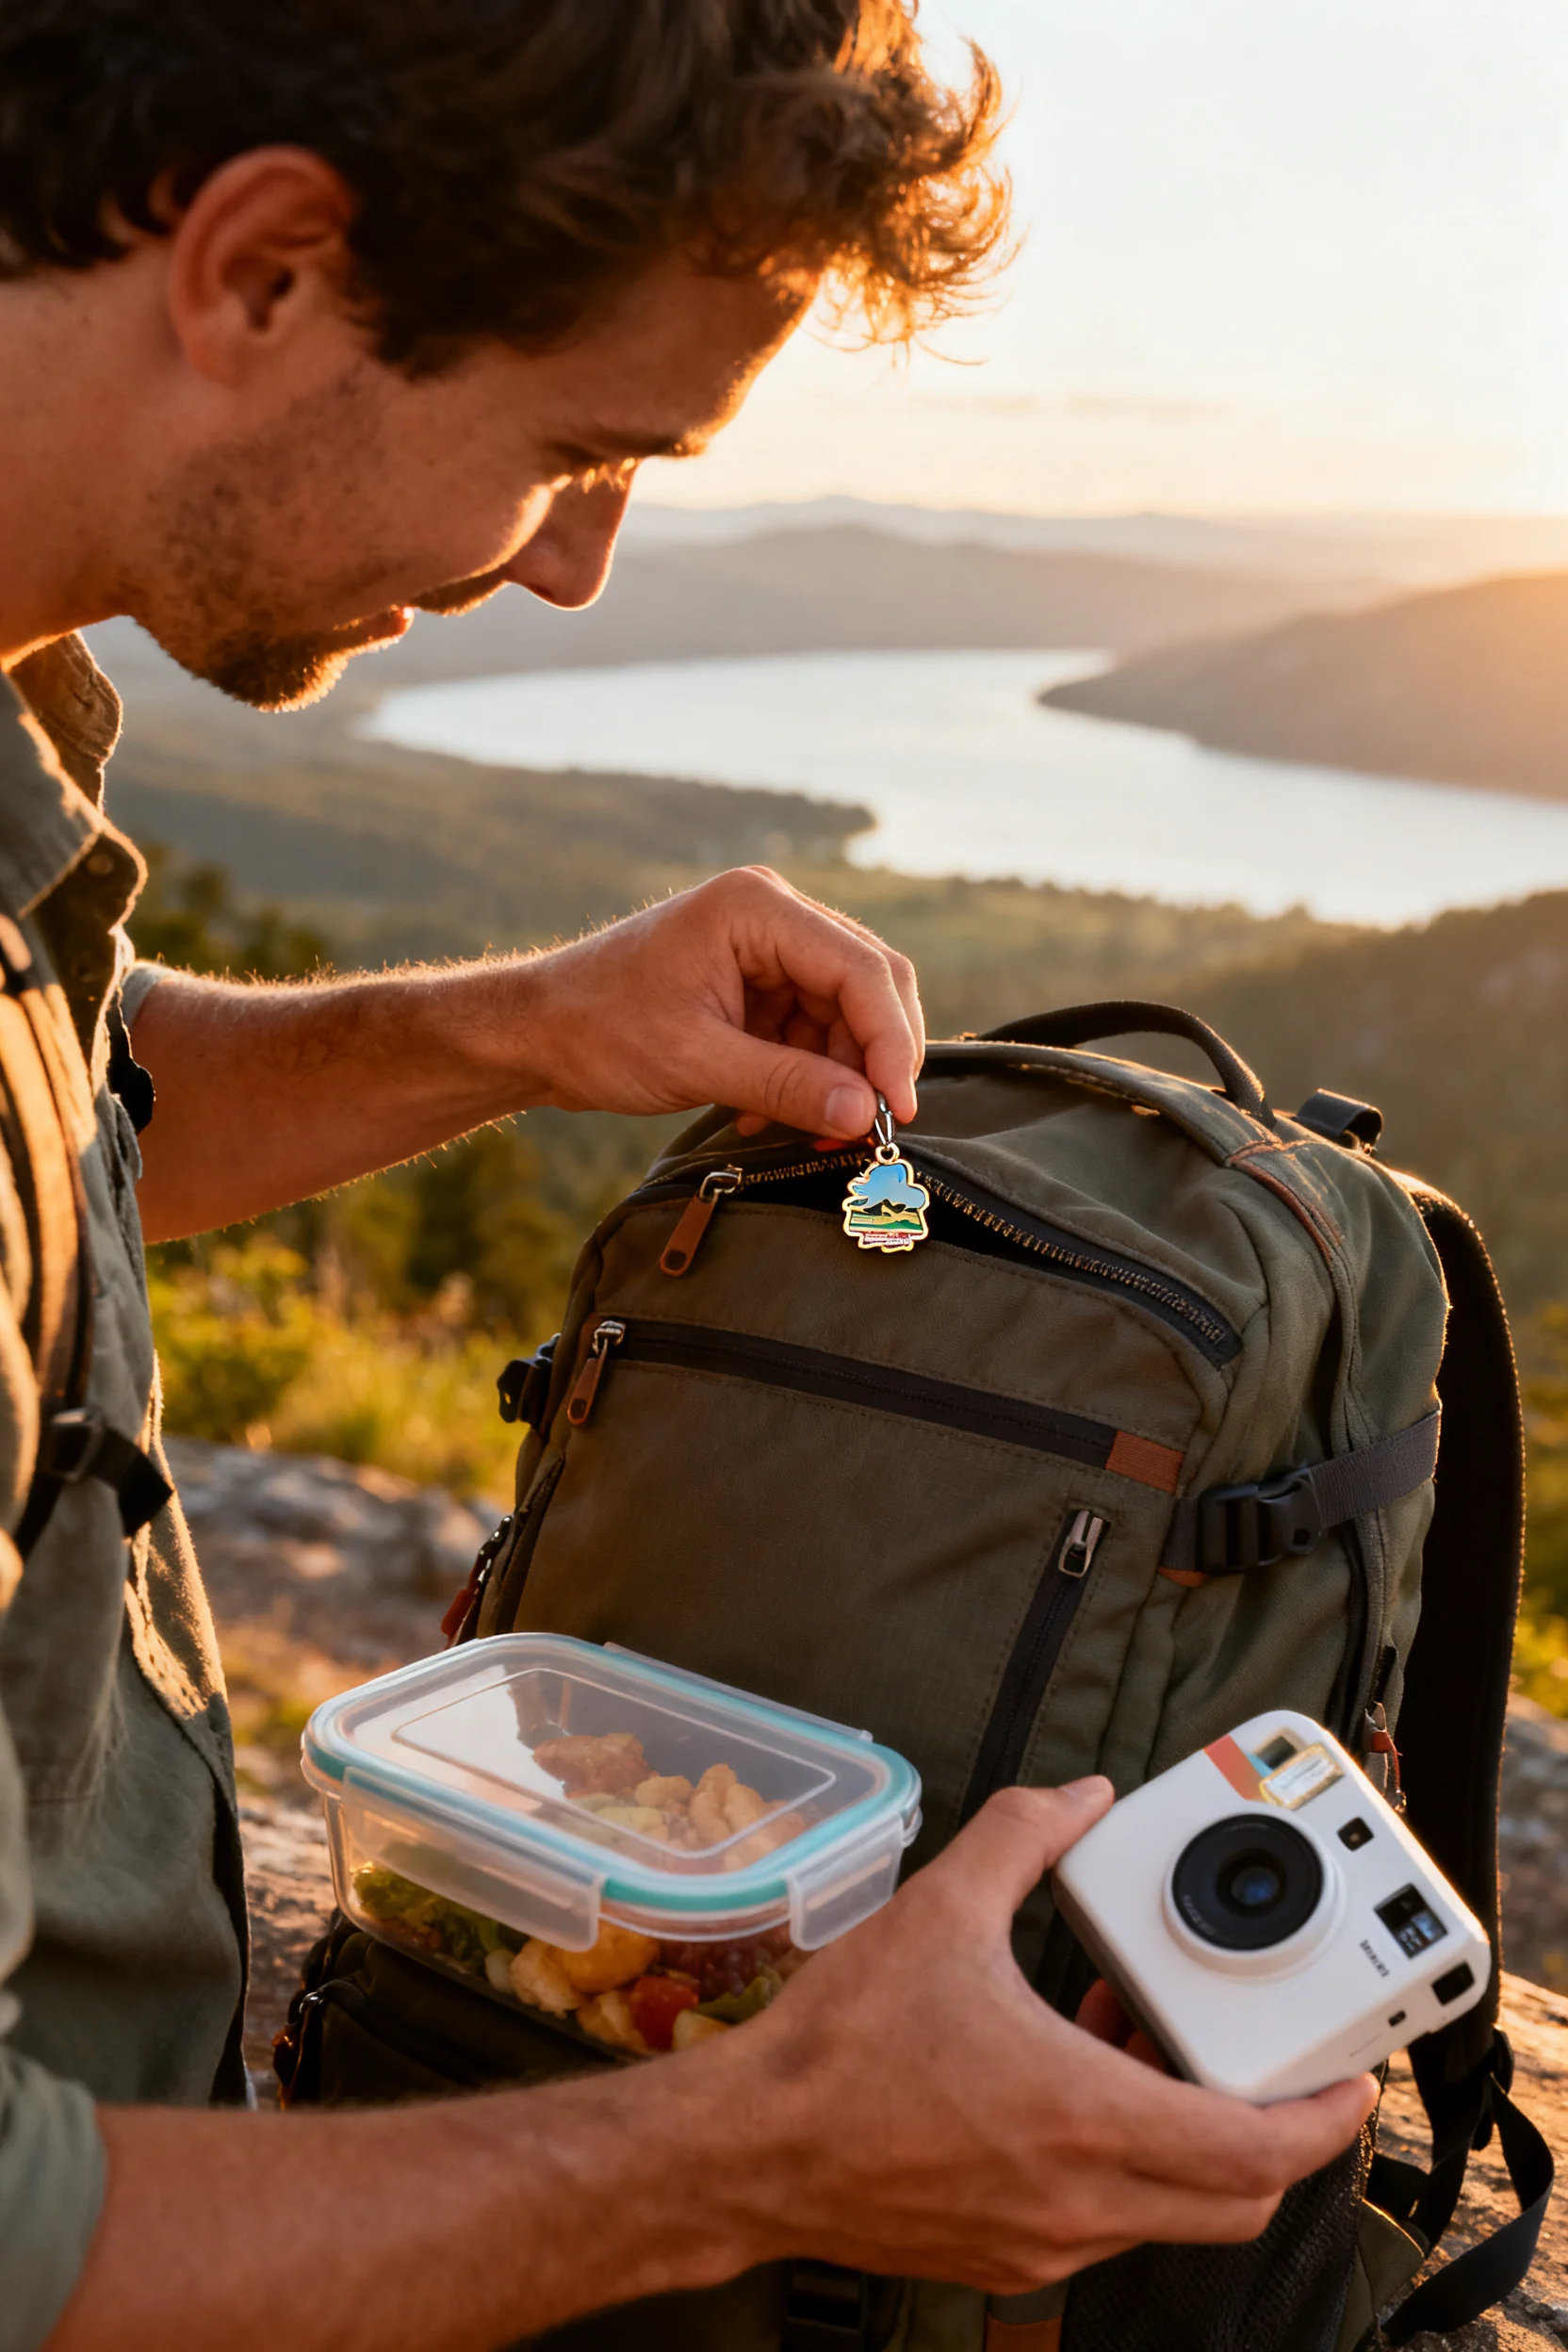
Specific example: On your “Train Town” day, each child brings a small notebook as a travel journal. At the station, they draw the train and write one “trip review” line: “Best part: the conductor’s hat.” At home, you add a sticker stamp labeled with the date and route.
Mistake to avoid: Don’t make the rituals too complicated (scrapbooking every day, elaborate crafts). If it takes more than 10 minutes, it won’t last all summer.
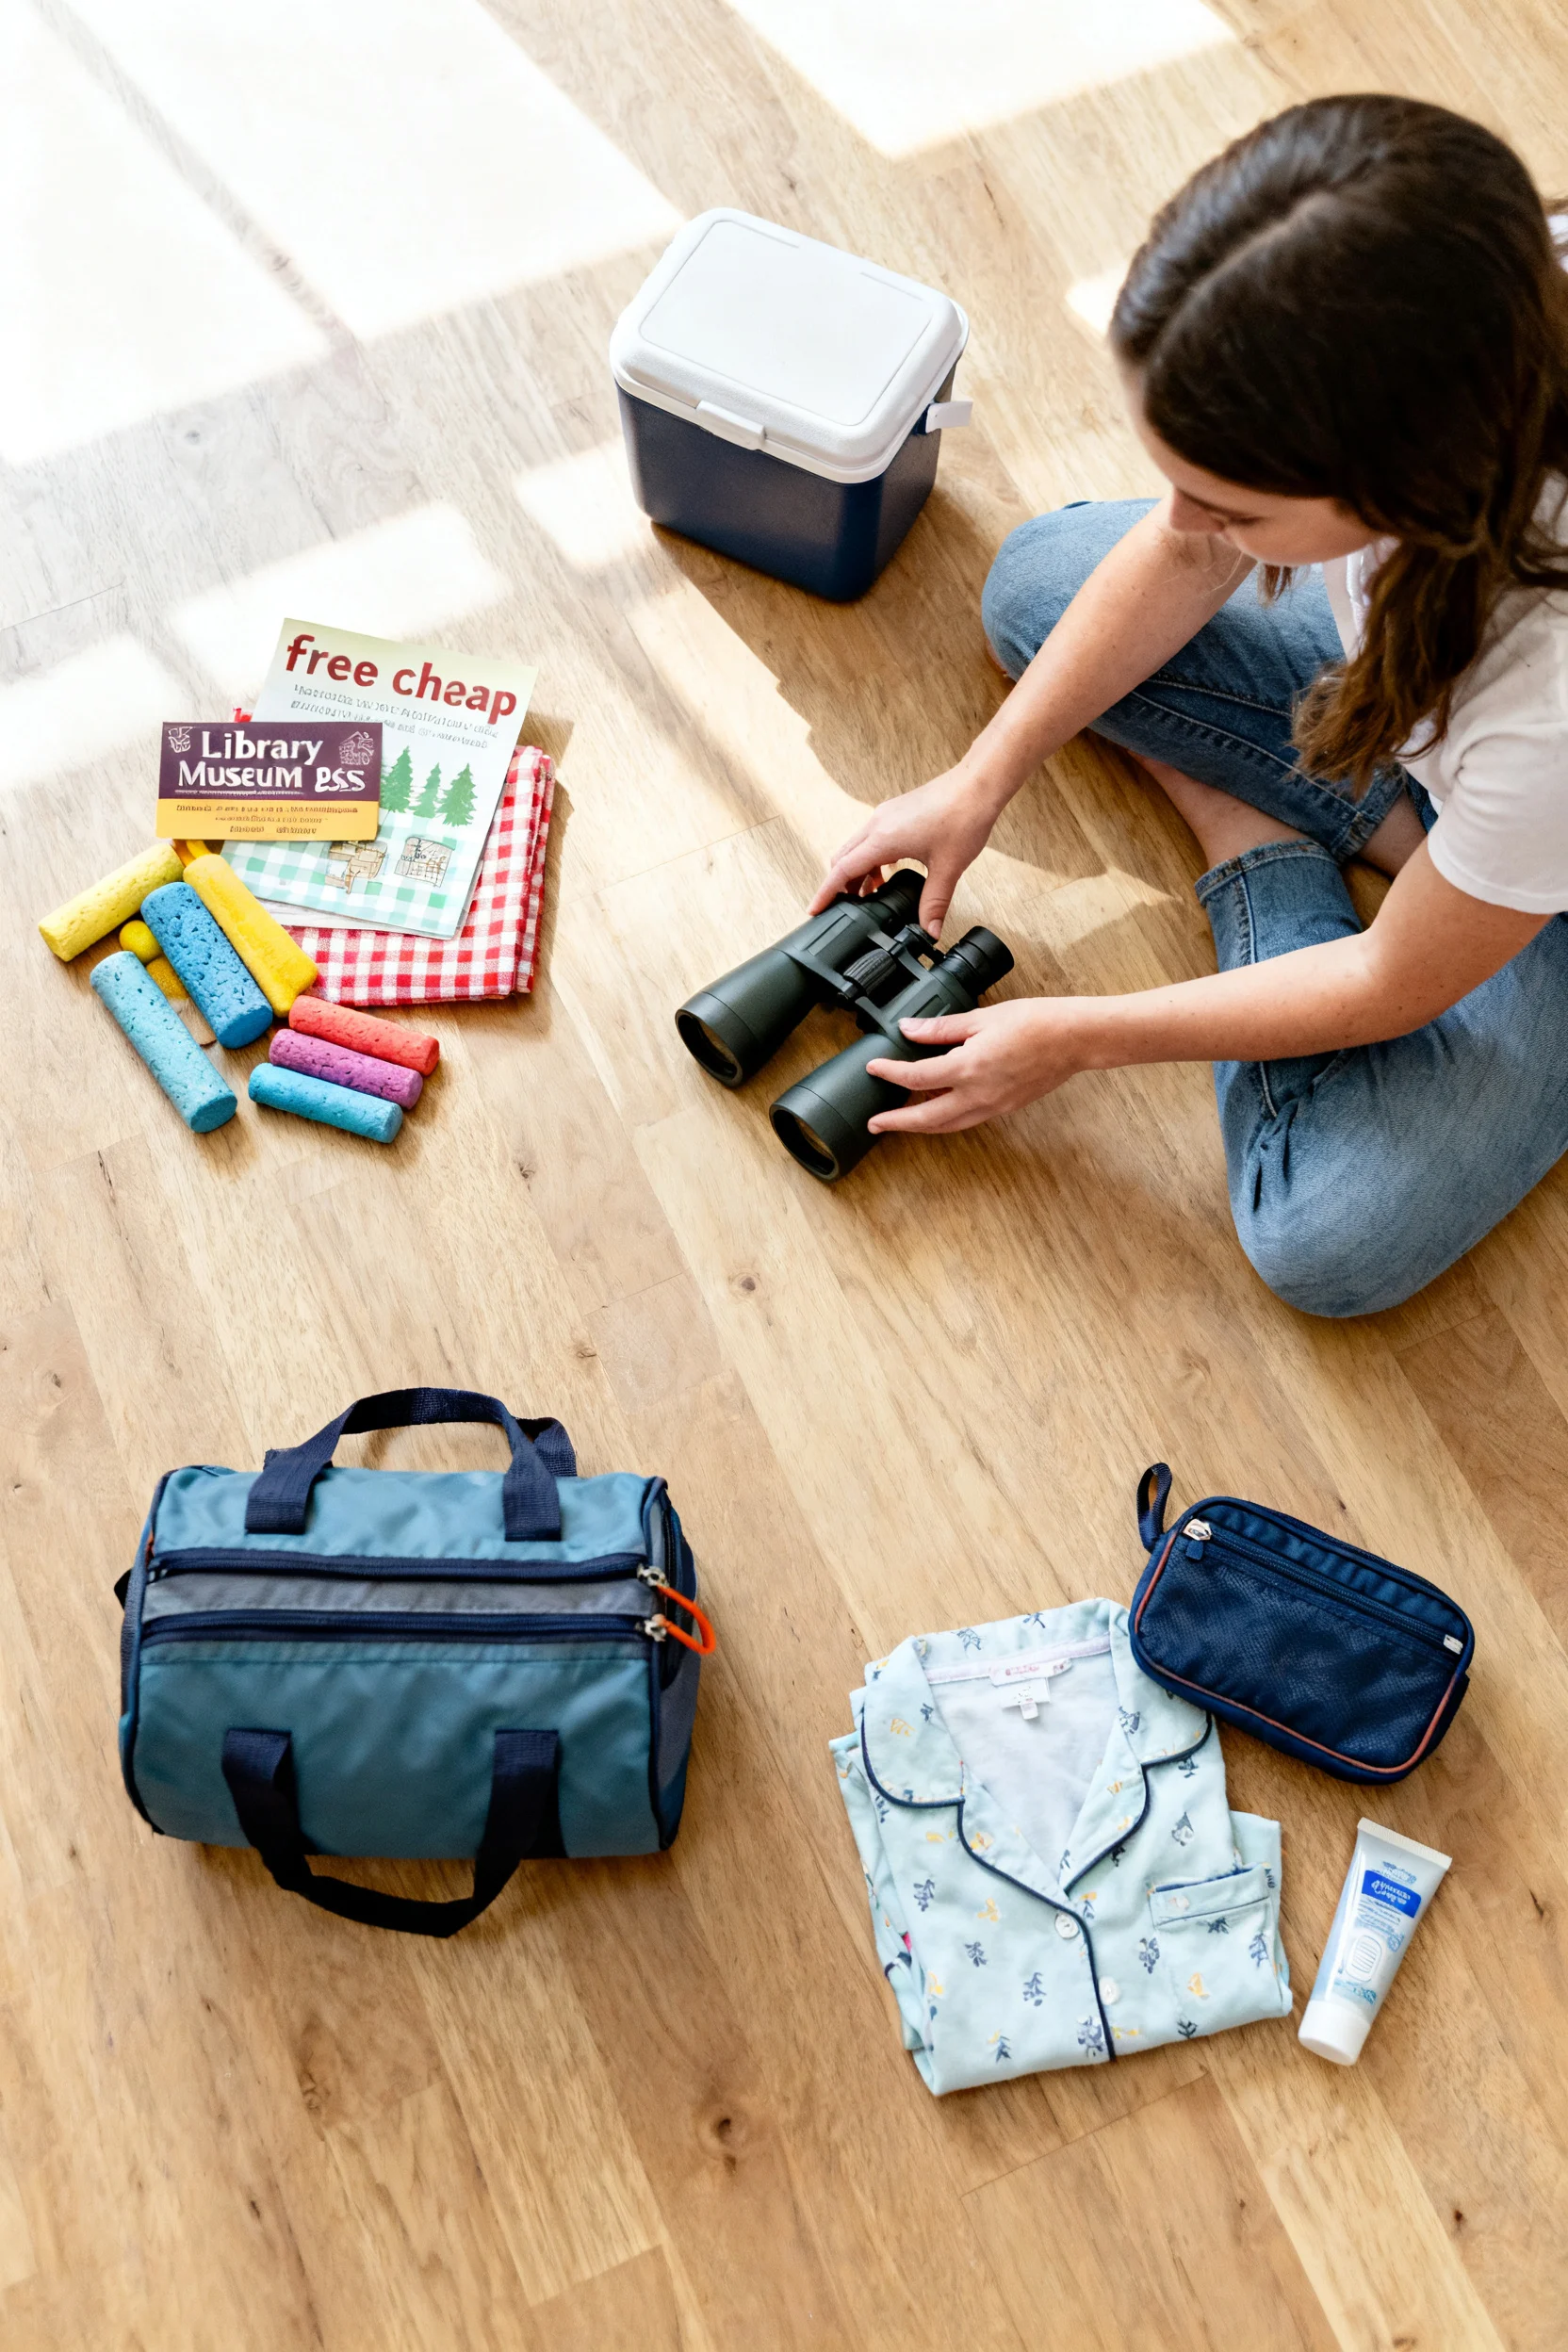
Step 6: Pack a reusable “family day-trip kit” and set safety/comfort defaults
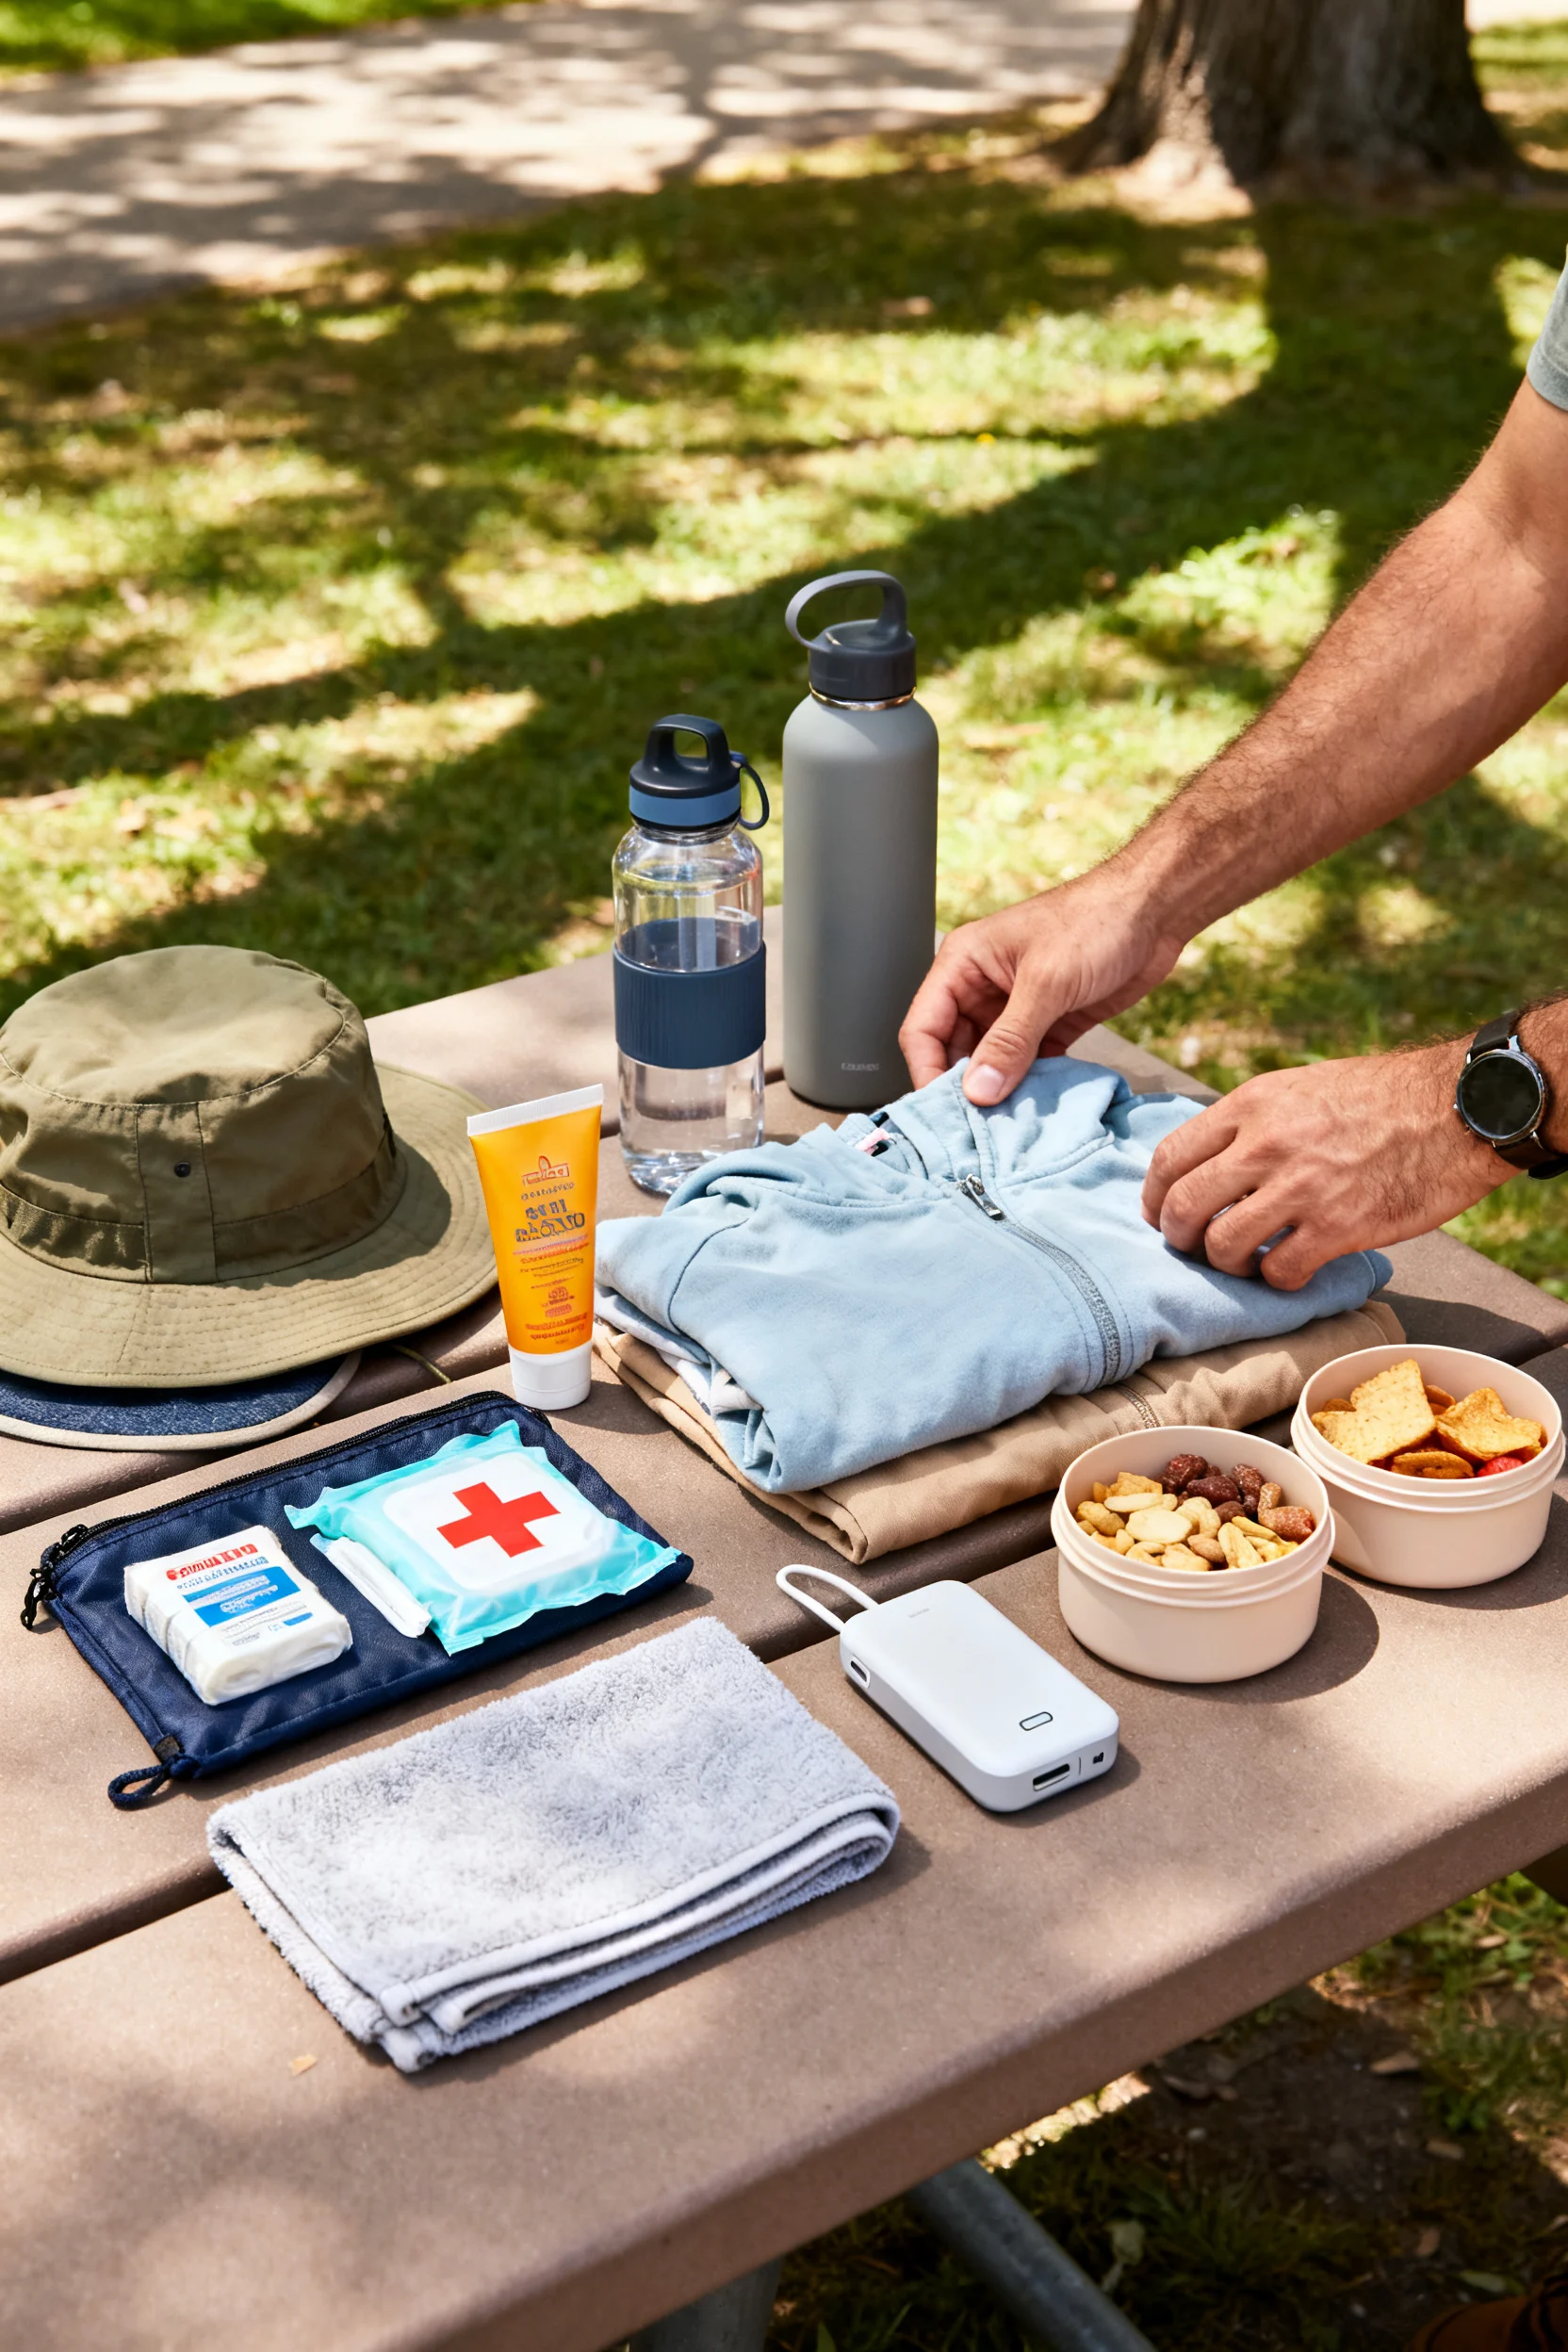
What to do: Assemble a grab-and-go day-trip kit so spontaneous outings are easy. Keep it by the door or in the car. Include: refillable water bottles, wipes/hand sanitizer, bandages, sunscreen, hats, lightweight layers, a small towel, phone charger, snacks with protein, and a zip bag for wet clothes. Add one “calm-down” item per kid (card game, small book, fidget, or headphones for older kids). For safety, set a meeting plan, take a quick photo of each child before crowded events, and teach a simple script: name + caregiver name + phone number.
Why it matters: Comfort problems end outings faster than boredom. A consistent kit prevents the “we forgot sunscreen/snacks/extra clothes” spiral and makes it easier to say yes to a last-minute festival or beach evening.
Specific example: You’re heading to a cultural festival. Your defaults: arrive early, pick a meeting spot (main entrance banner), each kid wears a bright top, you pack two snack options, and you plan a 15-minute shade break every hour. The result: you stay longer and enjoy it instead of rushing out.
Mistake to avoid: Don’t rely on buying everything on-site. That’s how you overspend and end up with a tired, hungry crowd before you even start the fun part.
Quick Checklist
- Choose a summer travel theme and 3 simple success rules
- Build a tiered bucket list (free/cheap, day trips, 1–2 overnights)
- Schedule one weekly anchor outing + weather backup
- Set a total budget and book timed-entry items early
- Create 3 travel rituals (passport, postcard, souvenir rule)
- Prep a reusable day-trip kit (snacks, sunscreen, layers, charger)
- Plan your “crowd safety” default: meeting spot + pre-outing photo
FAQ
How many bucket list items should we plan for one summer?
Aim for 12–20 total items, depending on your schedule. A good first-timer structure is 8–10 easy local activities, 3–6 day trips, and 1 overnight. It should feel finishable, not endless.
What if we can’t travel far (or it’s too hot) in summer?
Use “micro-travel”: early-morning outings, indoor cultural stops (museum, library, global grocery store), and shaded nature (botanical garden, creek walk). Pair it with at-home country nights so you still get the travel vibe without long drives.
How do I keep different ages interested?
Give each kid one job: navigator (older), photographer, snack captain, or passport stamper (younger). Choose outings with layered fun—like a waterfront (playground + views + ice cream) or a museum with hands-on zones.
What are the best budget-friendly “travel” outings?
Top picks: state parks, beaches/lakes, ferry rides, free museum days, library cultural events, local festivals, and exploring a nearby neighborhood with a self-made food crawl (one treat to share at each stop).
How do I avoid meltdowns on day trips?
Start earlier than you think, build in snack and shade breaks, and cap the “must-do” list at two main stops. Keep one easy exit option (playground, quick meal, or quiet car time) so you can end on a win.